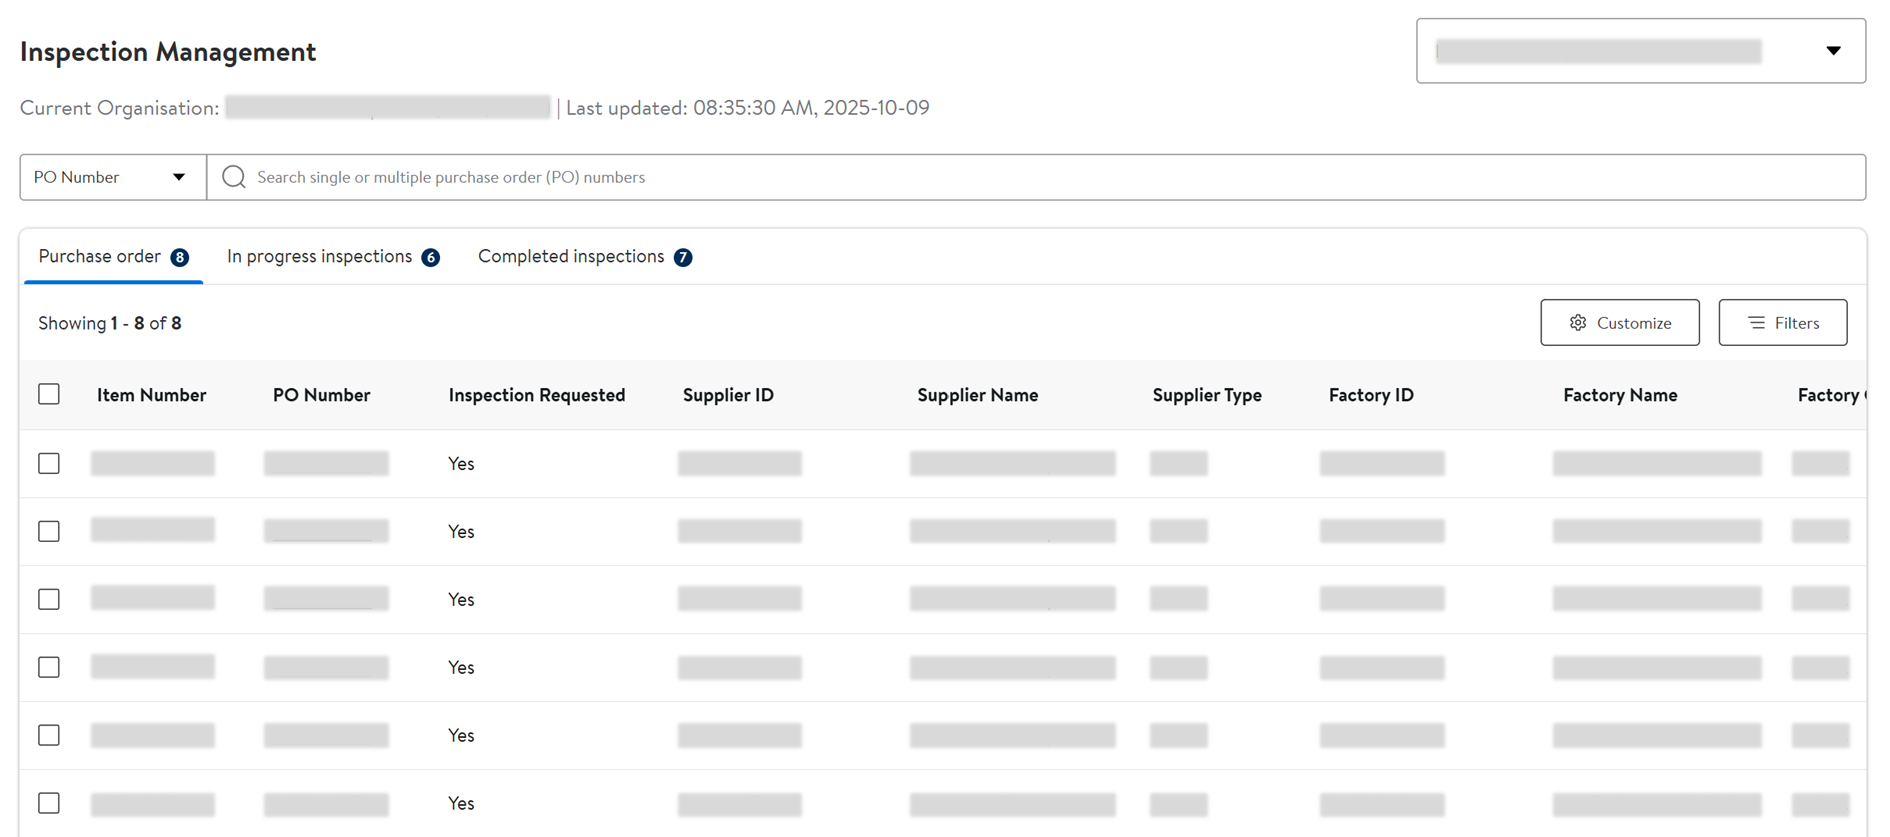
Inspection Management
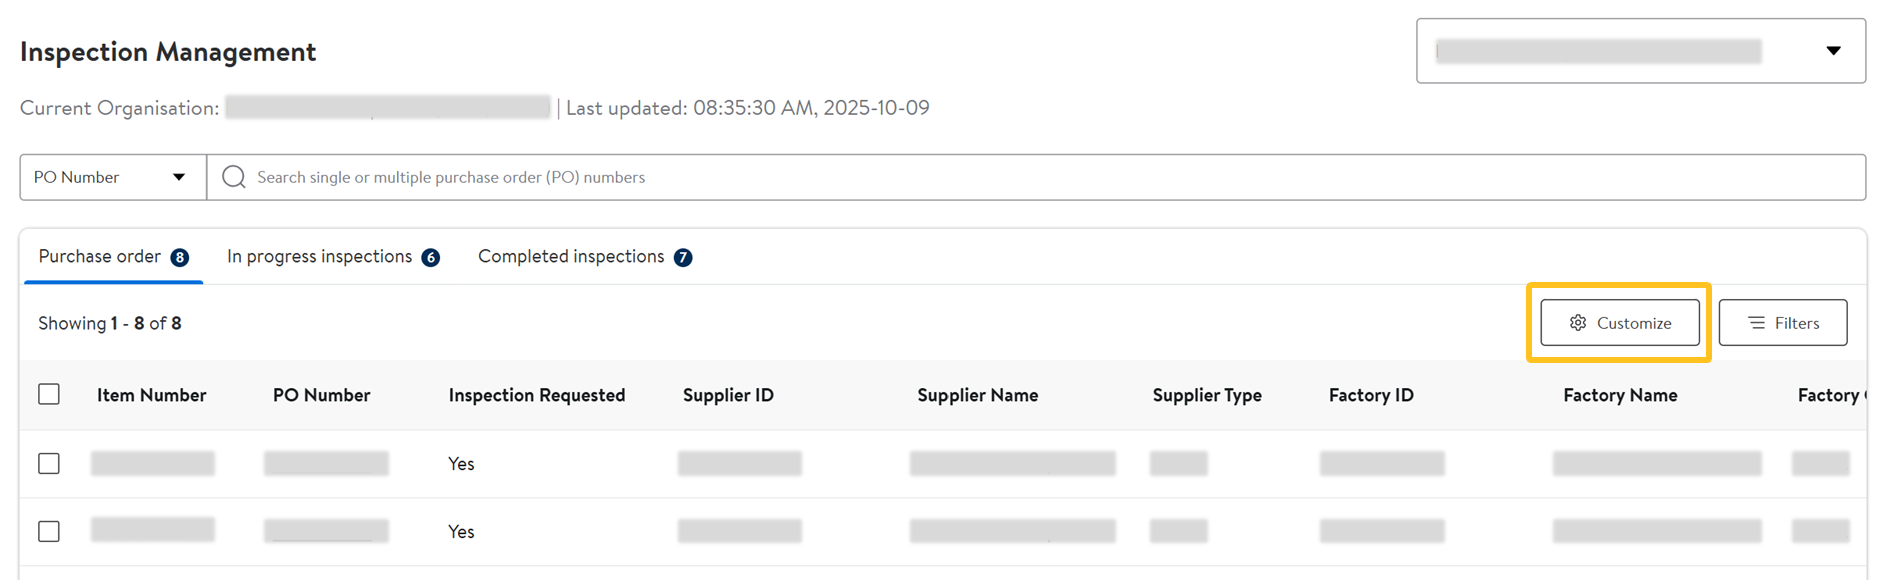
In the left navigation menu, click Quality and select Inspection Management page to submit inspection requests.
This is only applicable to direct import suppliers.
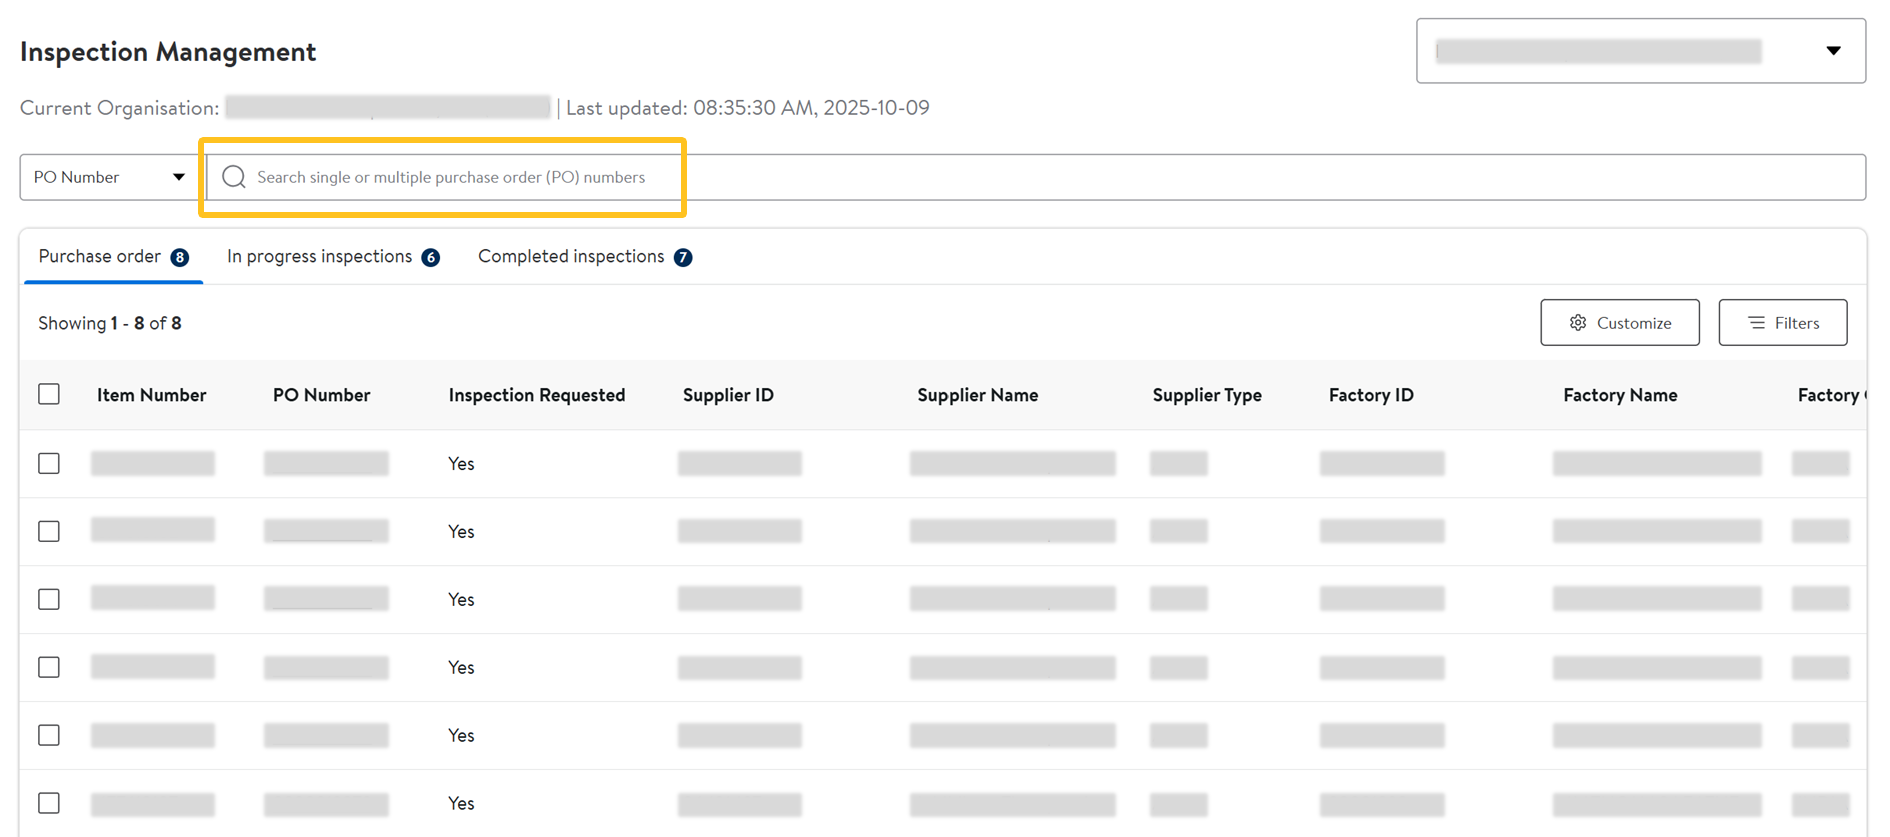
Search
- Select what you want to search by (PO Number, Item Number, Request ID, Qlens Process ID or Inspection ID) from the dropdown menu.
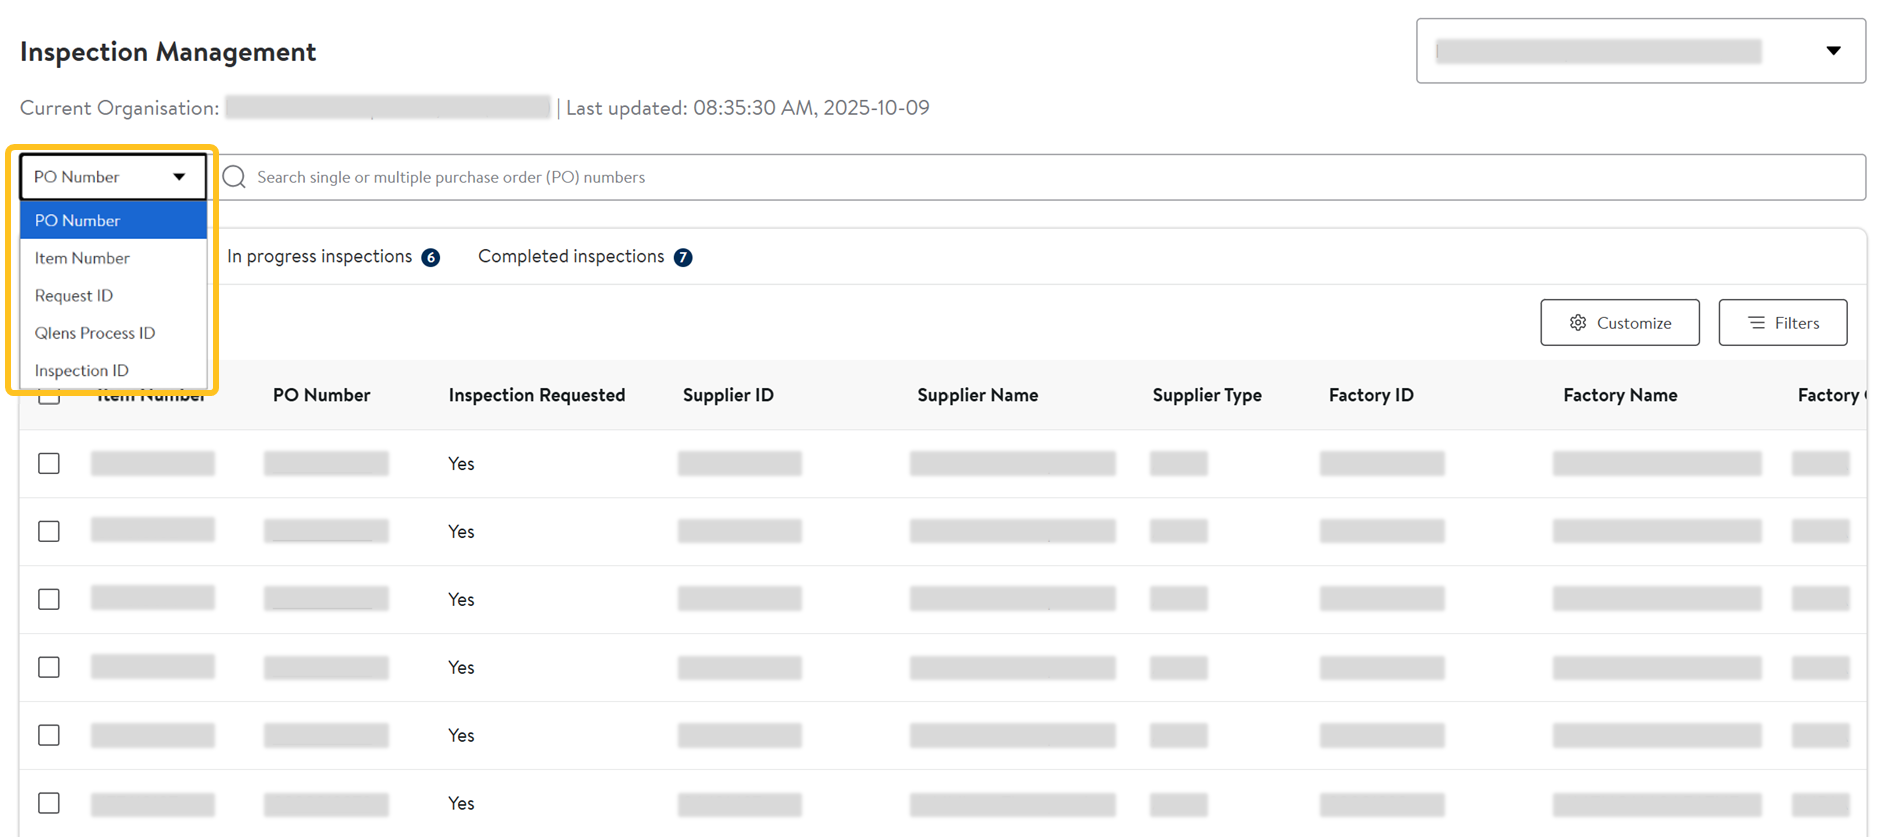
- Copy and paste the number(s) in the search field and press enter on your computer. Add a comma or space when searching for multiple numbers.
Filters
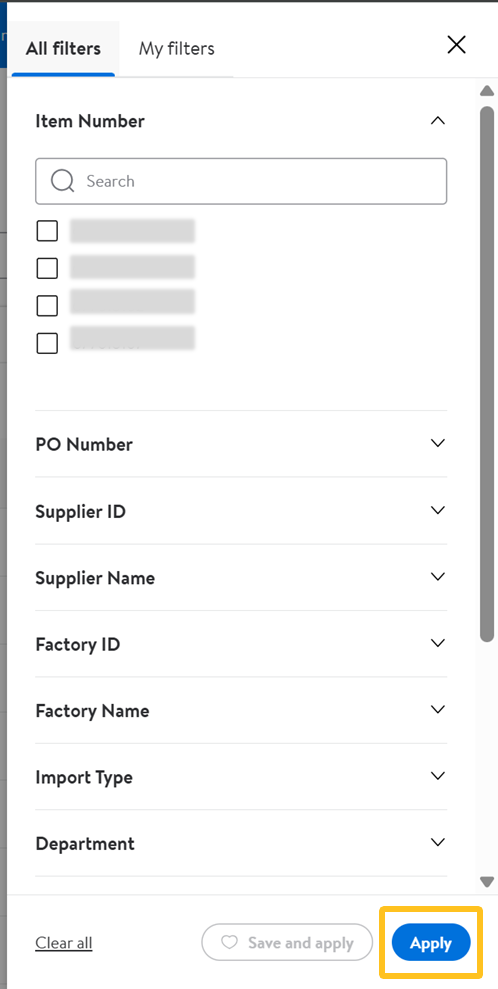
- Click the Filters button to add filters to the table.
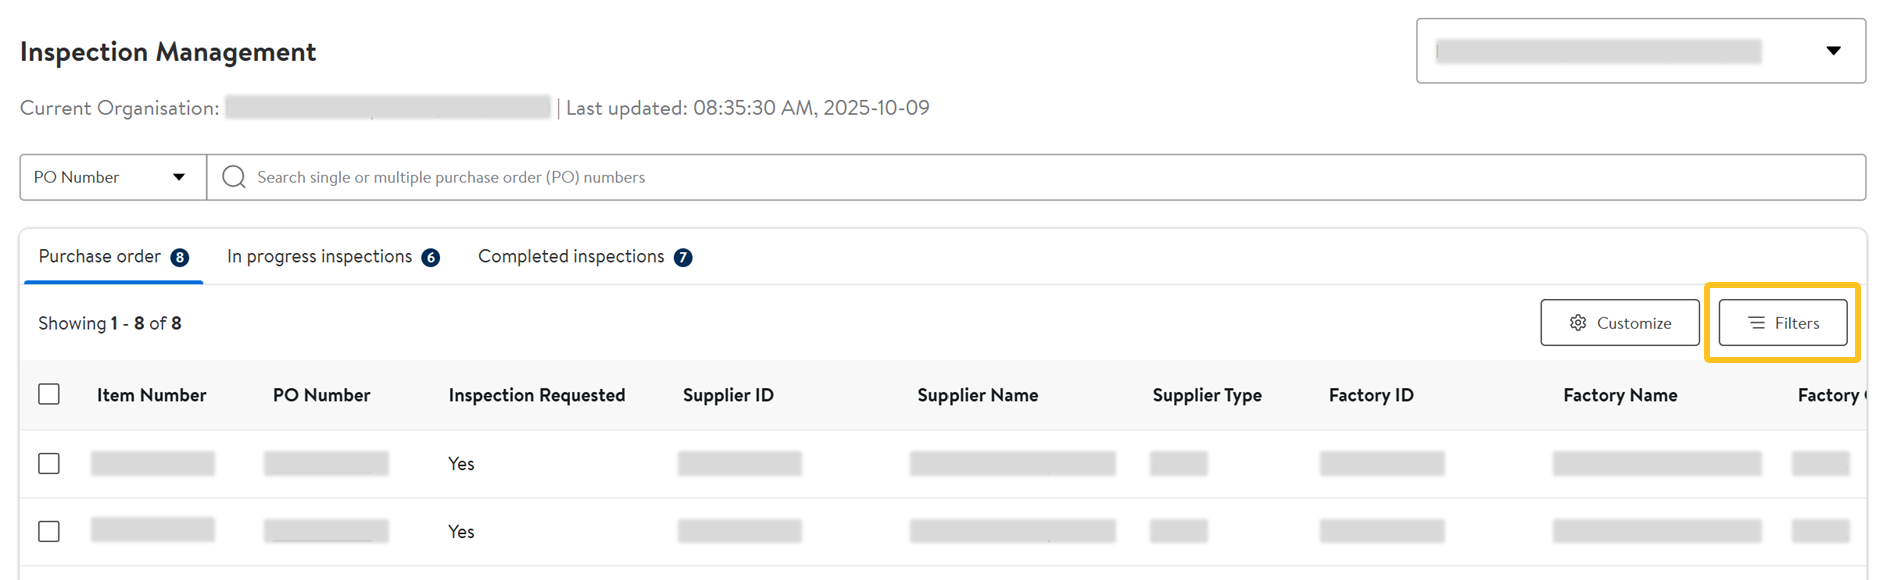
- Once you've selected the filters, click Apply.
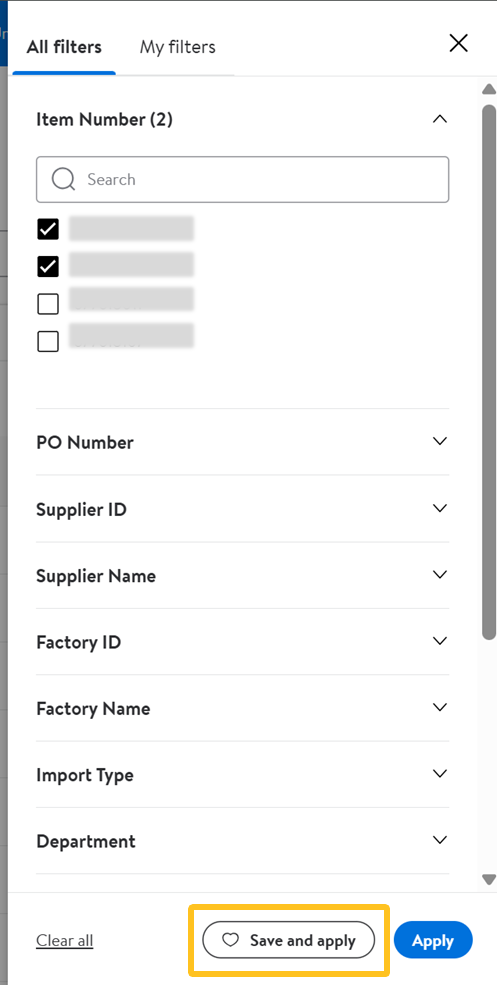
- To save these filters for future use, select Save and apply.
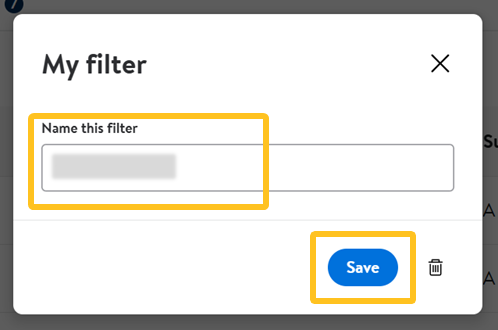
- Name the filter selections and click Save.

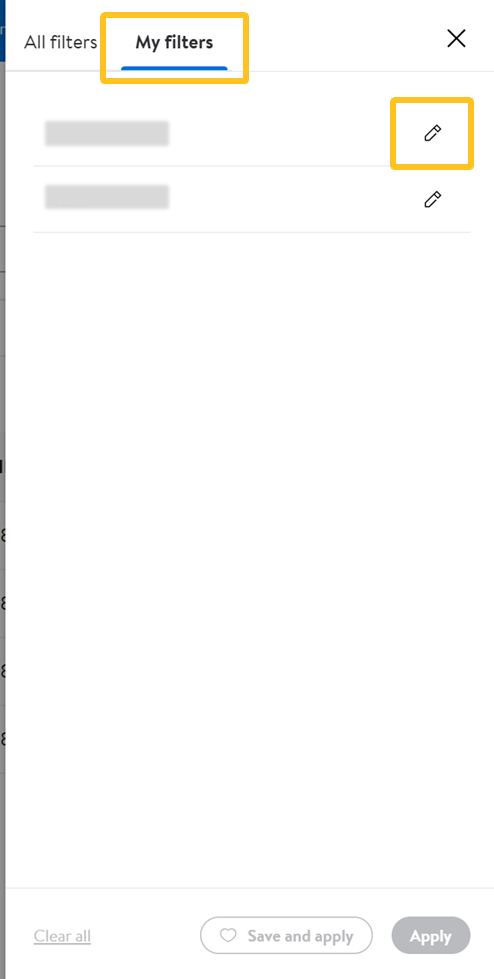
- You can view the list of saved filters under My filters. Click the pencil icon to rename the filter then Save.
- To save these filters for future use, select Save and apply.
Customize Columns
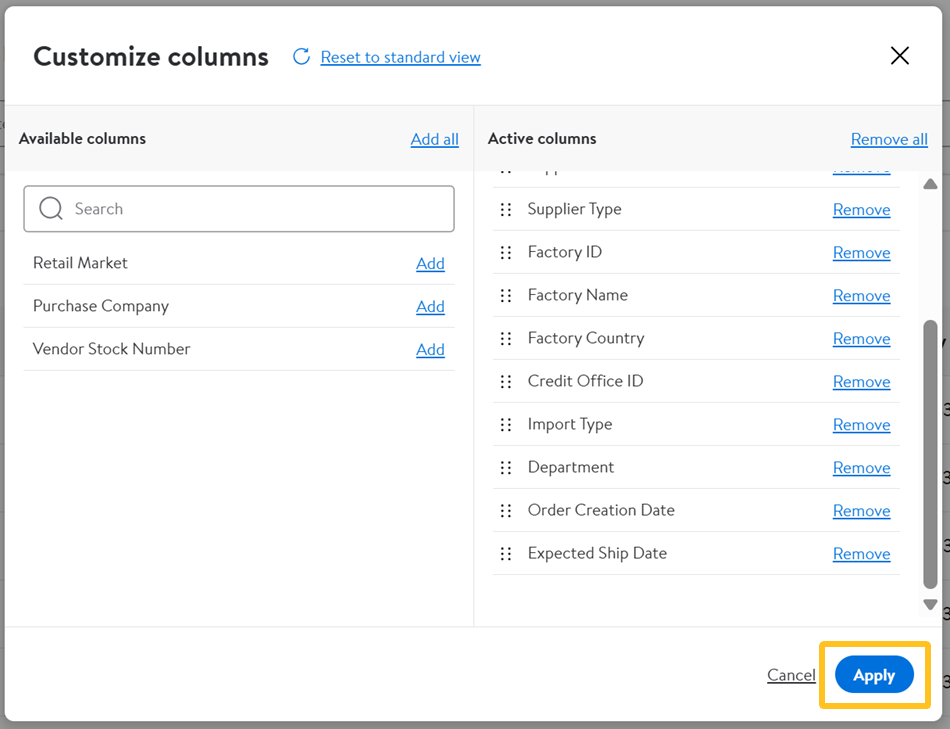
- Click the Customize button to add, remove or rearrange the columns in the table.
- Click Add or Remove column information in the table.
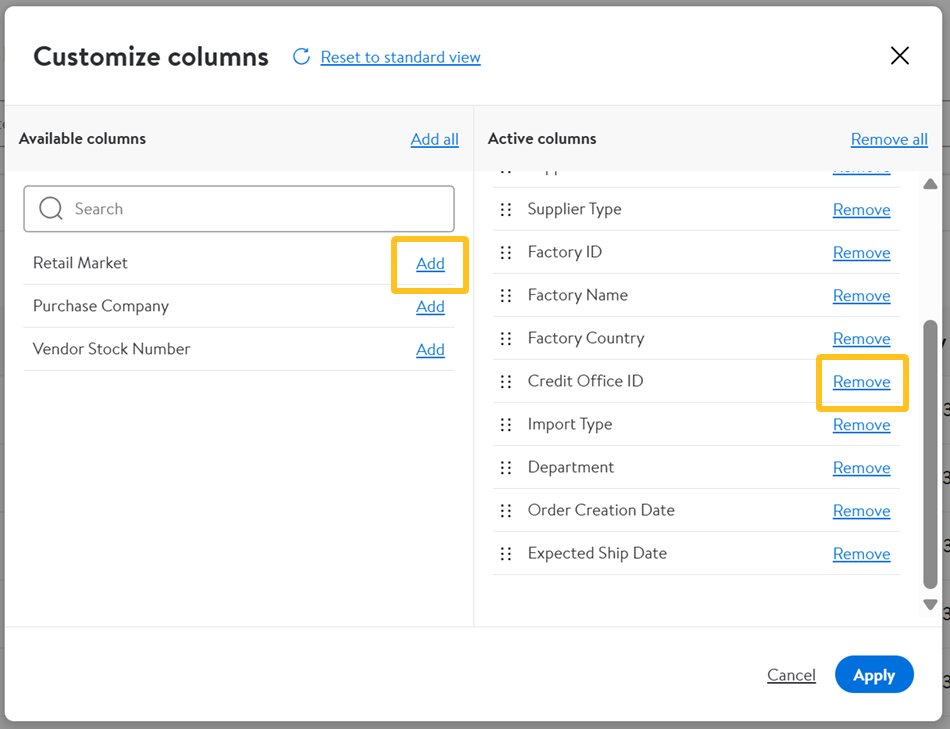 Select Add all or Remove all columns, or Reset to standard view to revert your selections to default.
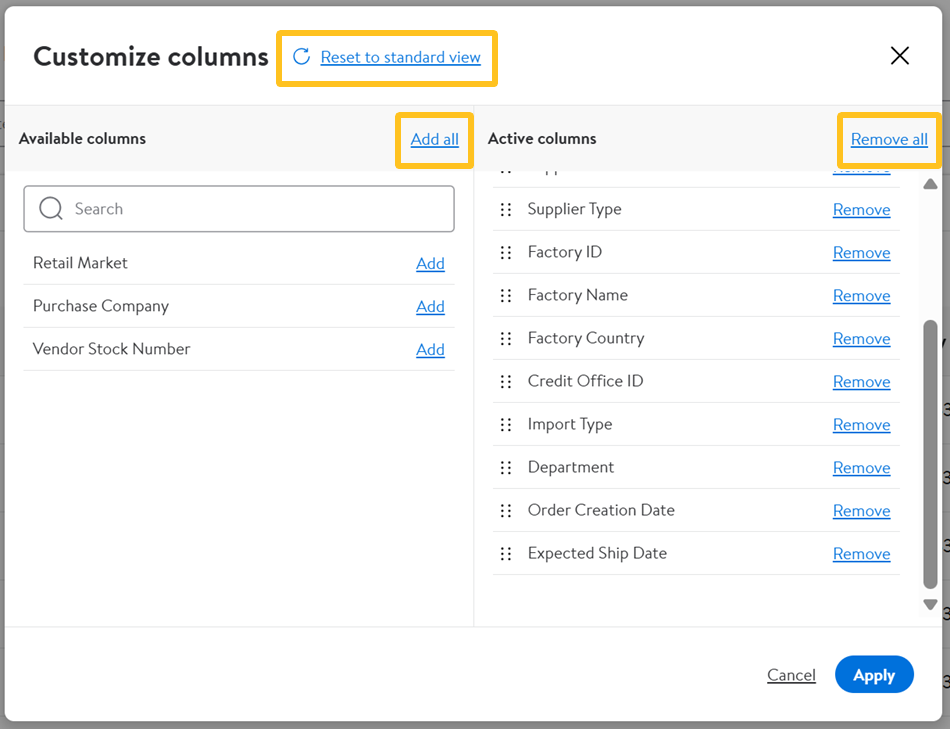
- Drag and drop to rearrange the columns by clicking the dots next to the column name.
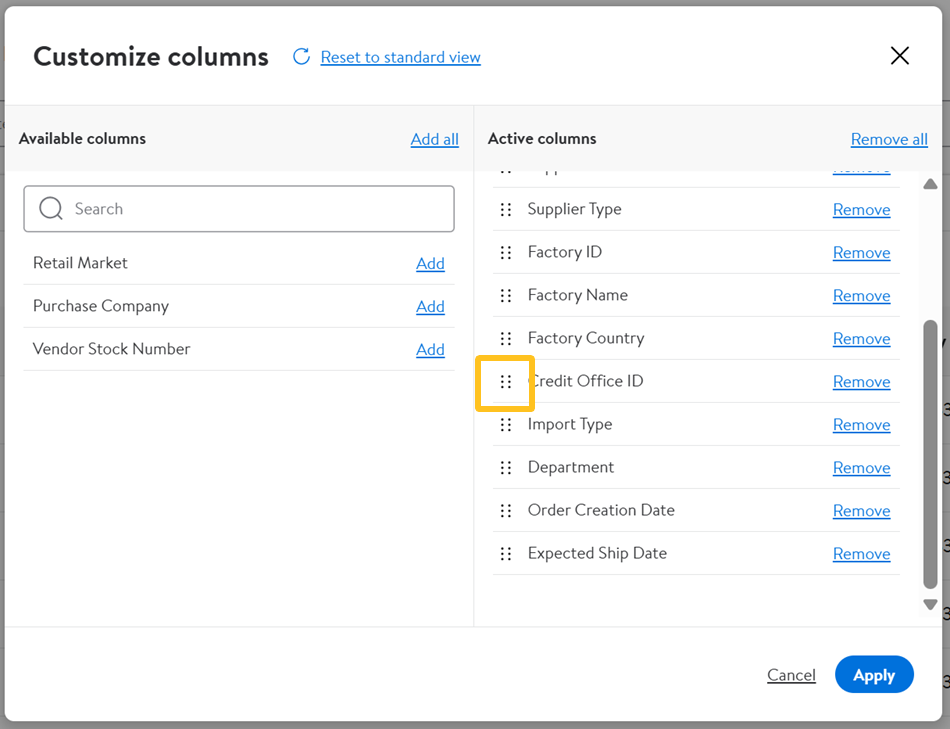
- Once you've made all your selections, click Apply.
Booking Final Inspections
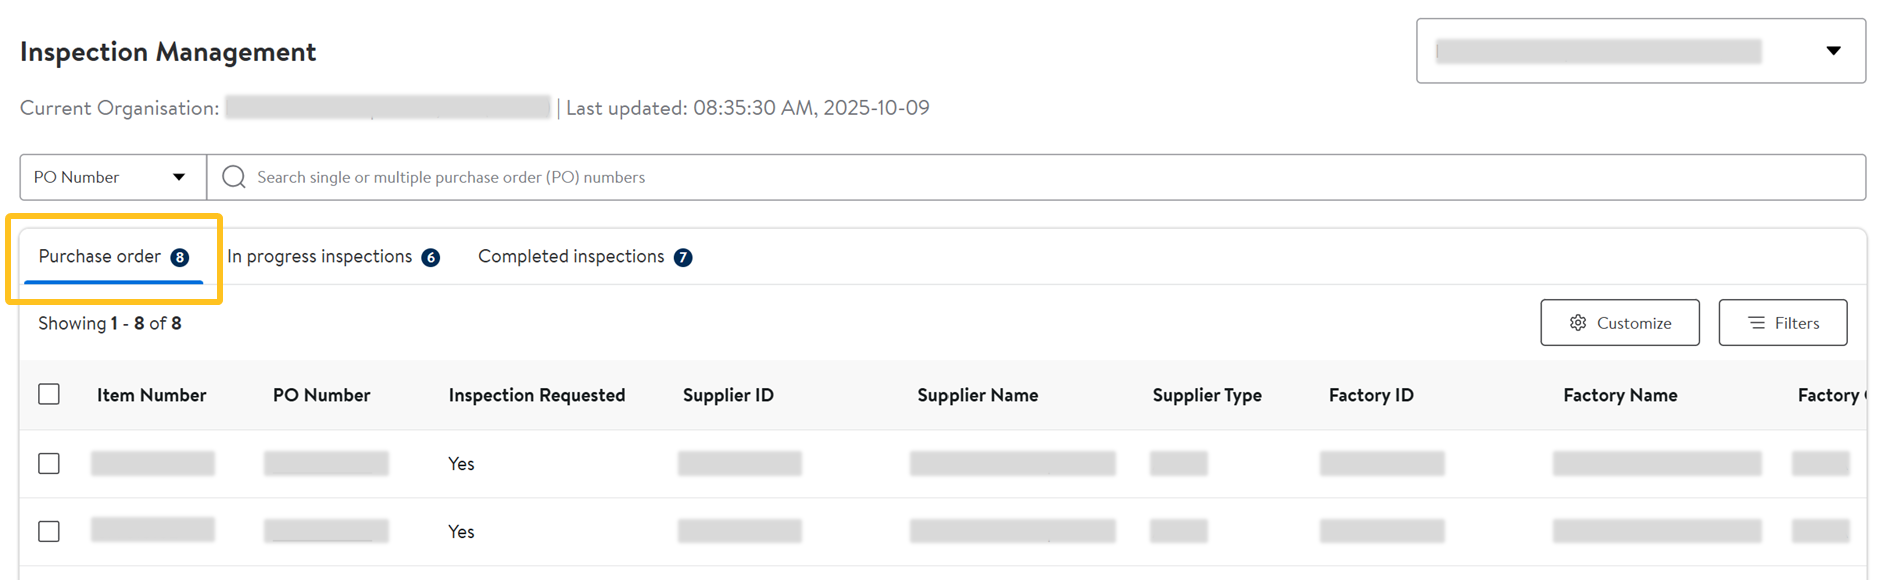
- In the Inspection Management dashboard, select the Purchase Order tab to view the list of item numbers.
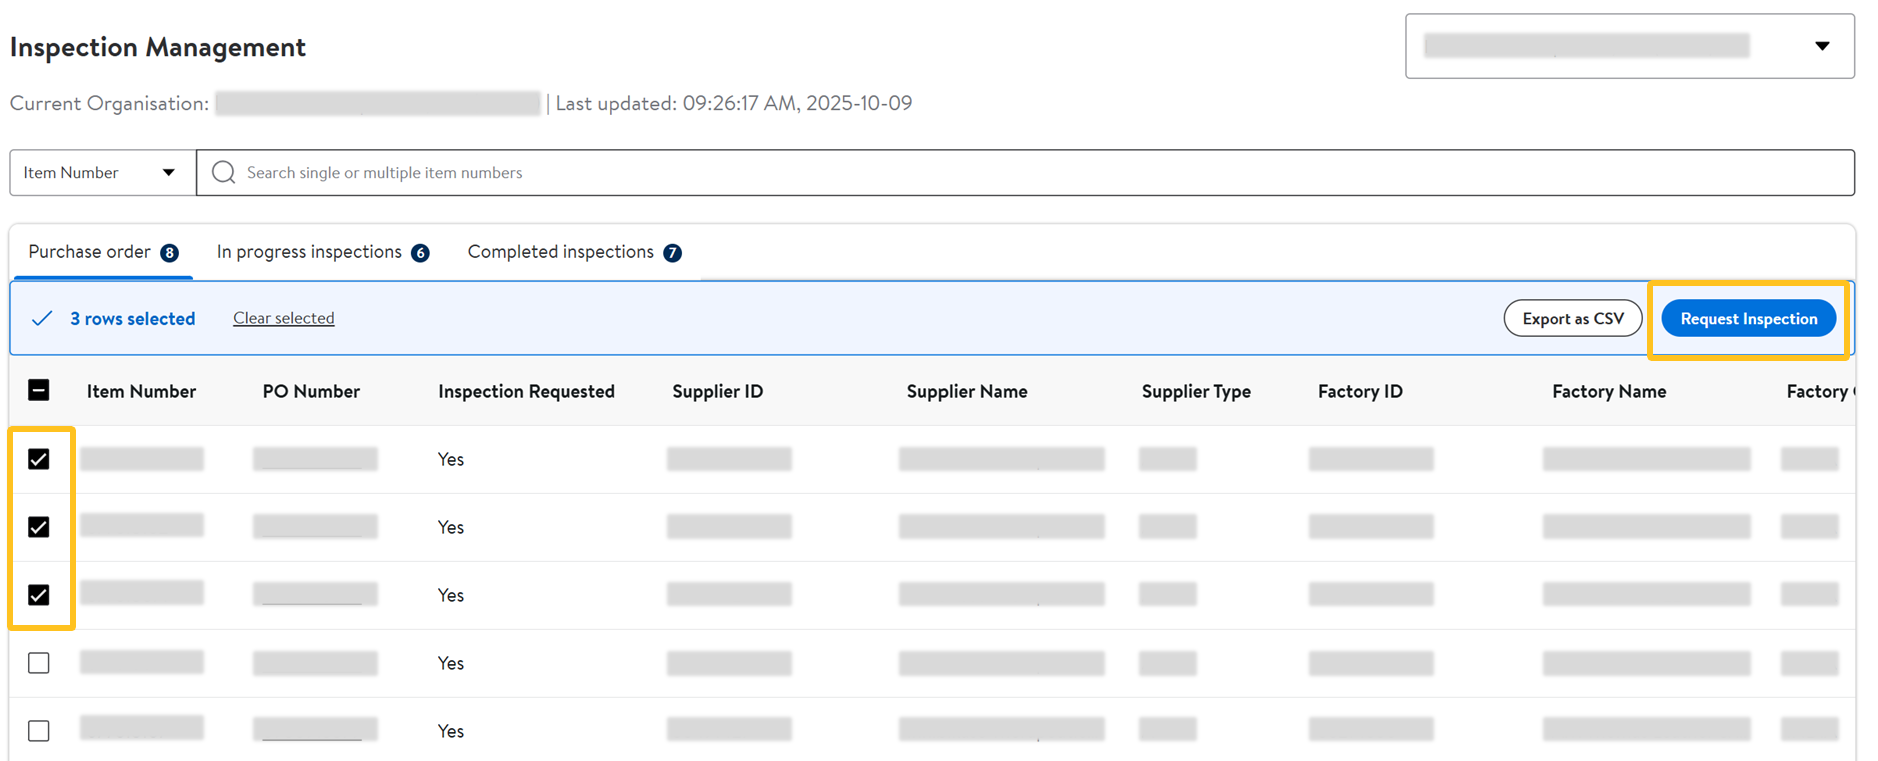
- Use the check boxes to select the item number(s) you want to request an inspection for. Then, click Request Inspection.
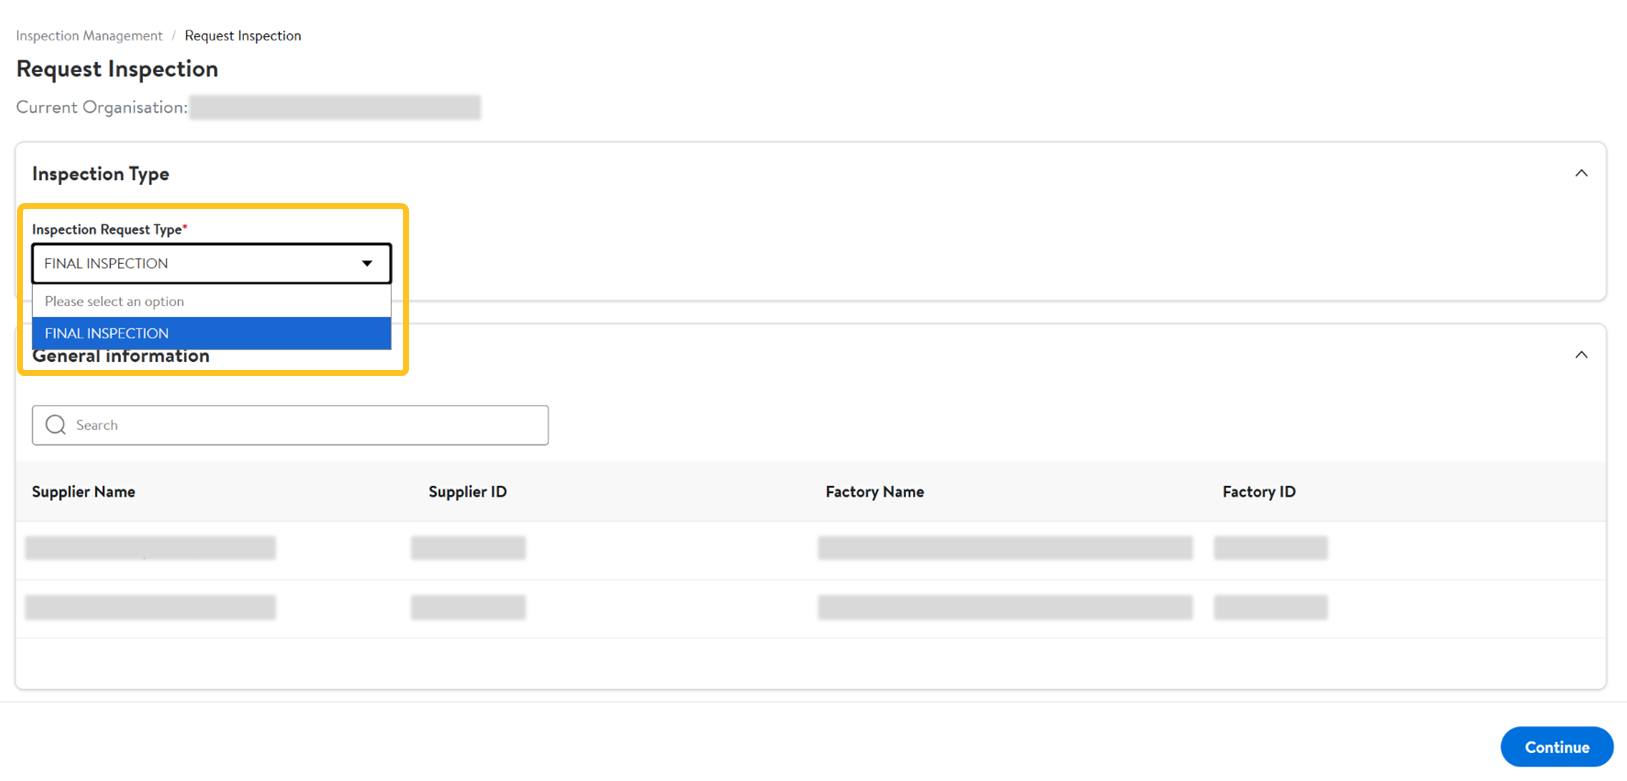
- Select an Inspection Request Type from the dropdown.
- Scroll down to Product information to verify and/or update the Inspection Quantity Pieces and Inspection Quantity Case for each item.
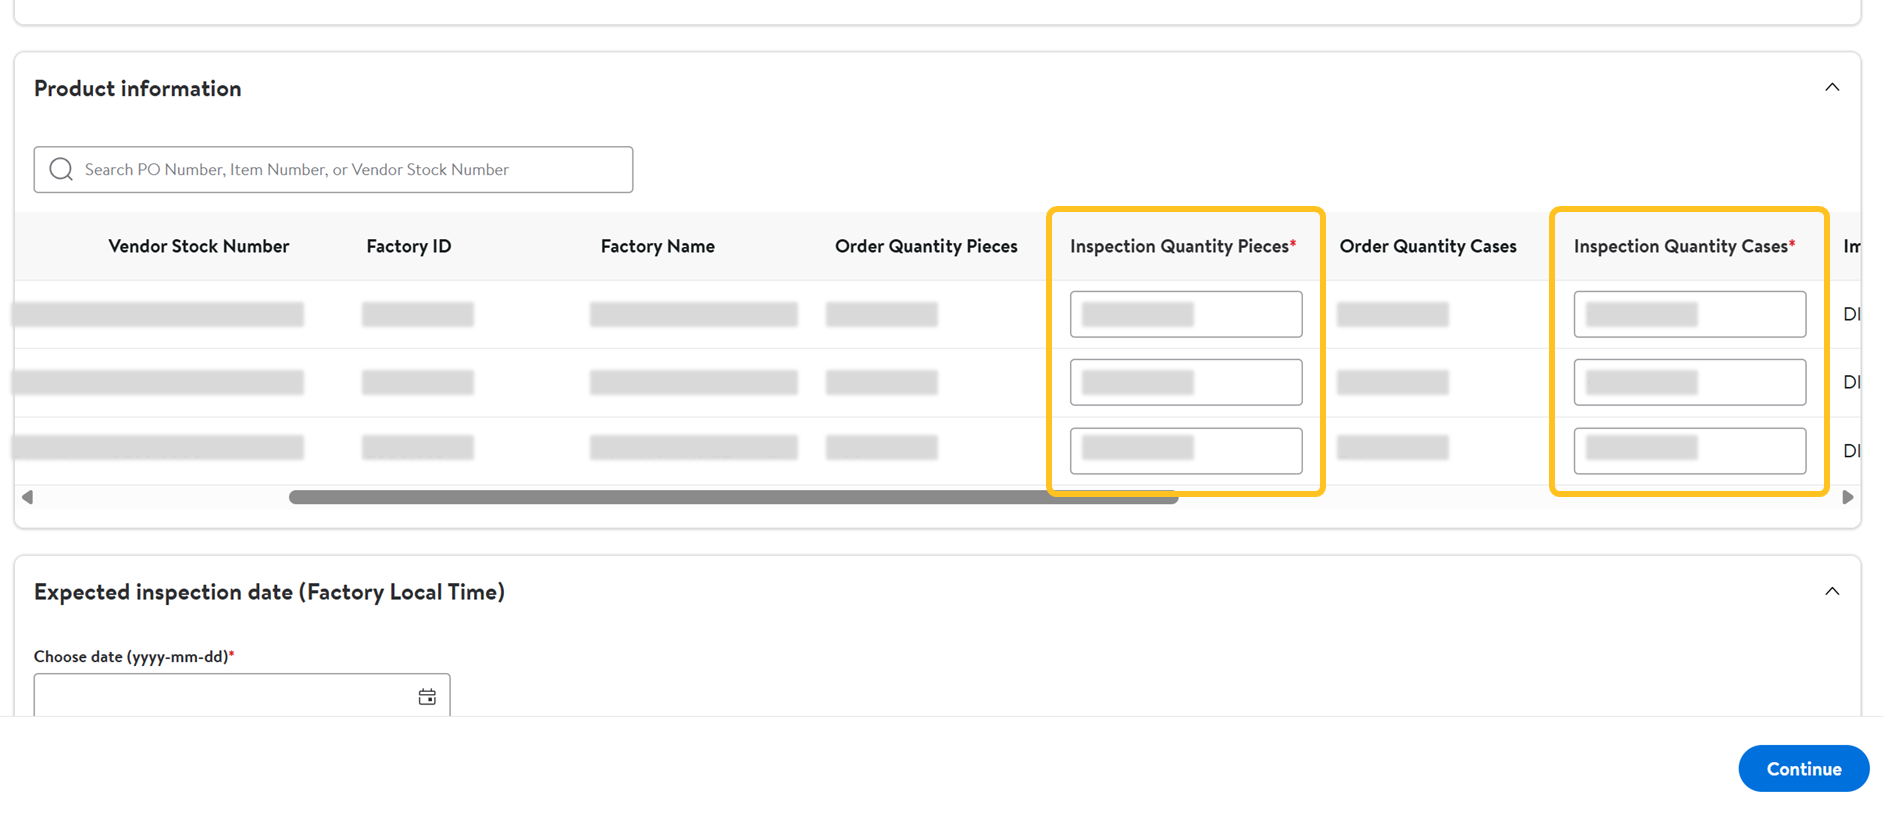
- Choose the Expected inspection date.
A warning will appear if the selected date is within 4 days of the request date.
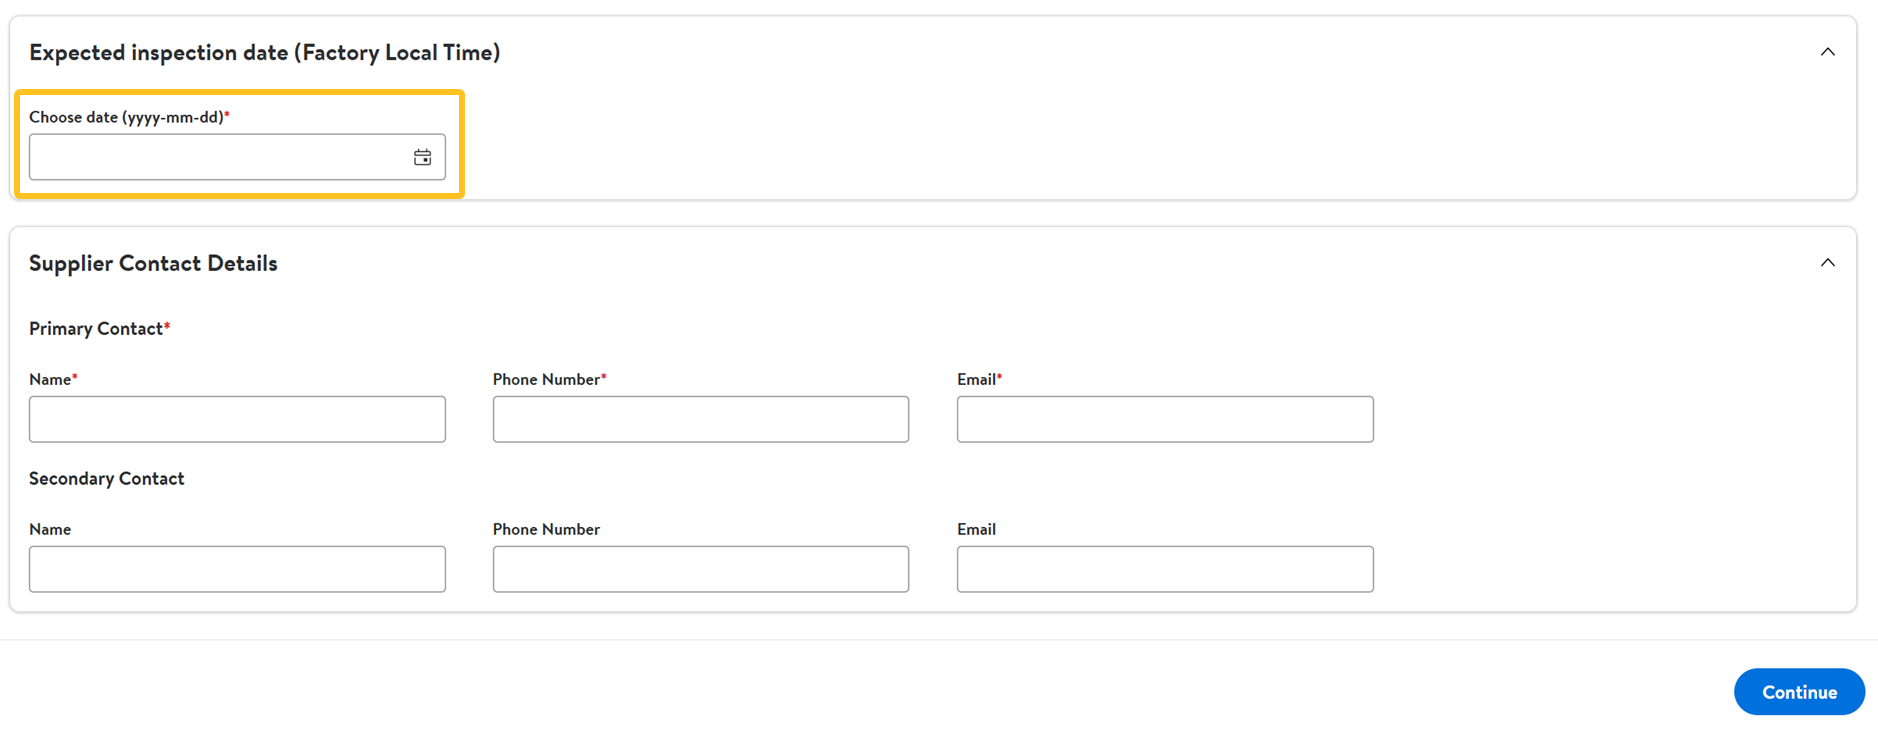
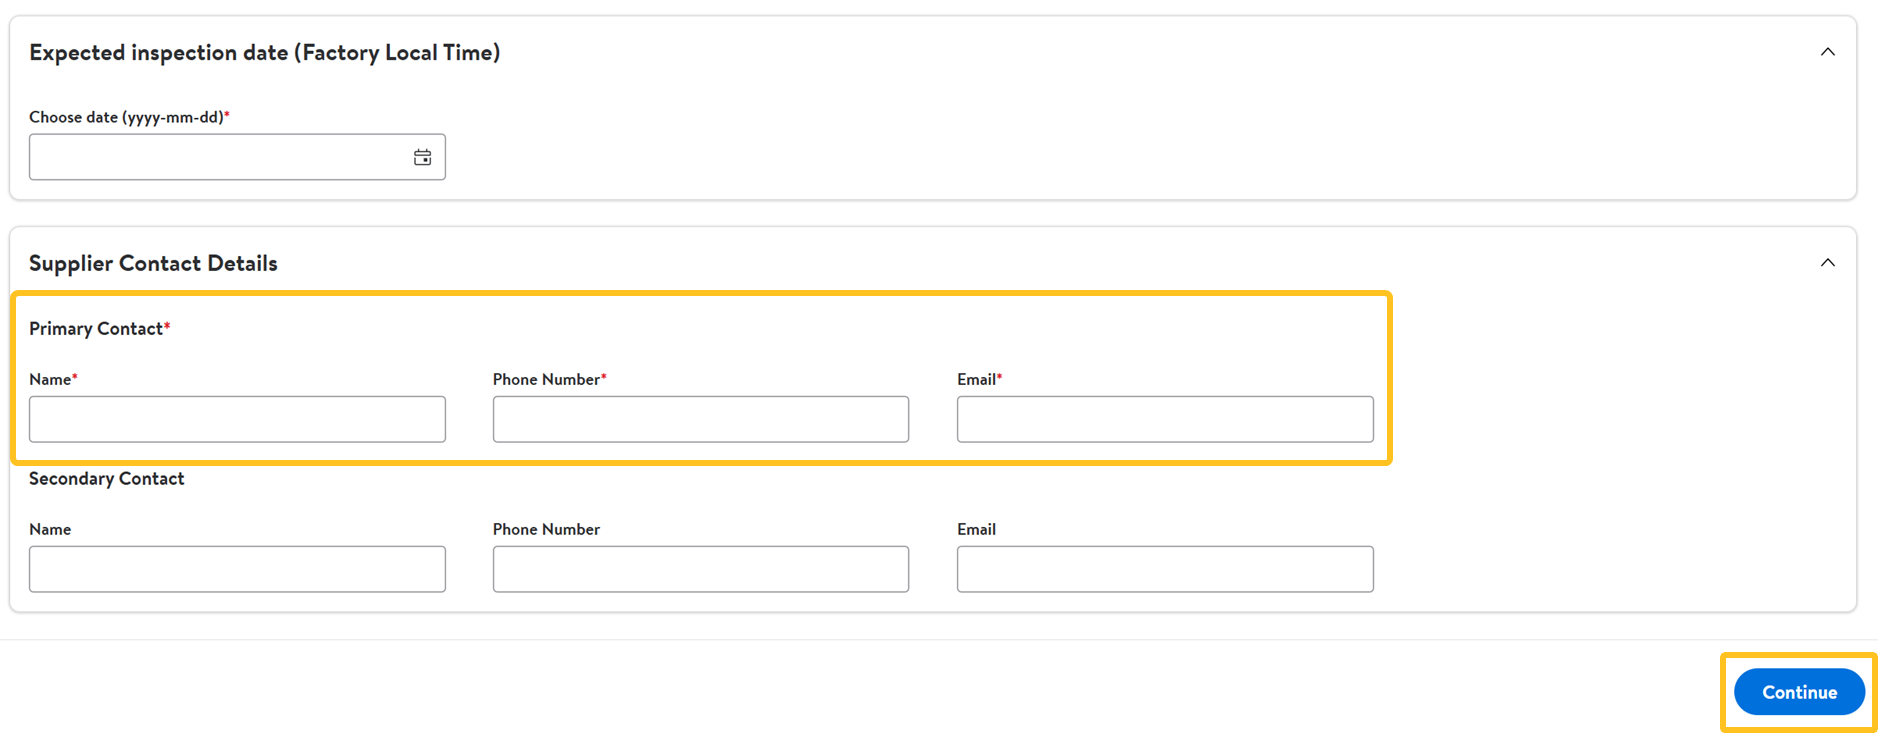
- In the Supplier Contact Details section, provide the name, phone number and email contact. Then, click Continue.You can provide a secondary contact if needed.
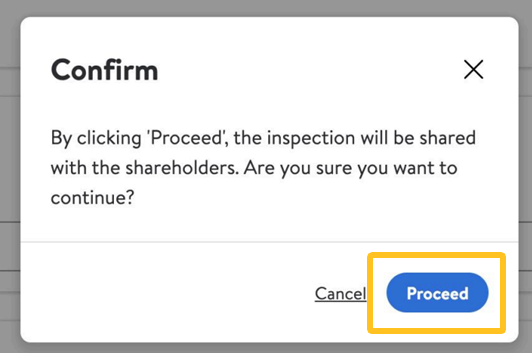
- Confirm by selecting Proceed to finalize the request.
- You will receive a confirmation email after successfully submitting your inspection request. Refer to the attached file in the email to view the requested items and request IDs.

Track Your Inspections
- In the Inspection Management dashboard, select the In progress inspections and Completed inspections tabs to find your inspection.
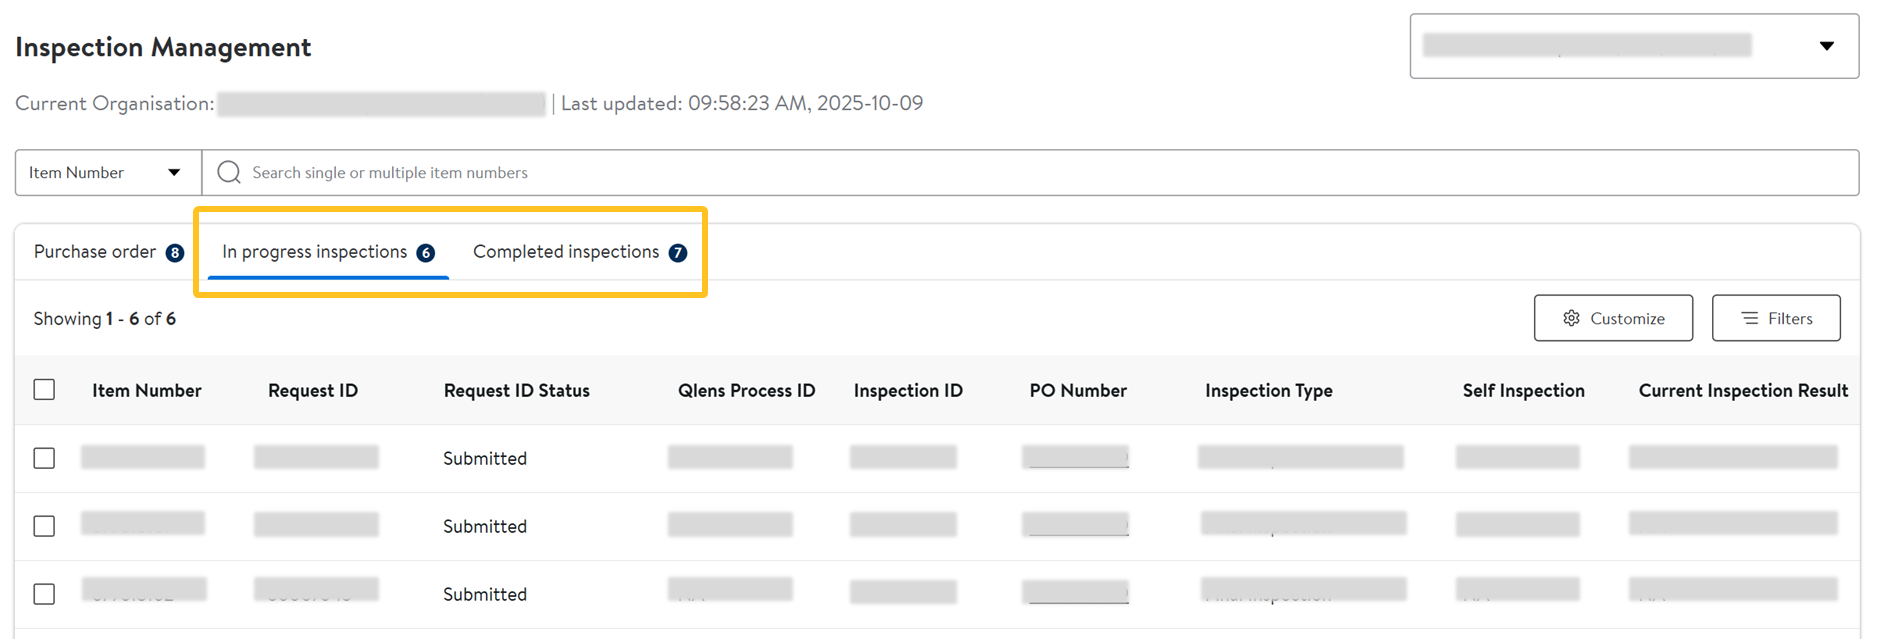
- In Progress tab: Ongoing Request IDs that have not been linked to any Inspection ID and inspections where a Corrective Action Plan (CAP) has been initiated but not yet resolved (Pending Supplier Input CAP) as Submitted, and is under internal review (Waiting for Review CAP).
- Completed tab: Displays historical inspections that have been finalized and closed. This includes inspections that are marked as Pass - Final, Final - Fail, or other final status.
- Click the Qlens Process ID to view details.

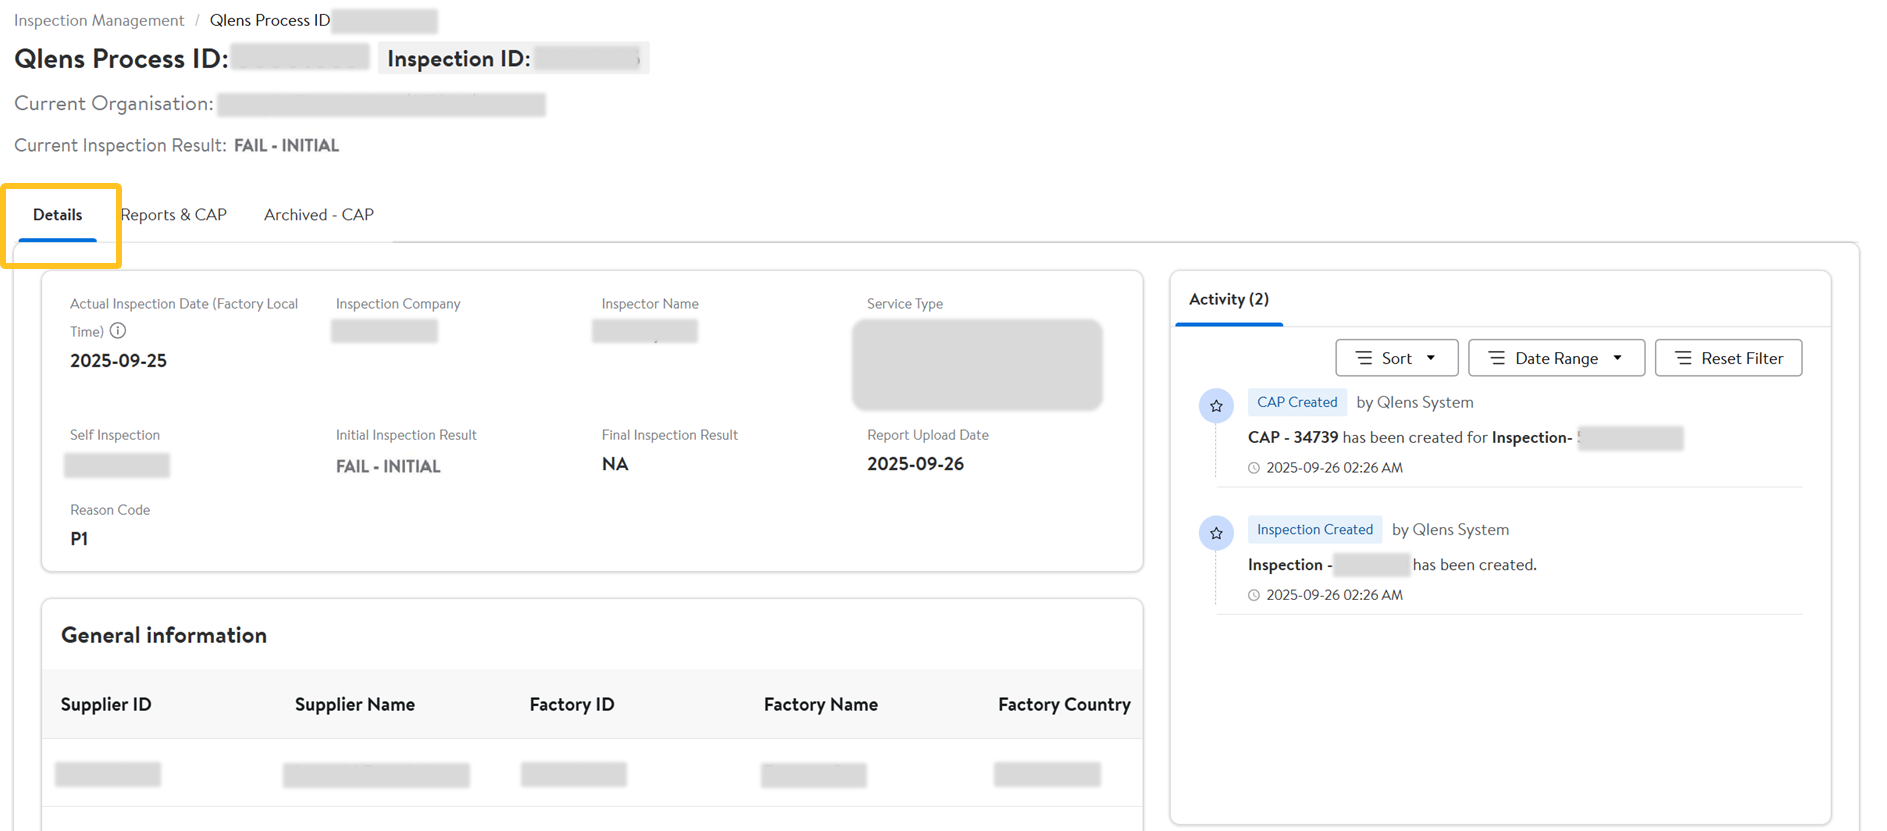
- Under Activity, you can track event status updates and uploads.
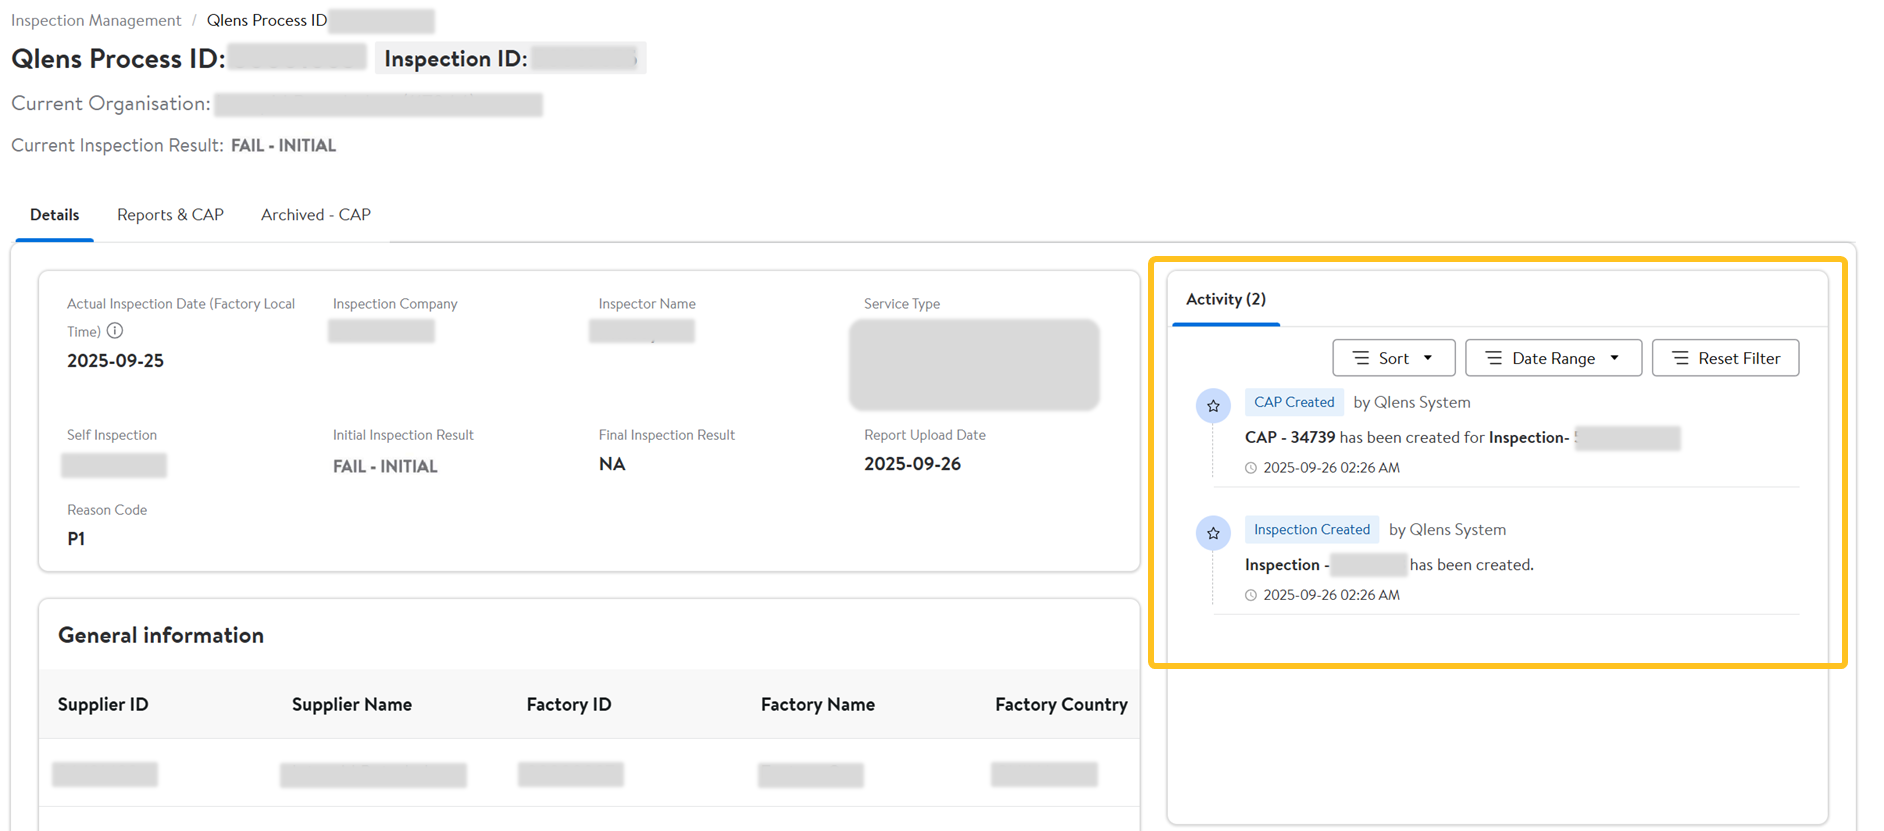
Failed Inspections
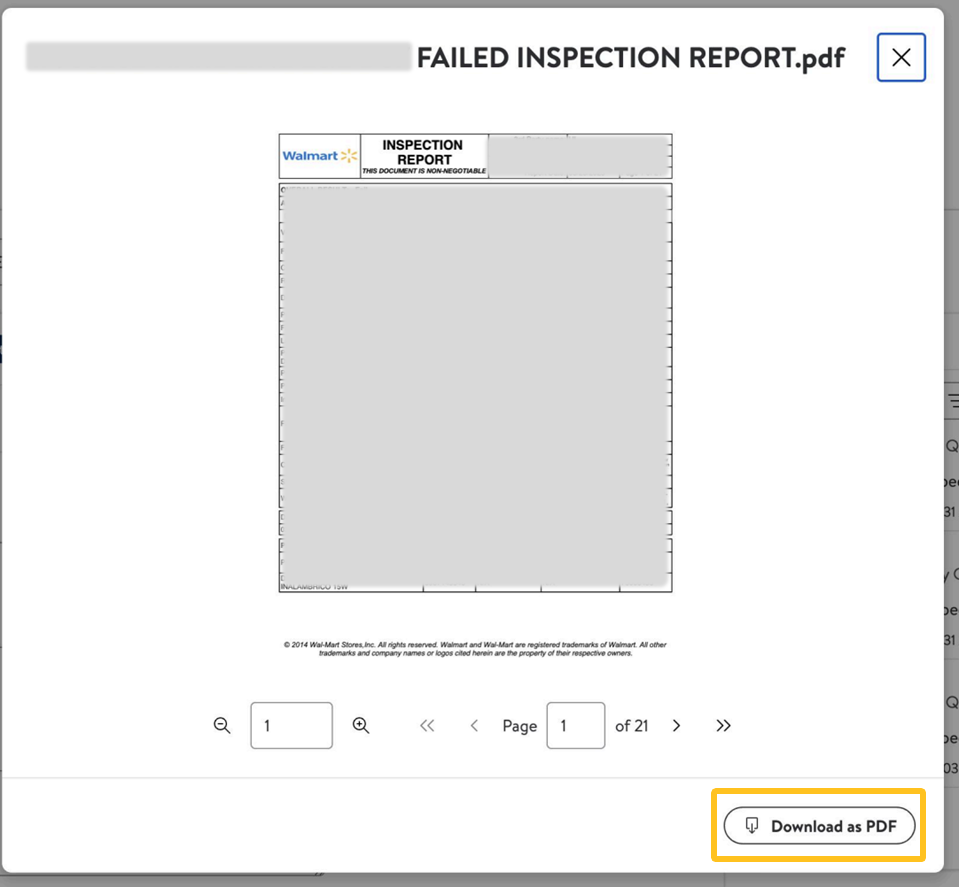
- Select the Reports & CAP (Corrective Action Plan) tab, then click View reports to view and download the inspection report.
- Click Download as PDF to download to your computer.
- Click Download as PDF to download to your computer.
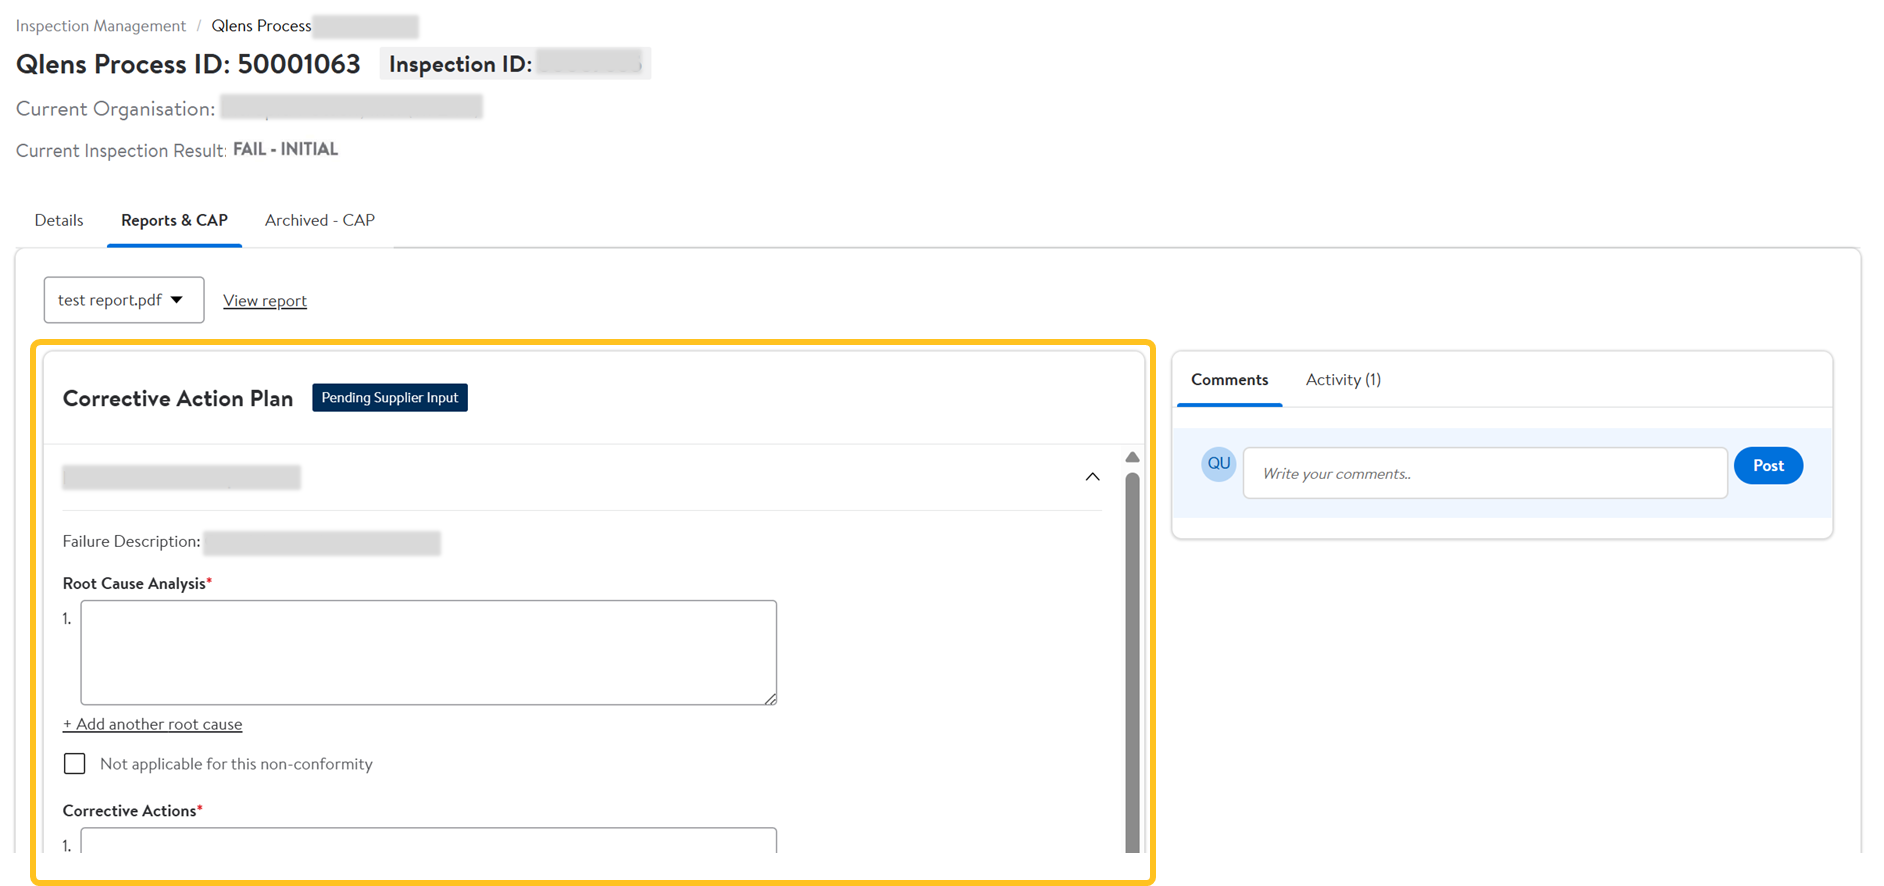
- Once you've reviewed the inspection report, complete the Corrective Action Plan information.
Corrective Action Plan
Your edits will be auto-saved as you complete the CAP.
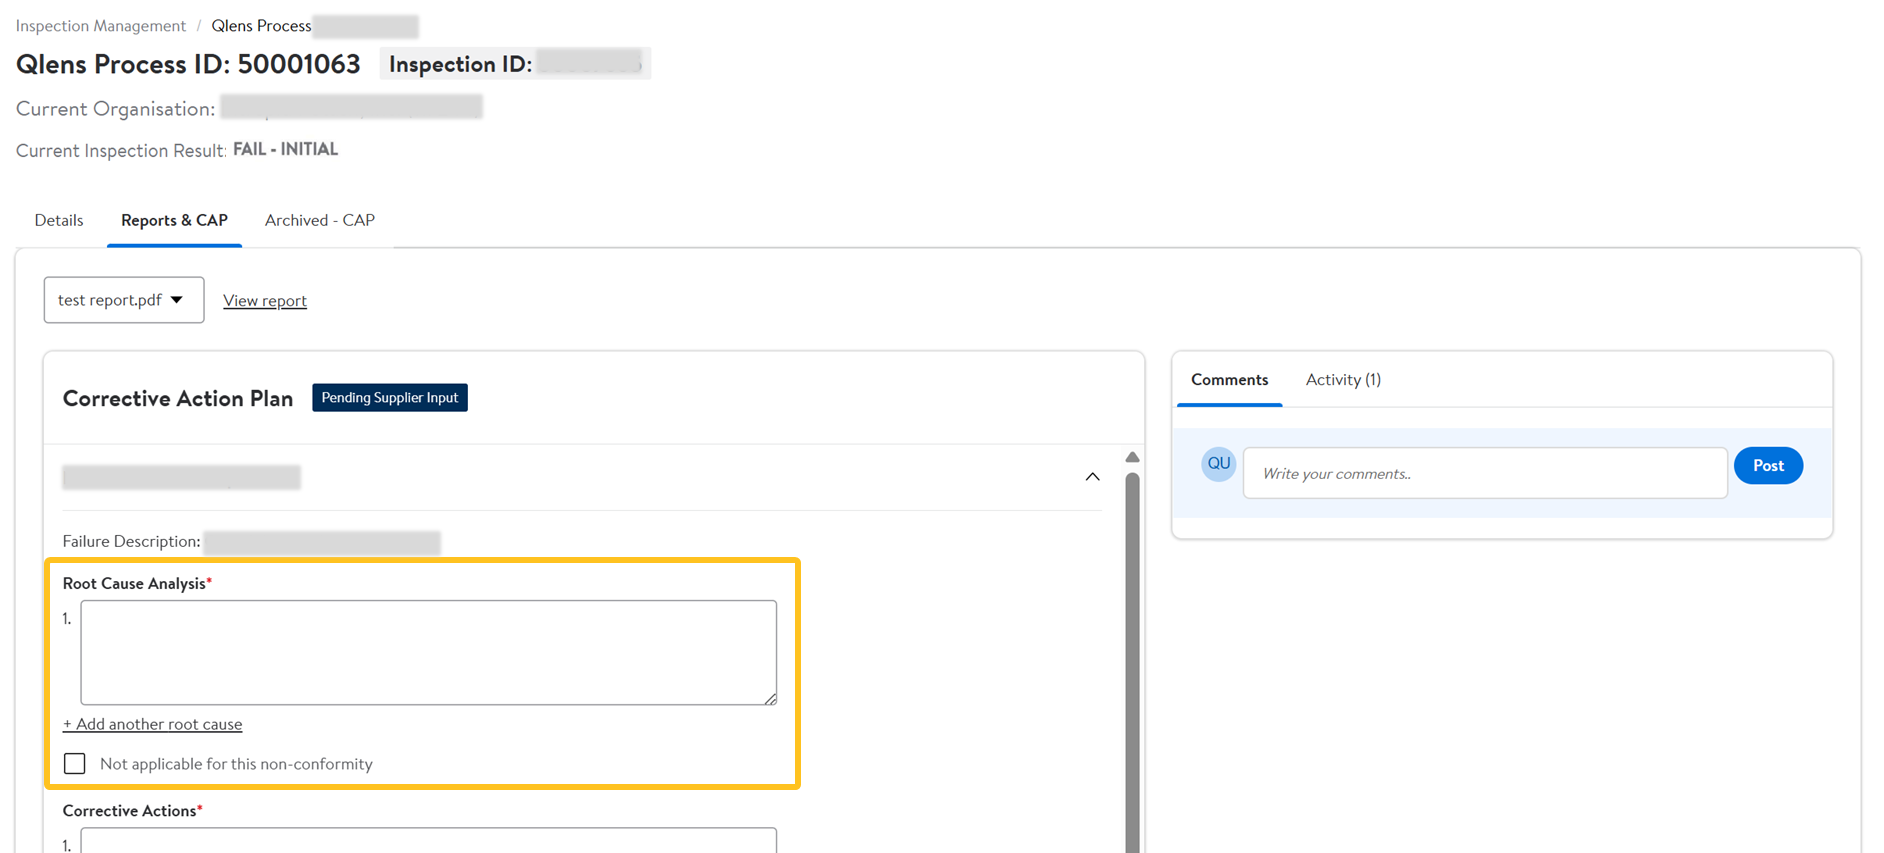
- Enter the Root Cause Analysis investigation information. Select Add another root cause to list multiple causes individually.Select Not Applicable for this non-conformity for scenarios where section is not relevant or cannot be determined due to the nature of the non-conformity. When selected, no information is required.
- Enter the Corrective Actions information. Select Add another Corrective action to list multiple actions individually.Select Not Applicable for this non-conformity for scenarios where section is not relevant or cannot be determined due to the nature of the non-conformity. When selected, no information is required.
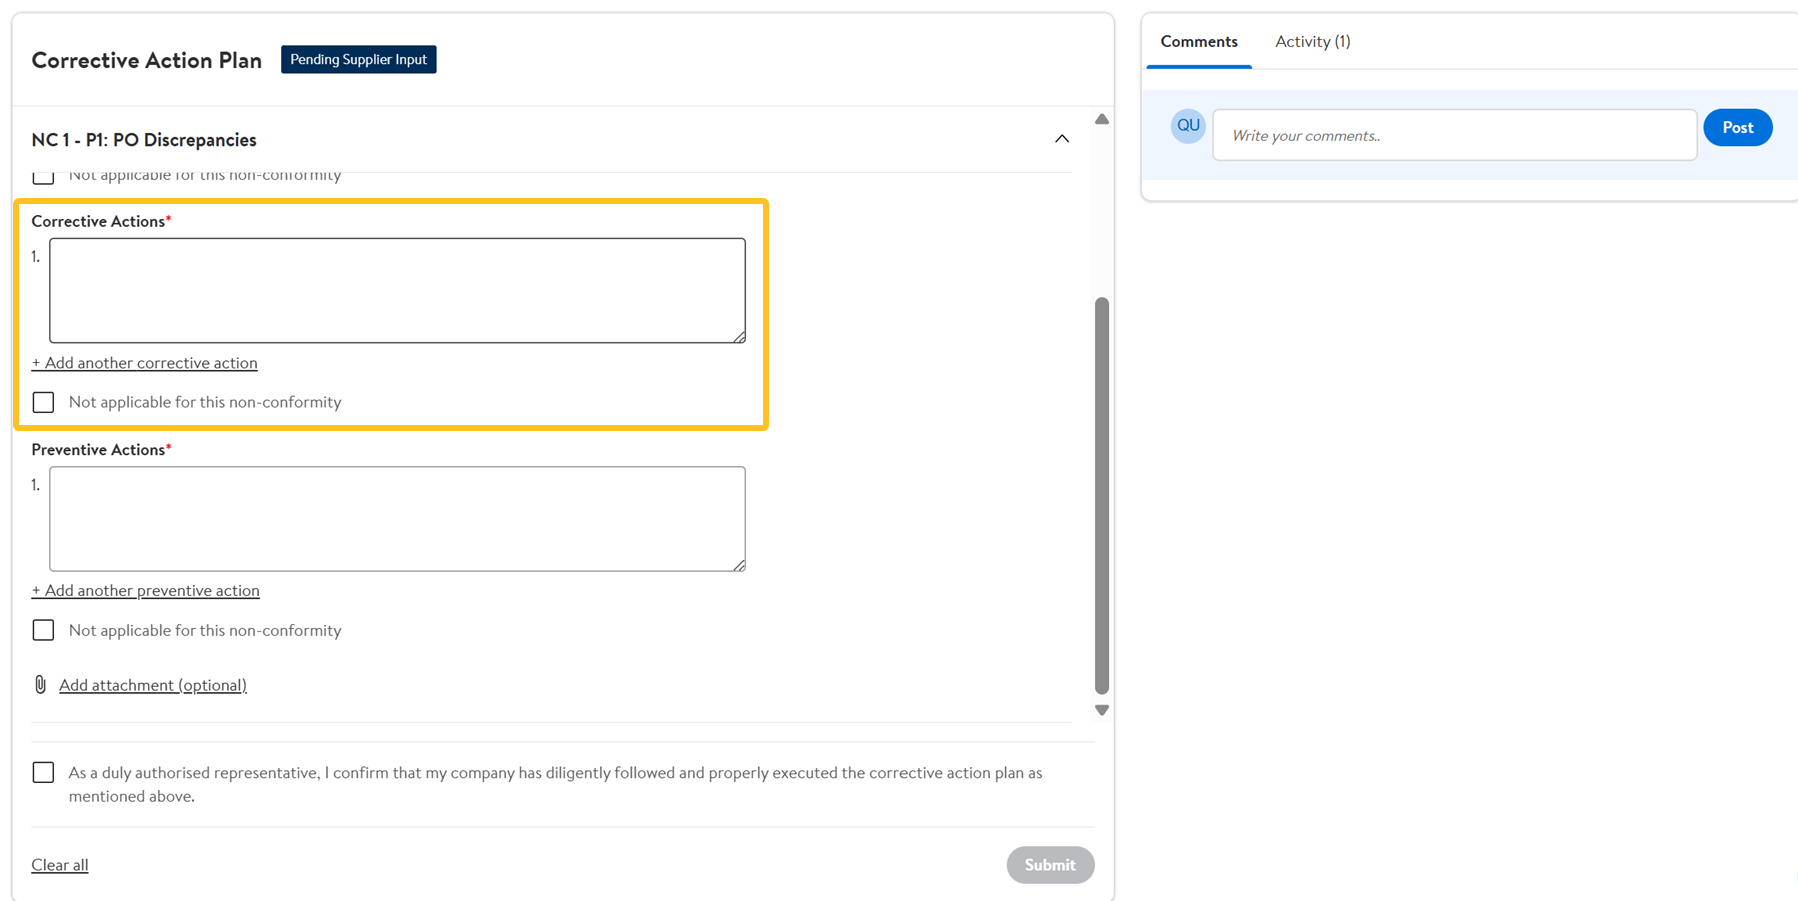
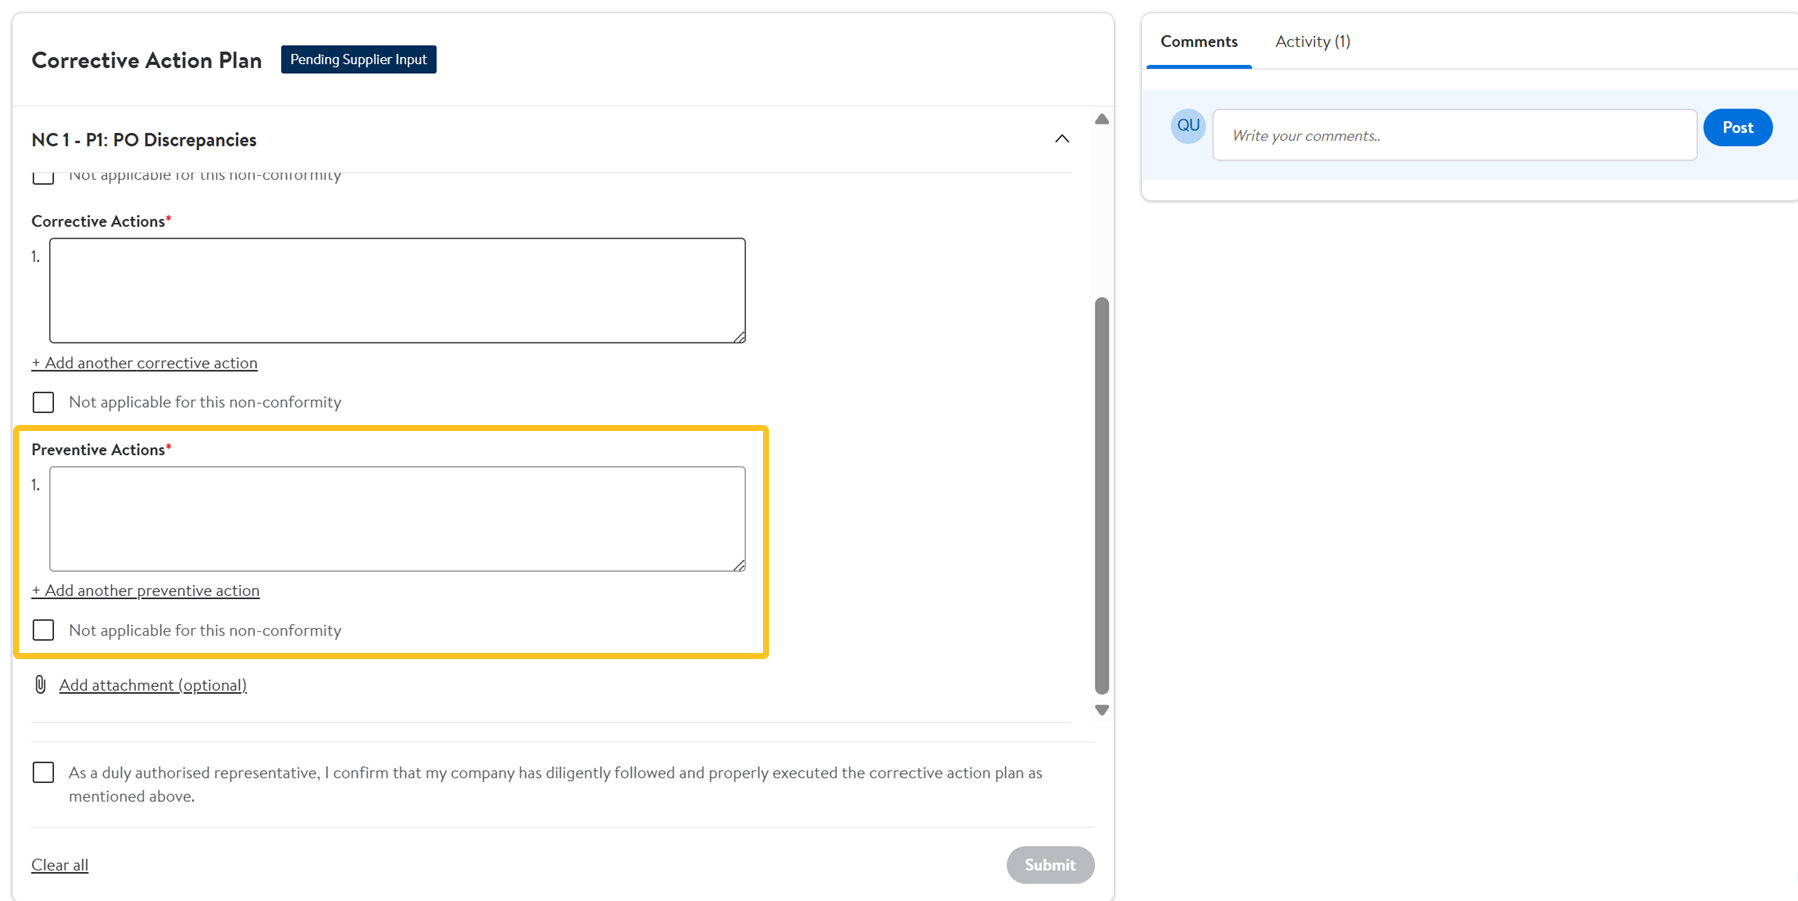
- Enter the Preventative Actions information. Select Add another Preventative action to list multiple actions individually.Select Not Applicable for this non-conformity for scenarios where section is not relevant or cannot be determined due to the nature of the non-conformity. When selected, no information is required.
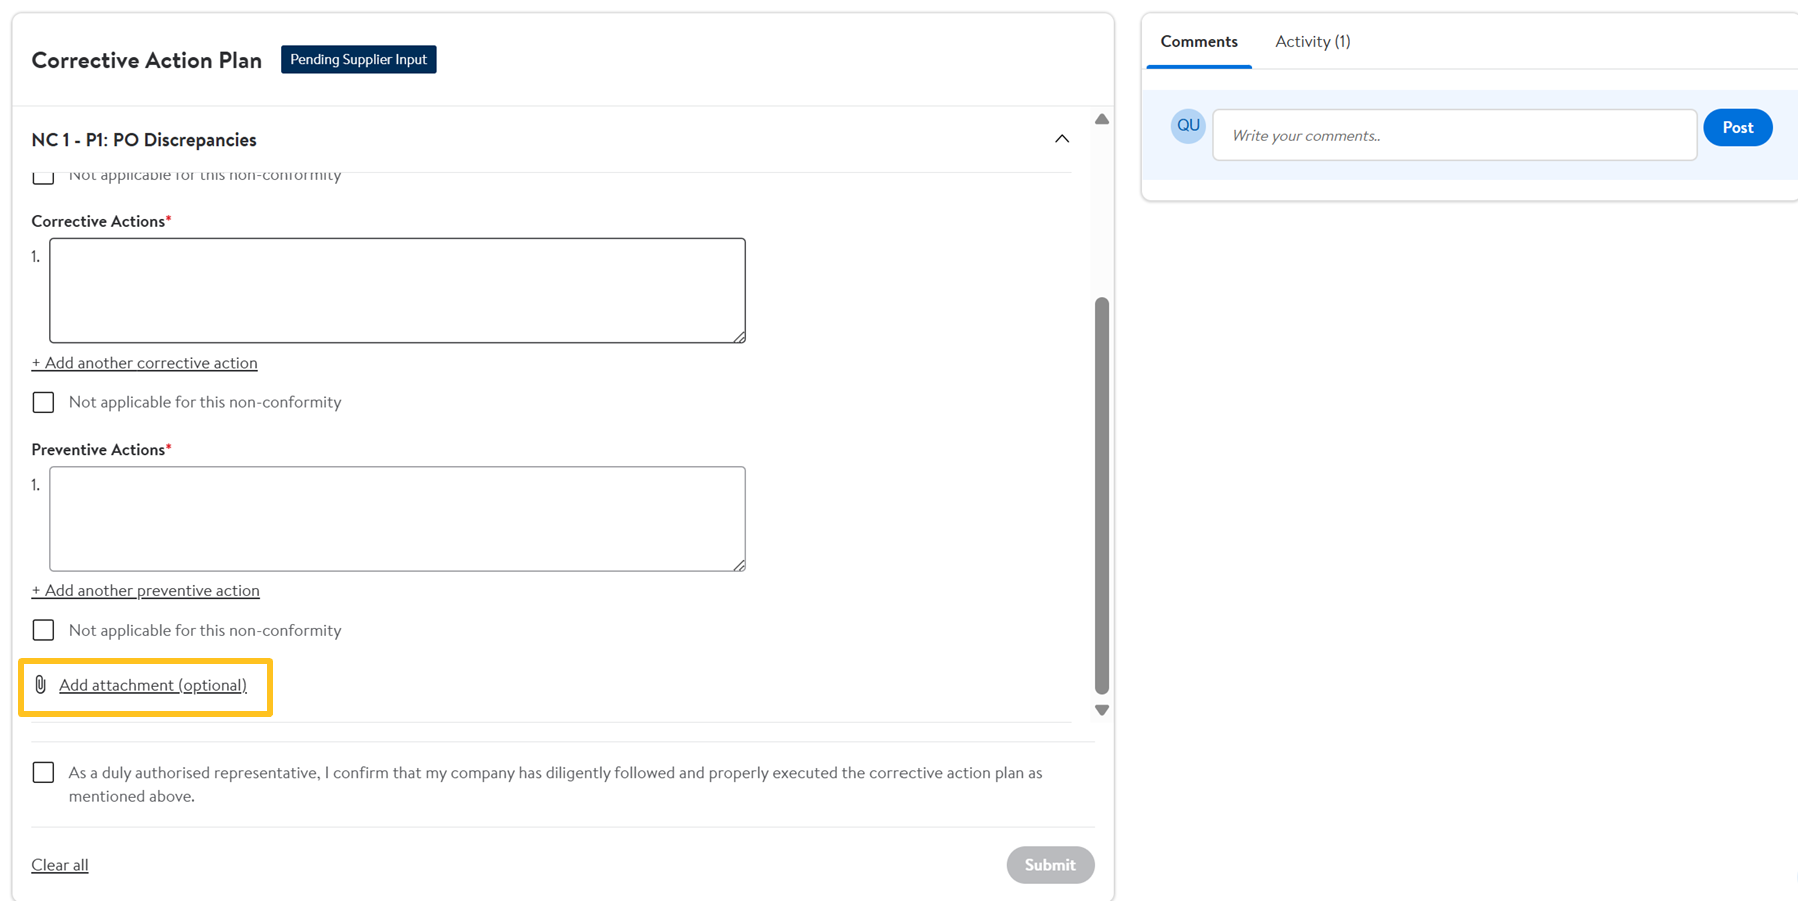
- (Optional) Click Add attachment to upload documents of evidence (up to 10 files, 5MB each).
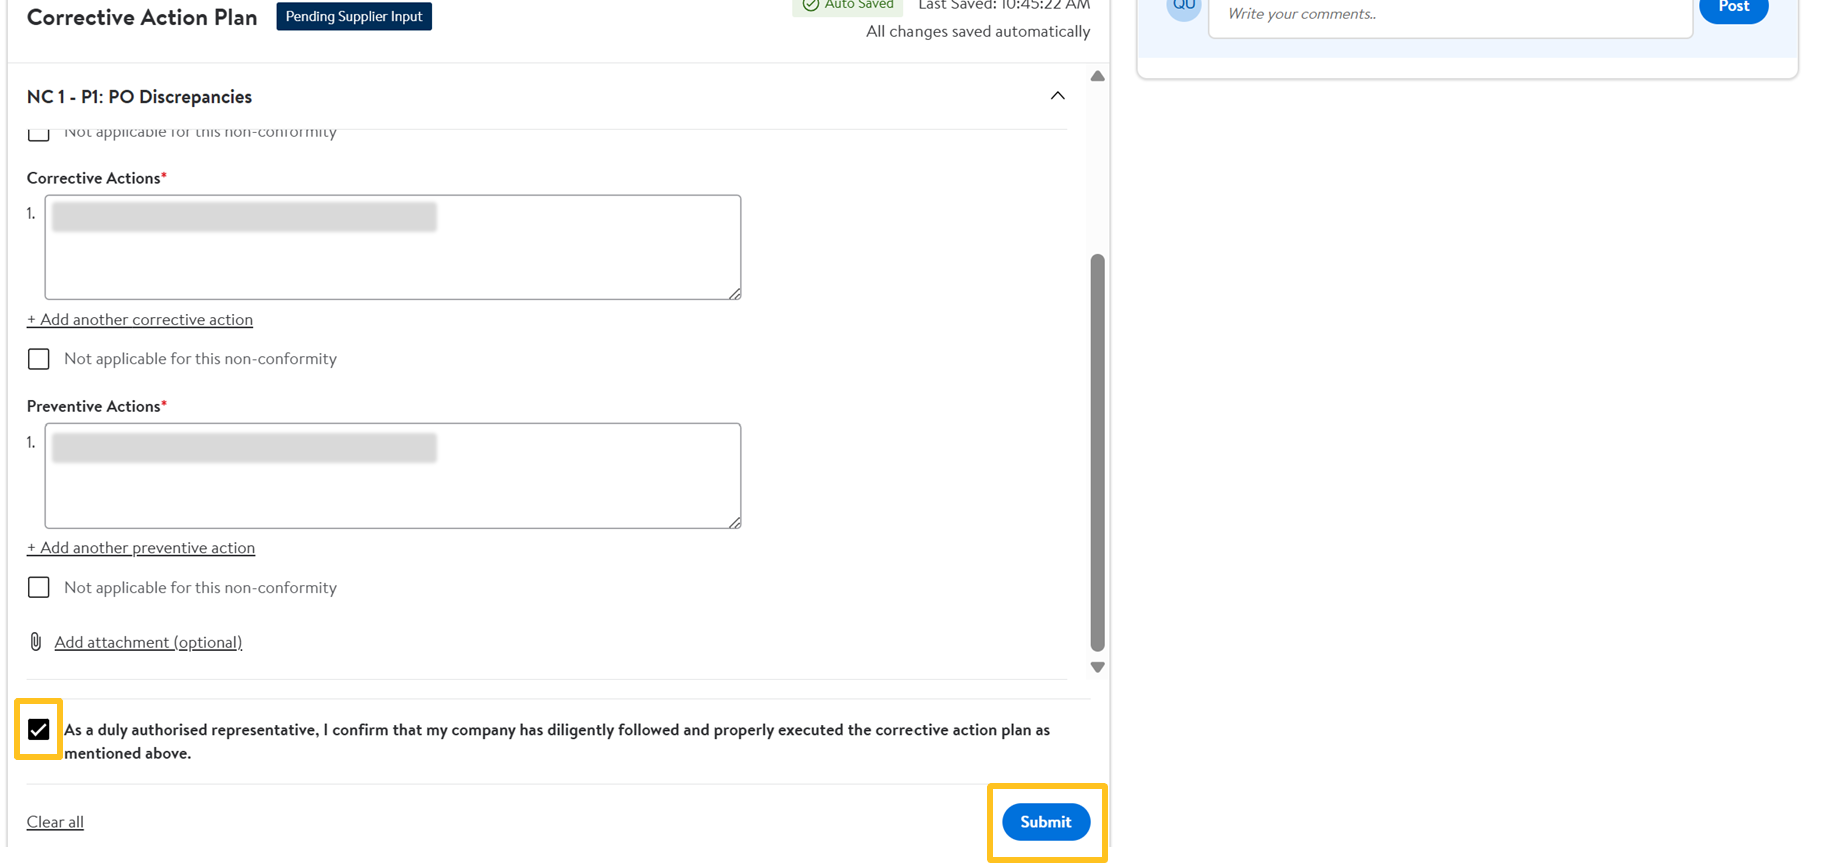
- Select the check box for final declaration, then click Submit.
Status Updates
You will receive email notifications when:
- The initial report is uploaded by a third-party inspection company or when a final result is updated.
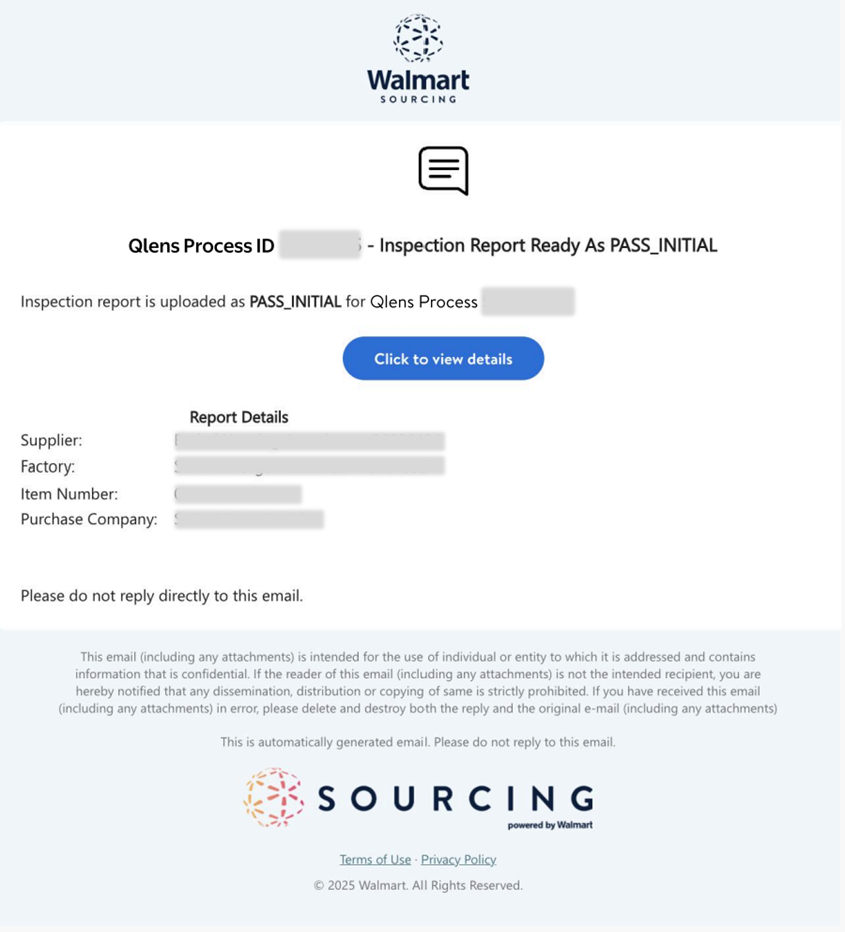
- The CAP status is updated.
