Create and Edit Override Events
Here's how to create new override events in ship point management. You can also edit events later if needed.
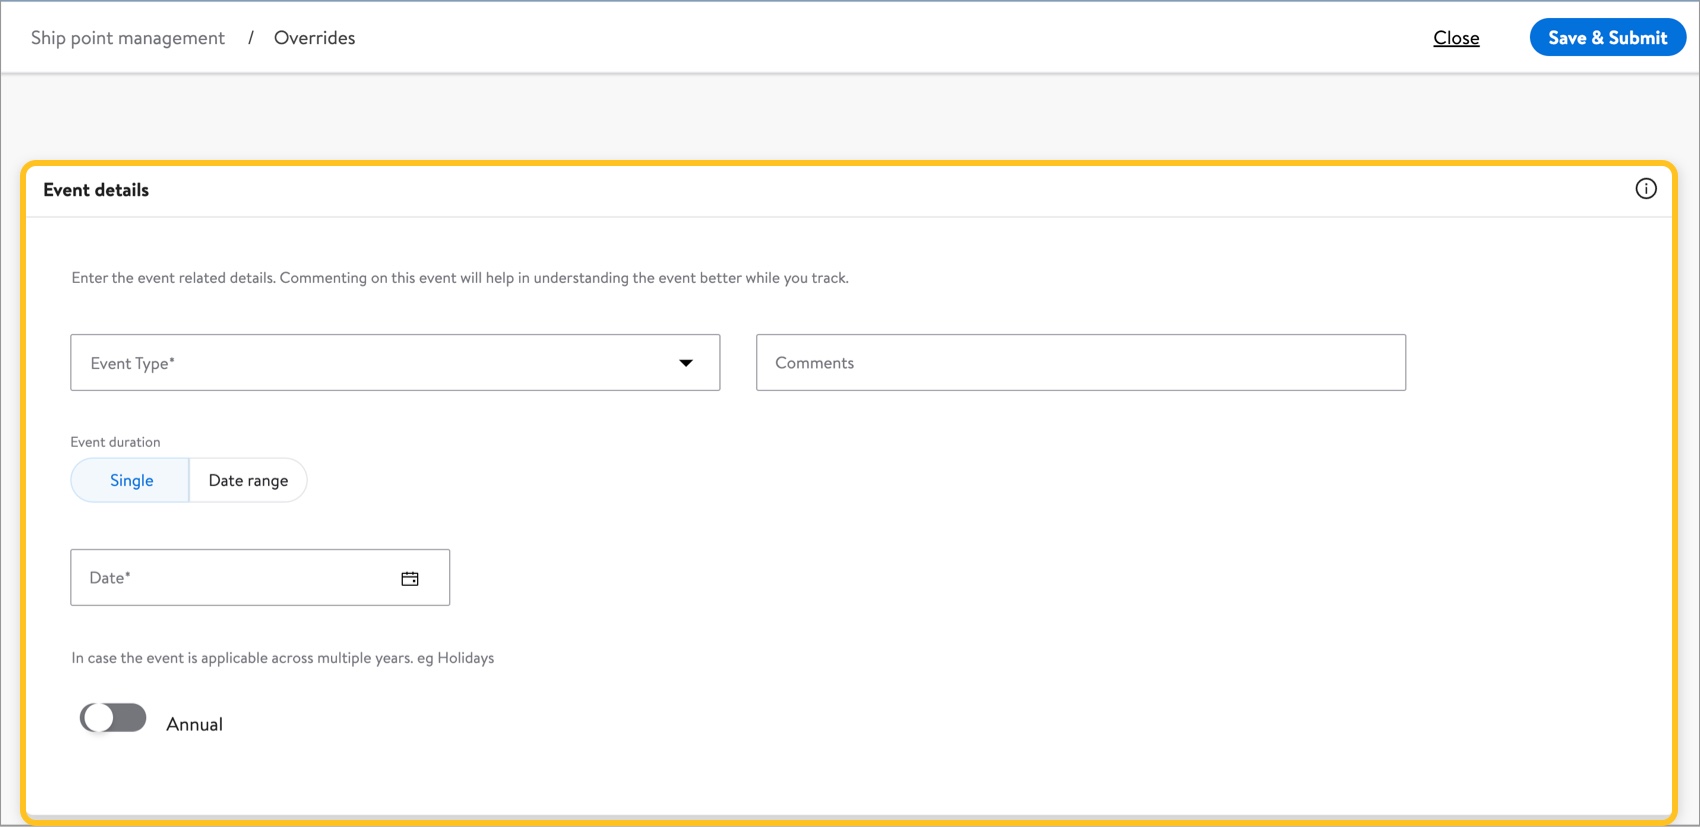
Create a New Override Event
- Select Create New at the top right corner and choose Override event.

- Provide the event details.
- In the Windows section, select the appropriate options:
- Receiving windows:
- Select Open to generate orders during the event.
- Select Closed to block orders during the event.
- Select No change to use the existing settings.

- Shipping windows:
- Select Open to generate orders that ship during the event.
- Select Closed to prevent orders that would ship during the event.
- Select No change to use the existing settings.

- Delivery windows:
- Select Open to generate orders that deliver during the event.
- Select Closed to prevent orders that would deliver during the event.
- Select No change to use the existing settings.

- Receiving windows:
- In the Windows section, select the appropriate options:
- In the Override details section, search for and select the lanes impacted by the override event.
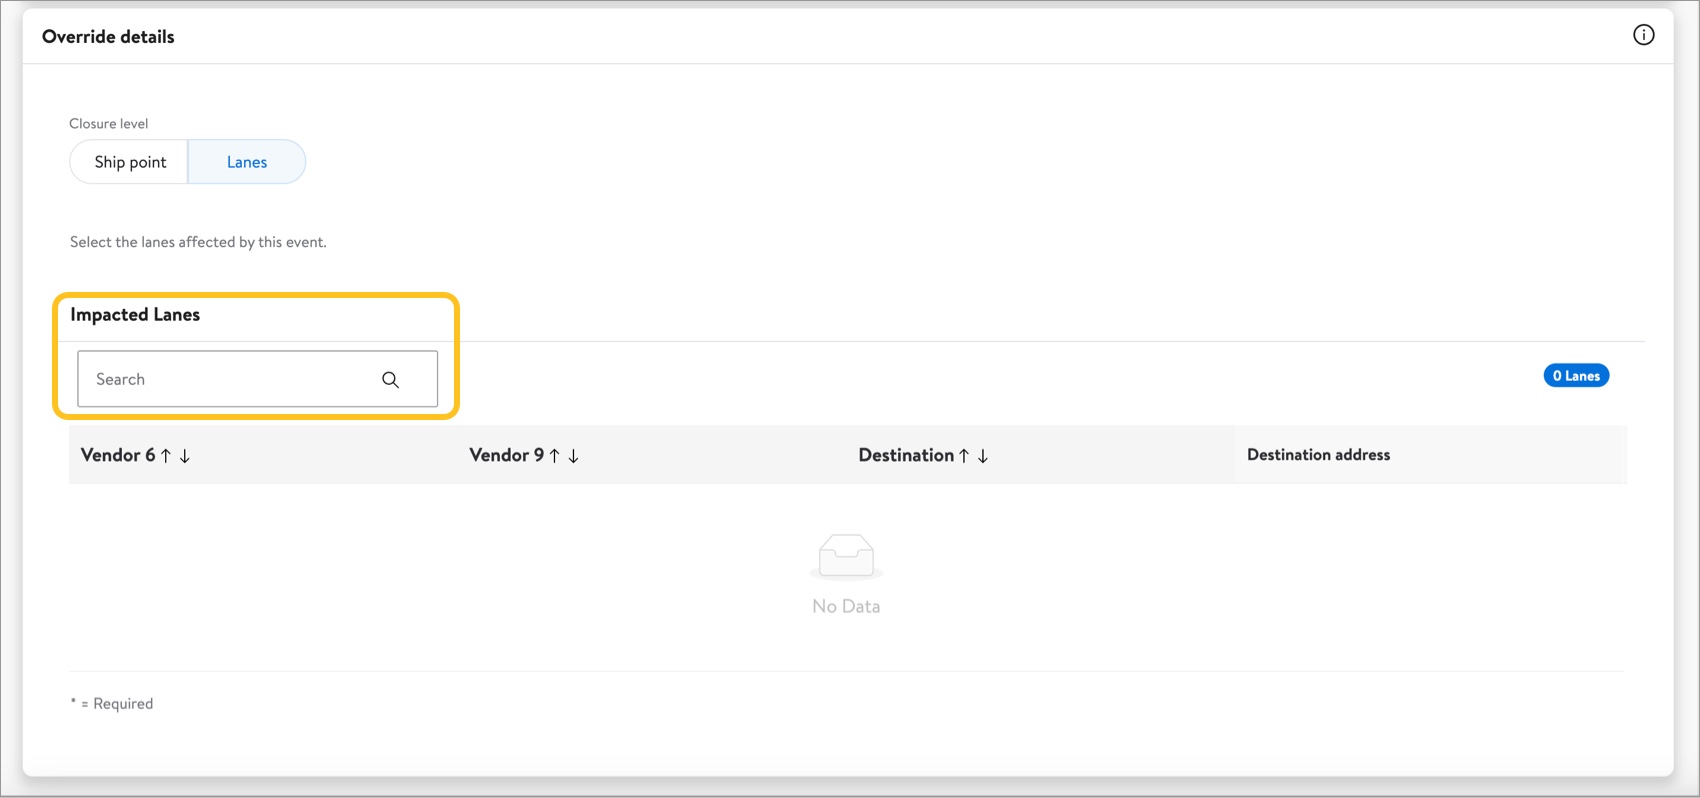
- Make sure to check each item you want to add to the event, and select Apply.
- New lanes will be added to the Impacted Lanes as you select them.
- Select Save & Submit to complete creating the event.

Edit an Override Event
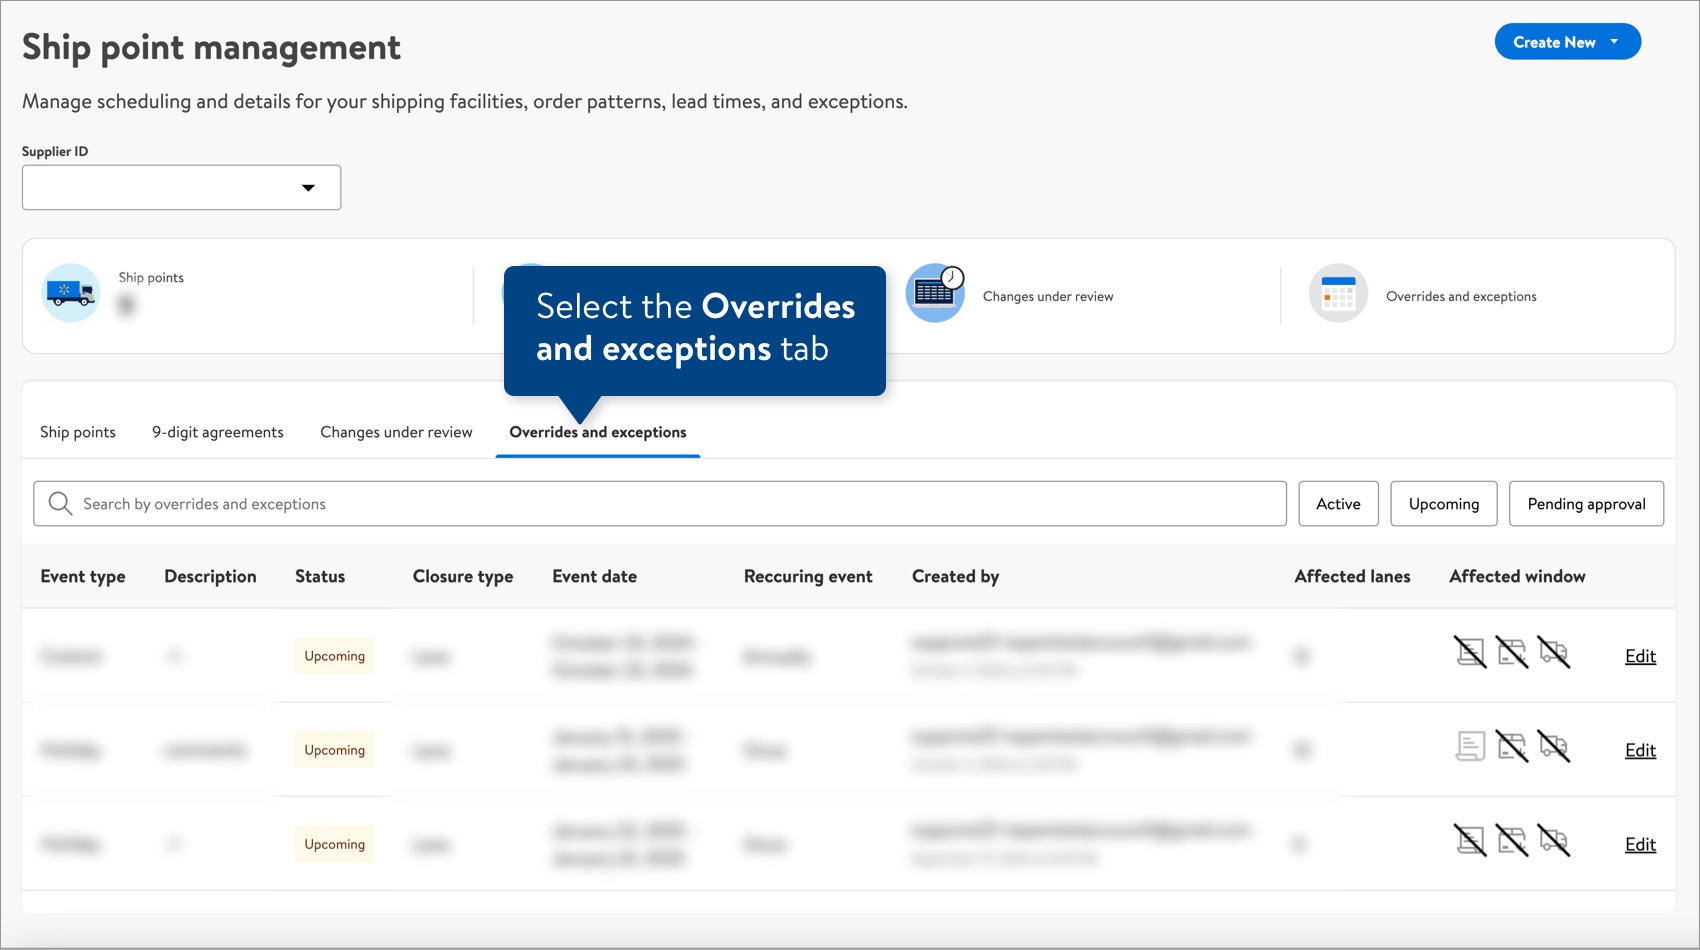
- Select the Overrides and exceptions tab.
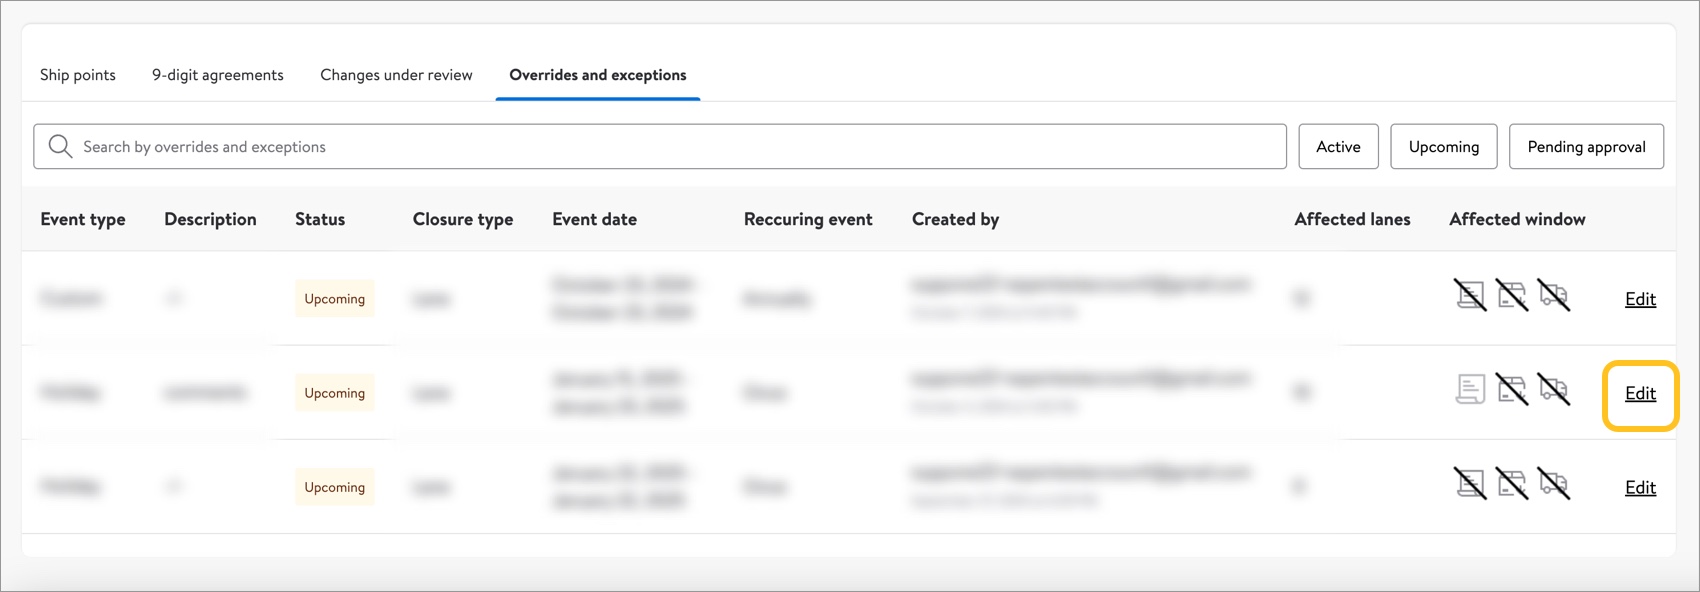
- Select the Active filter to view all active events.
- Select the Upcoming filter to view all future events.
- Select the Pending approval filter to view events that are pending approval from Walmart.
- Select Edit in the last column for the event you want to edit.
- Legend for the Affected window status icons:
- Page = Ordering open (black with no slash) or Ordering closed (black with slash)
- Box = Delivering open (black with no slash) or Delivering closed (black with slash)
- Truck = Shipping open (black with no slash) or Shipping closed (black with slash)
- Gray icons = no changes
- Legend for the Affected window status icons:
- Update the event details as needed:

- In the Windows section, select the appropriate options:
- Receiving windows:
- Select Open to generate orders during the event.
- Select Closed to block orders during the event.
- Select No change to use the existing settings.

- Shipping windows:
- Select Open to generate orders that ship during the event.
- Select Closed to prevent orders that would ship during the event.
- Select No change to use the existing settings.

- Delivery windows:
- Select Open to generate orders that deliver during the event.
- Select Closed to prevent orders that would deliver during the event.
- Select No change to use the existing settings.

- Receiving windows:
- In the Windows section, select the appropriate options:
- In the Override details section, select the Vendor 6, Vendor 9(s), and Destination(s).
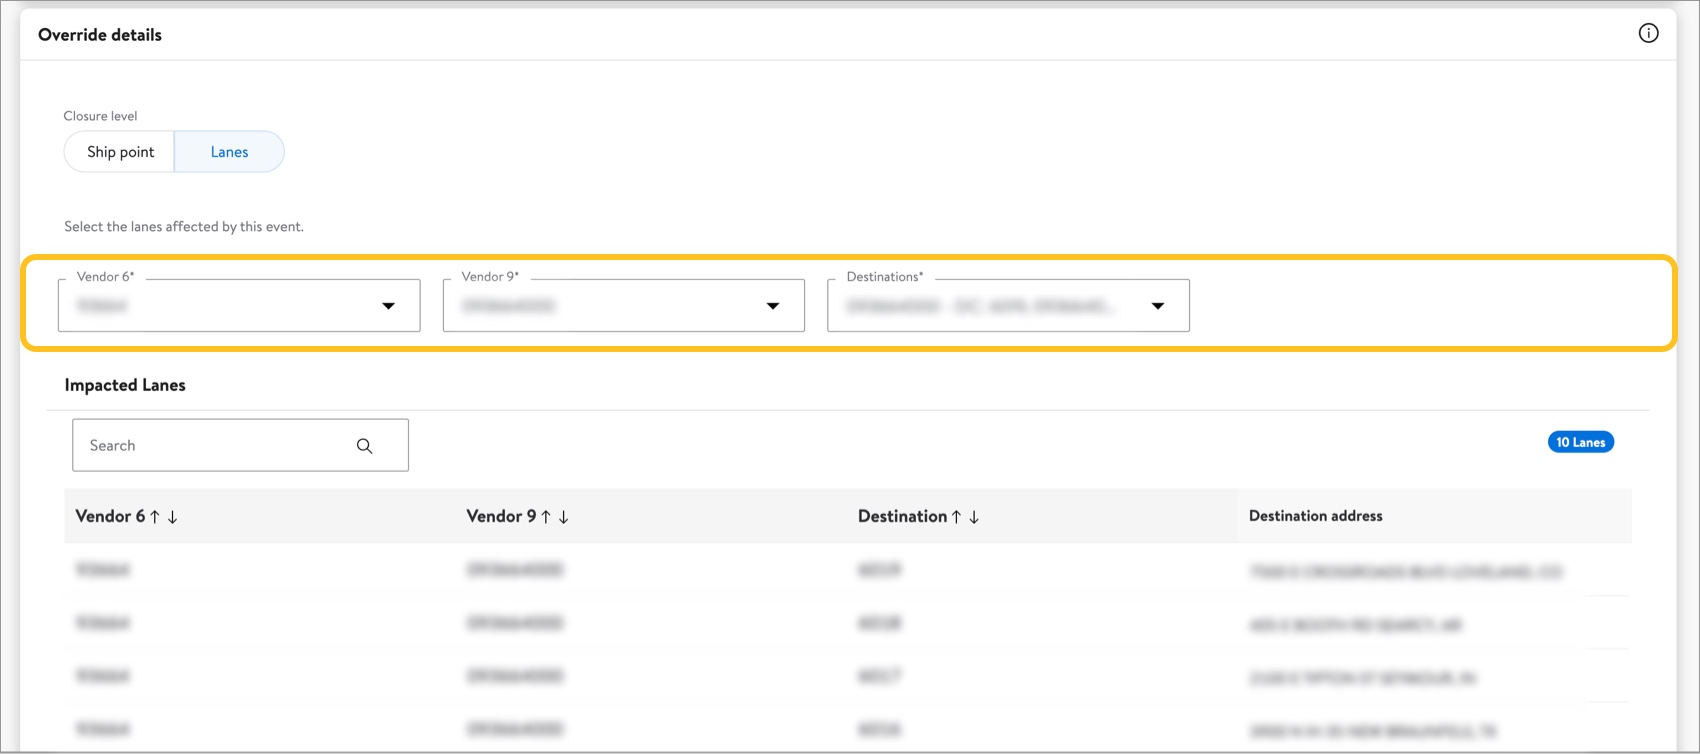
- Make sure to check each item you want to add to the event, and select Apply.
- New lanes will be added to the Impacted Lanes as you select them.
- Select Save & Submit to complete editing the event.
