Updating DSV Warehouse Information
Here's how to update your DSV warehouse information – including warehouse address (street address only, not city or ZIP code), contacts, hours of operation, and holiday schedules – when using Supplier One. You can also follow this workflow to view DSV carrier methods and capacity, but only Walmart associates can edit that information.
- Click Account at the top right corner, and select Supplier profile.

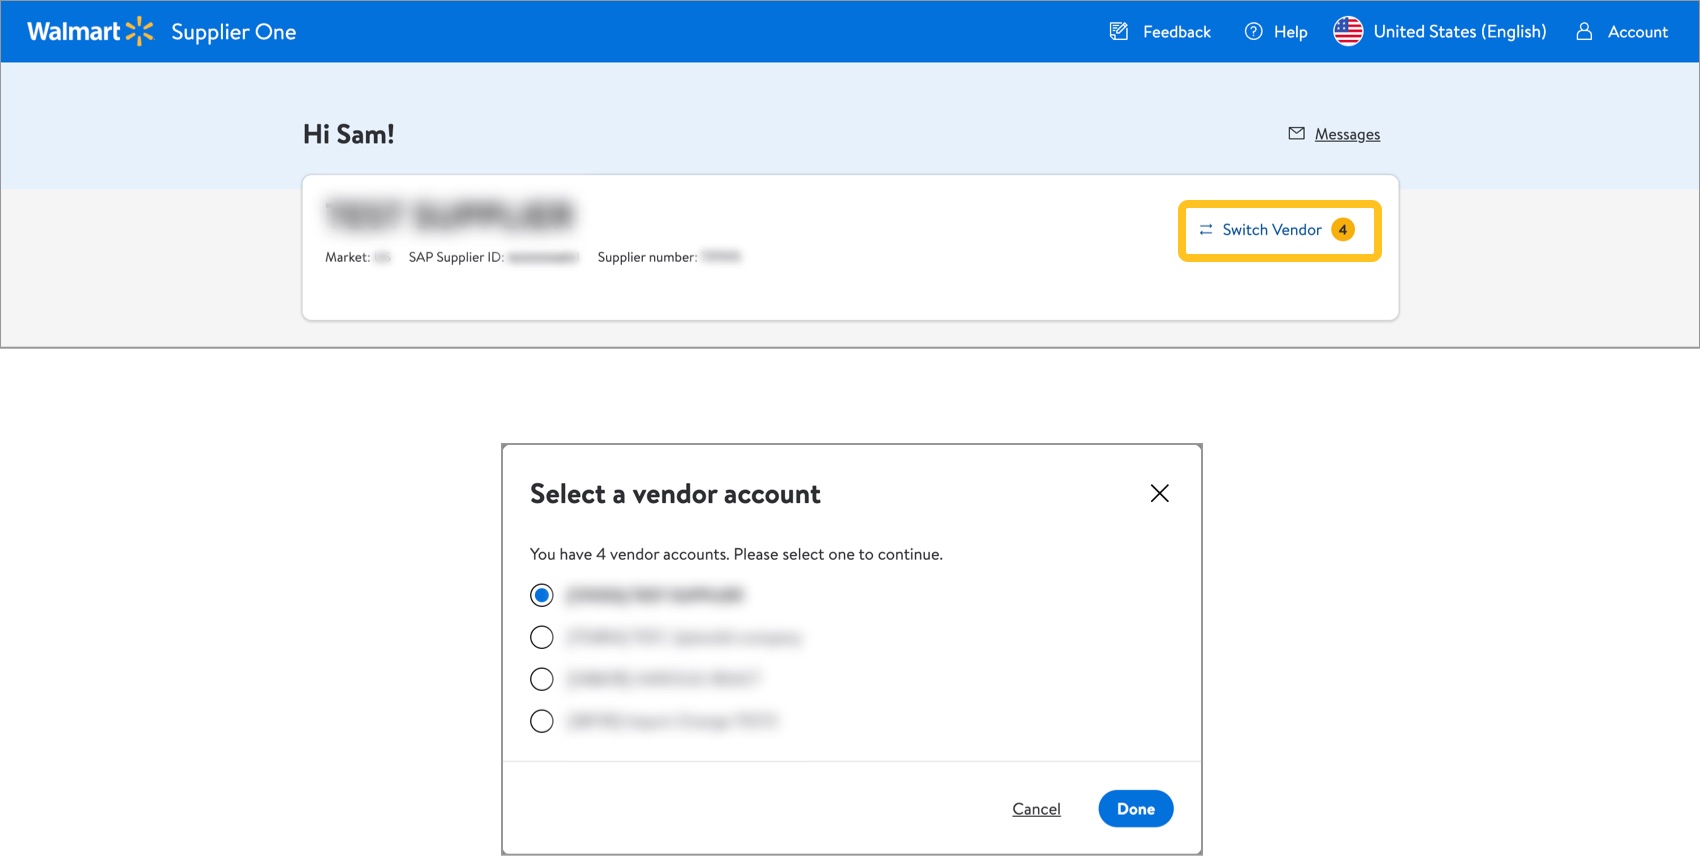
- Click Switch Vendor to select the account (supplier number) for the warehouses you want to view.
- Click View on the Shipping and warehouses tile.

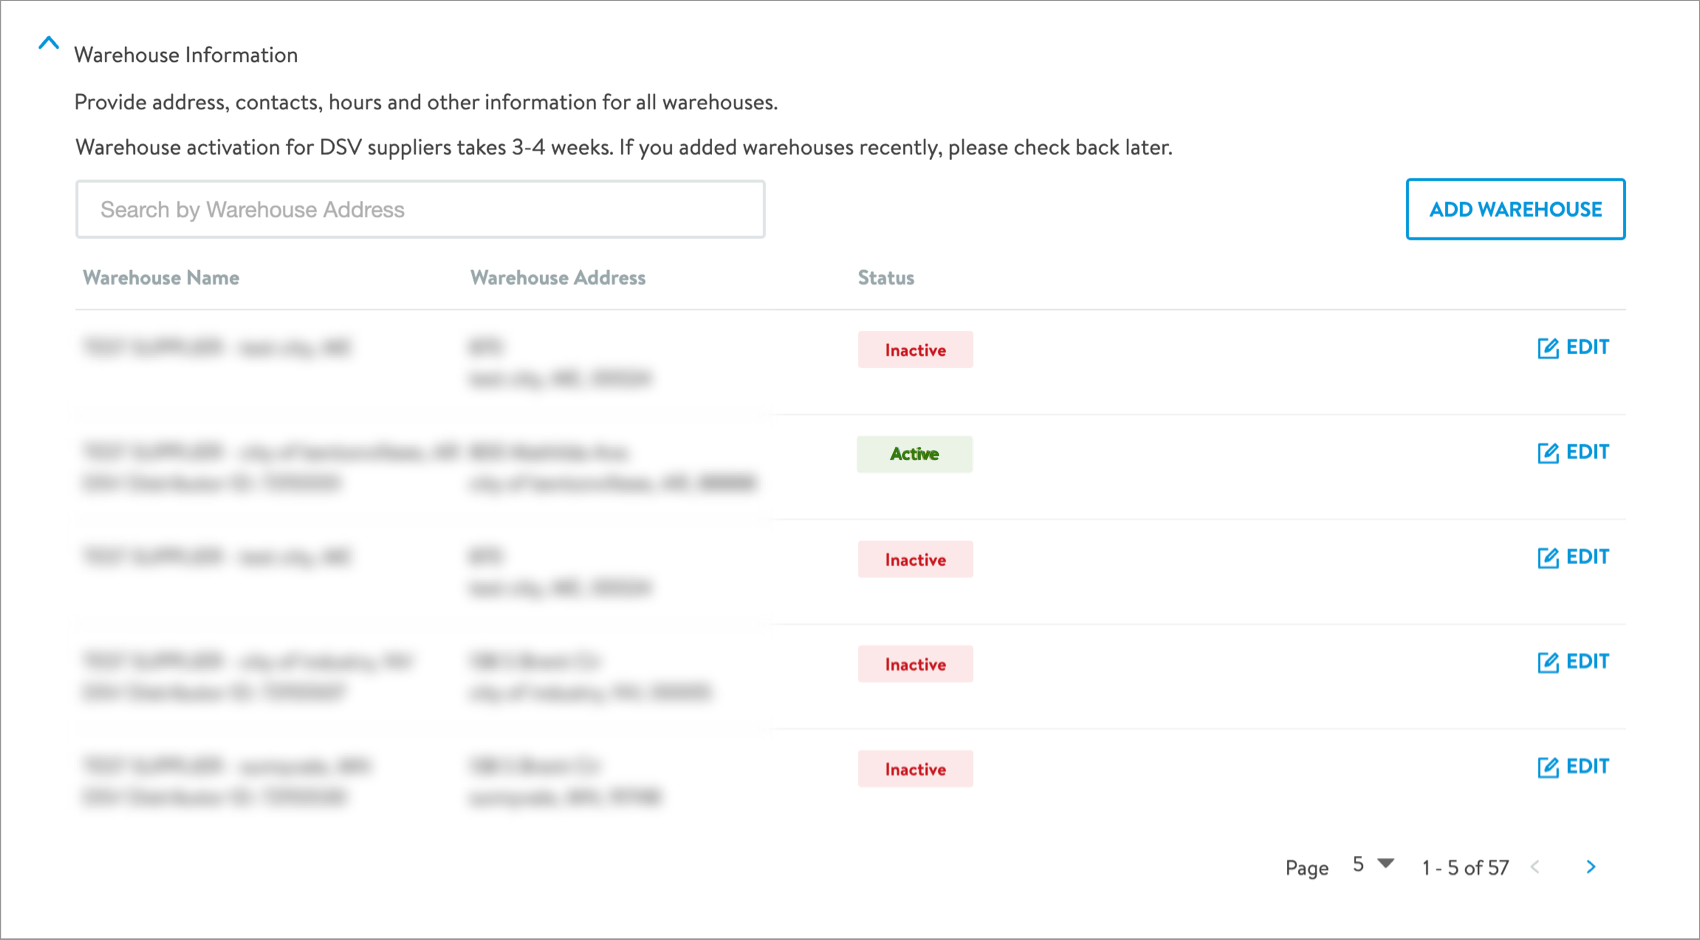
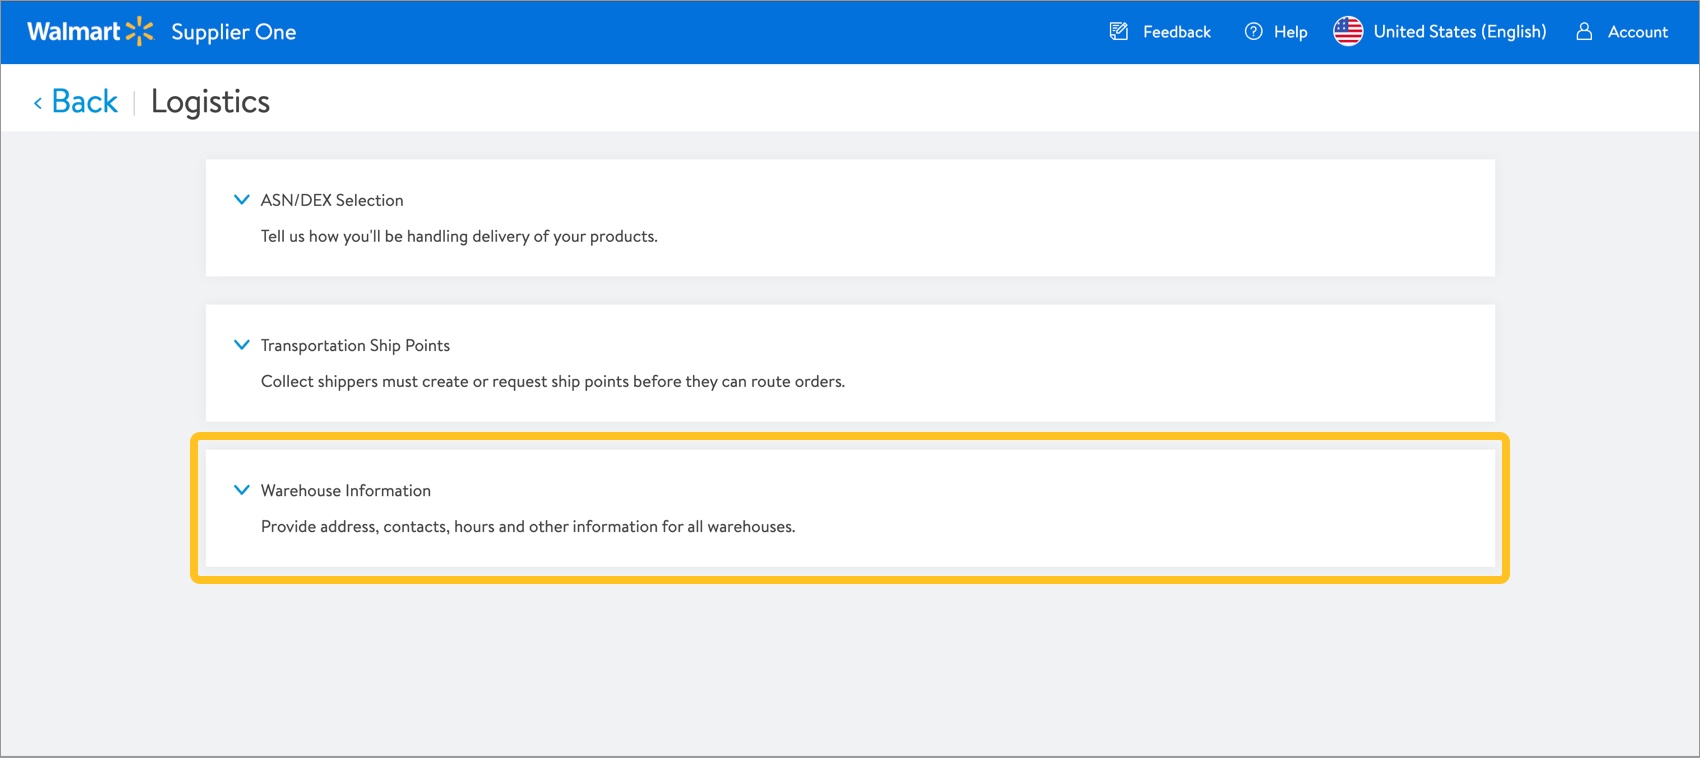
- Expand the Warehouse Information section to view a list of your warehouses.
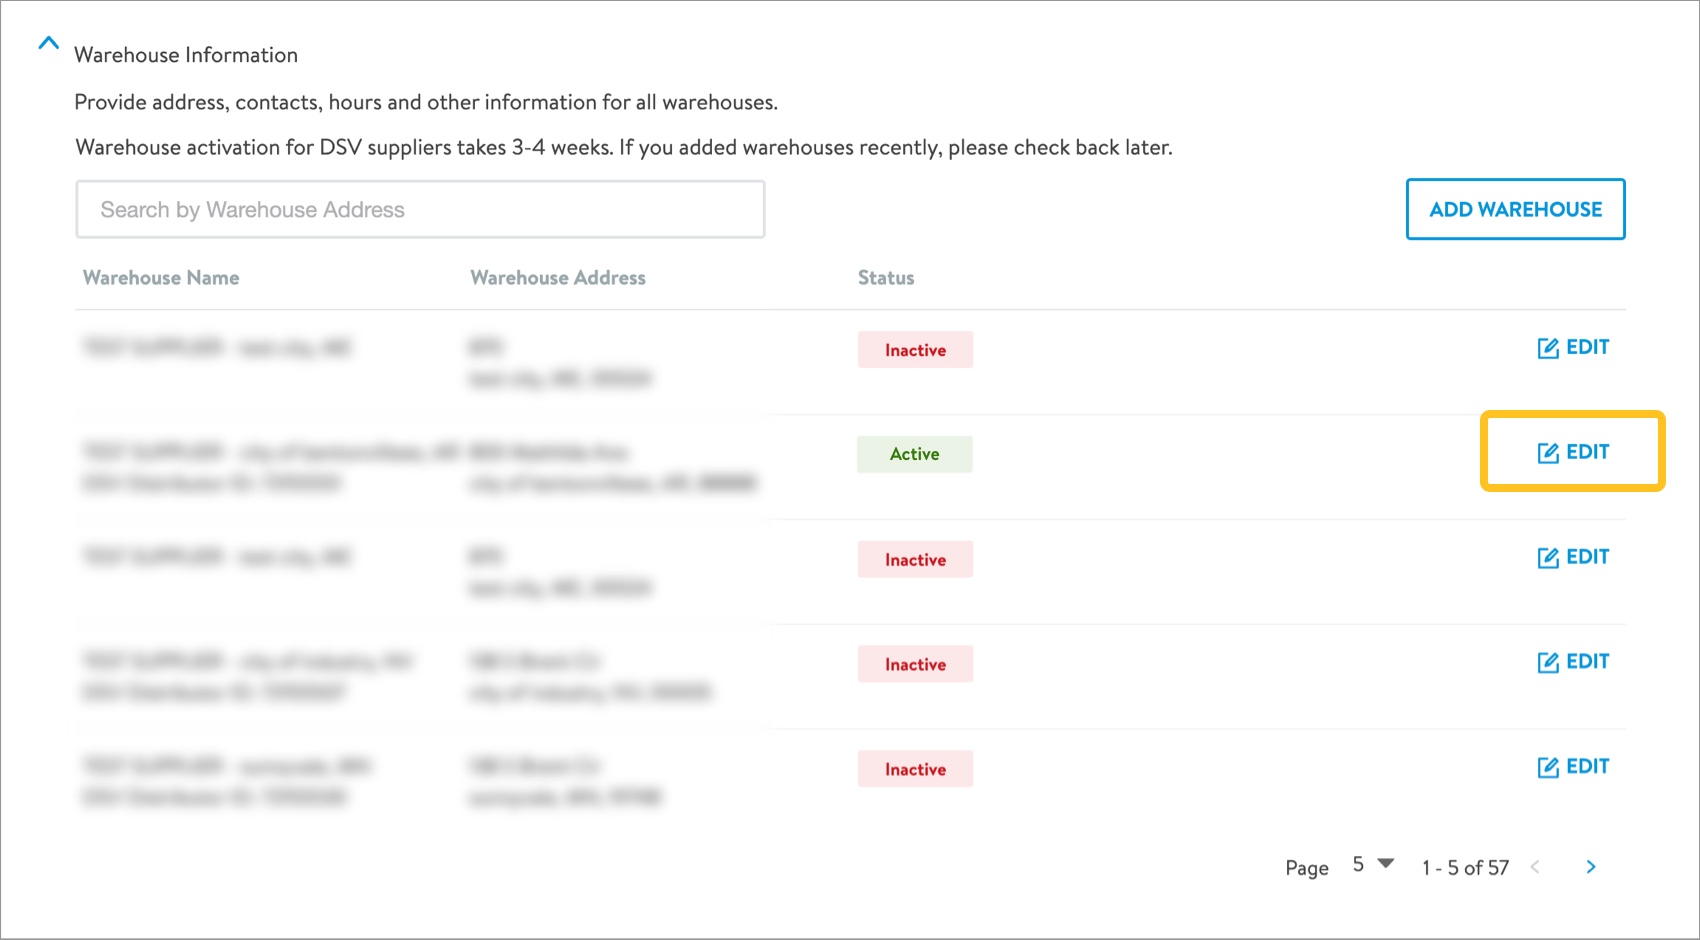
- Click Edit to view and/or update information for a specific warehouse.
- Select Change Address to update the physical address of the warehouse.
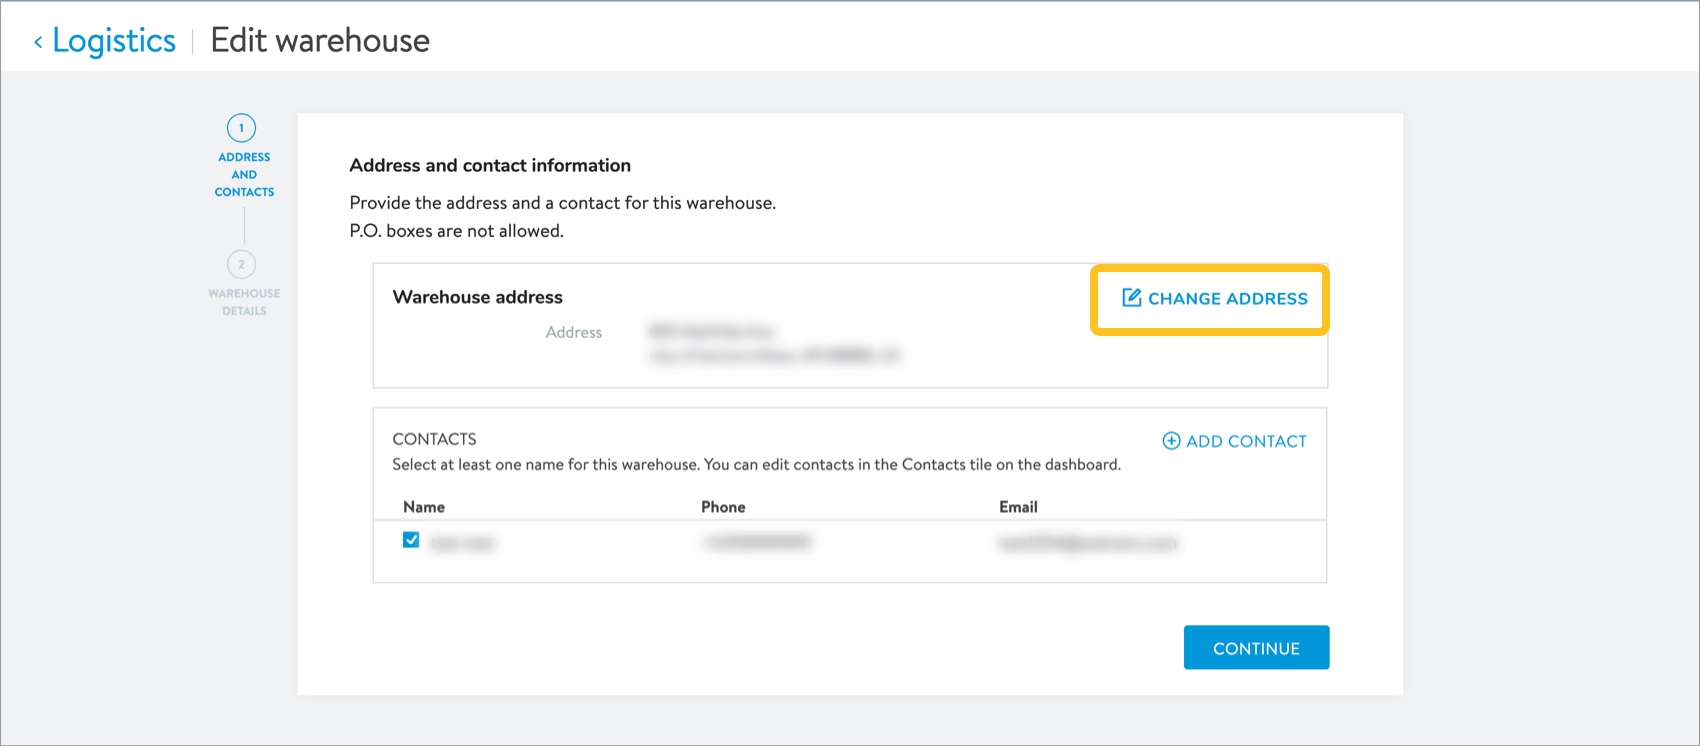
- To update warehouse contacts, click Add Contact.
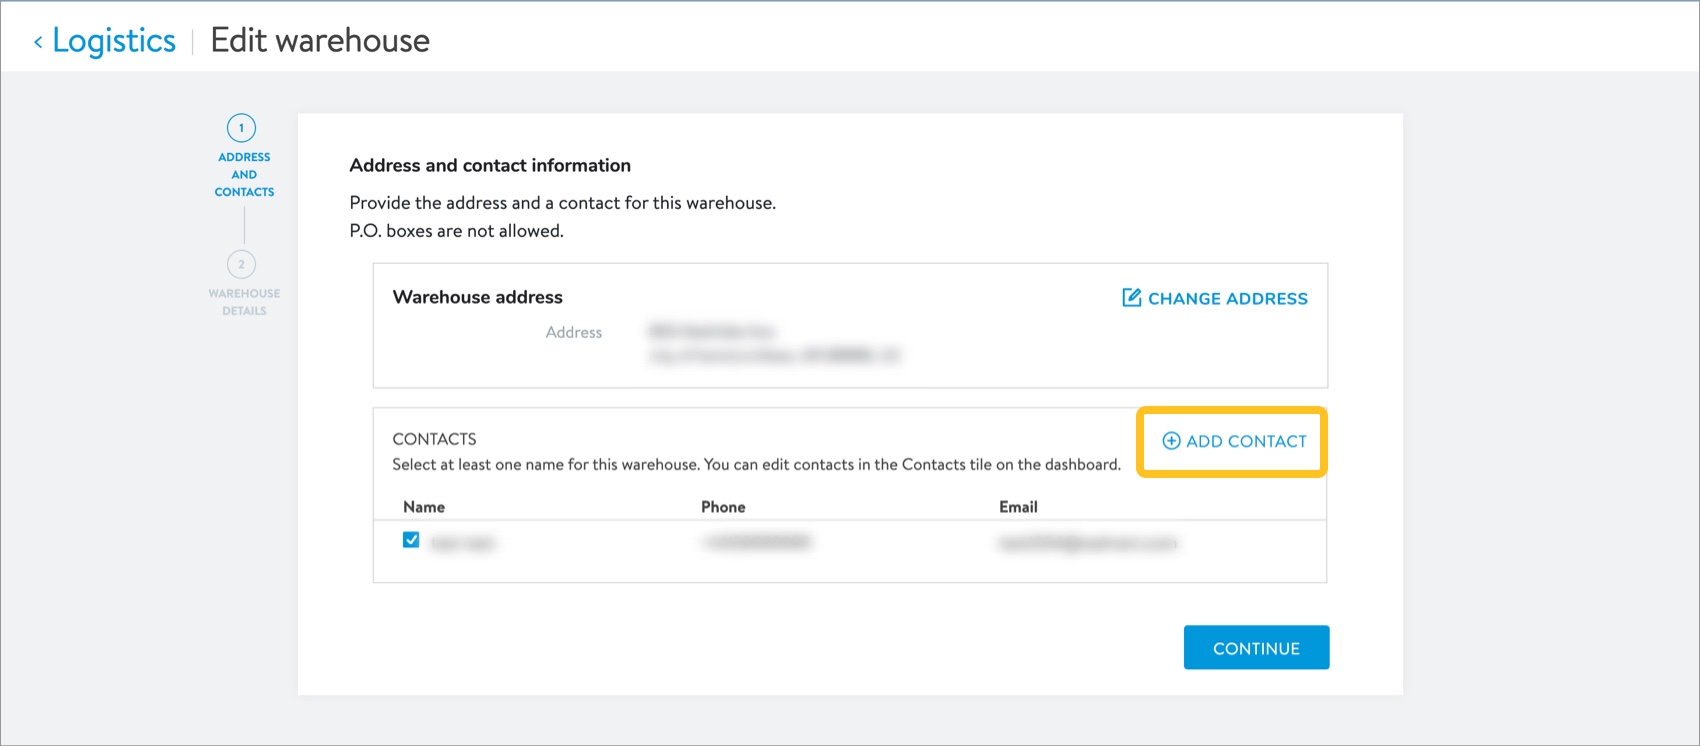
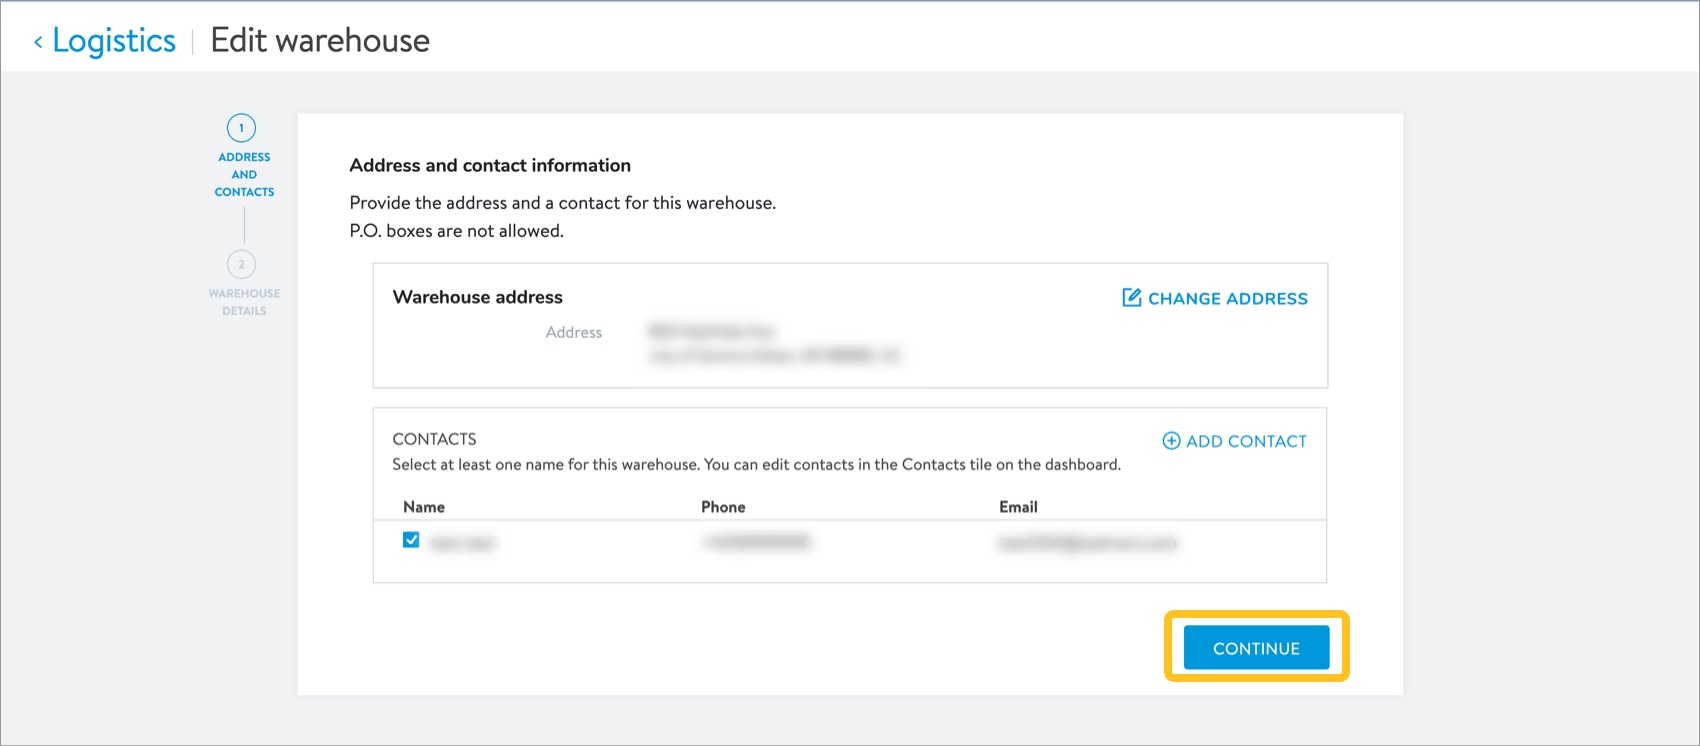
- Click the Continue button.
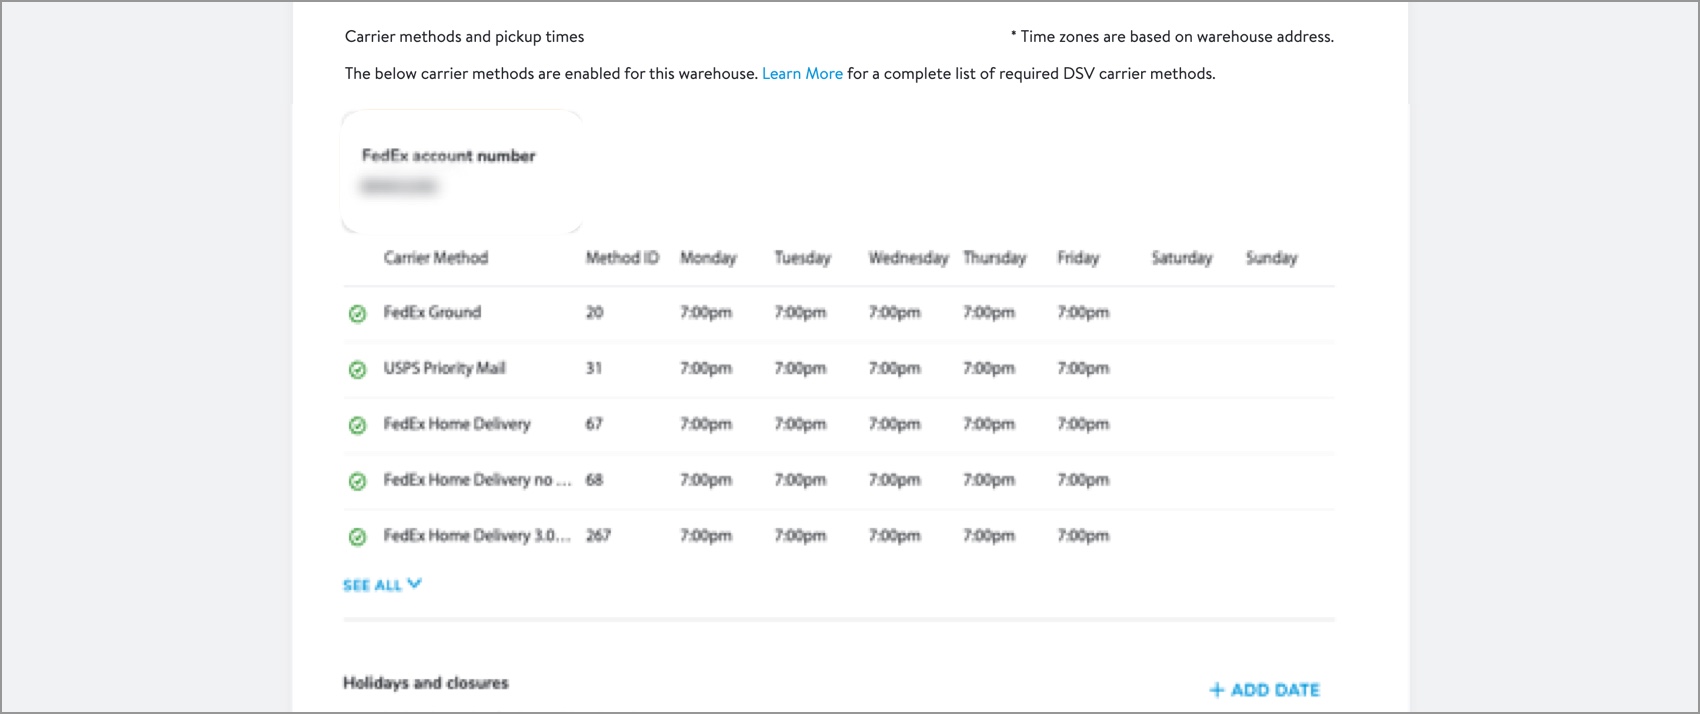
- Update Hours of Operation for your warehouse.

- You can view your Carrier Methods and Pickup Times, but only Walmart associates can edit this information.
- Update Holidays and Closures for your warehouse.

- You can view your Capacity for your warehouse, but only Walmart associates can edit this information.
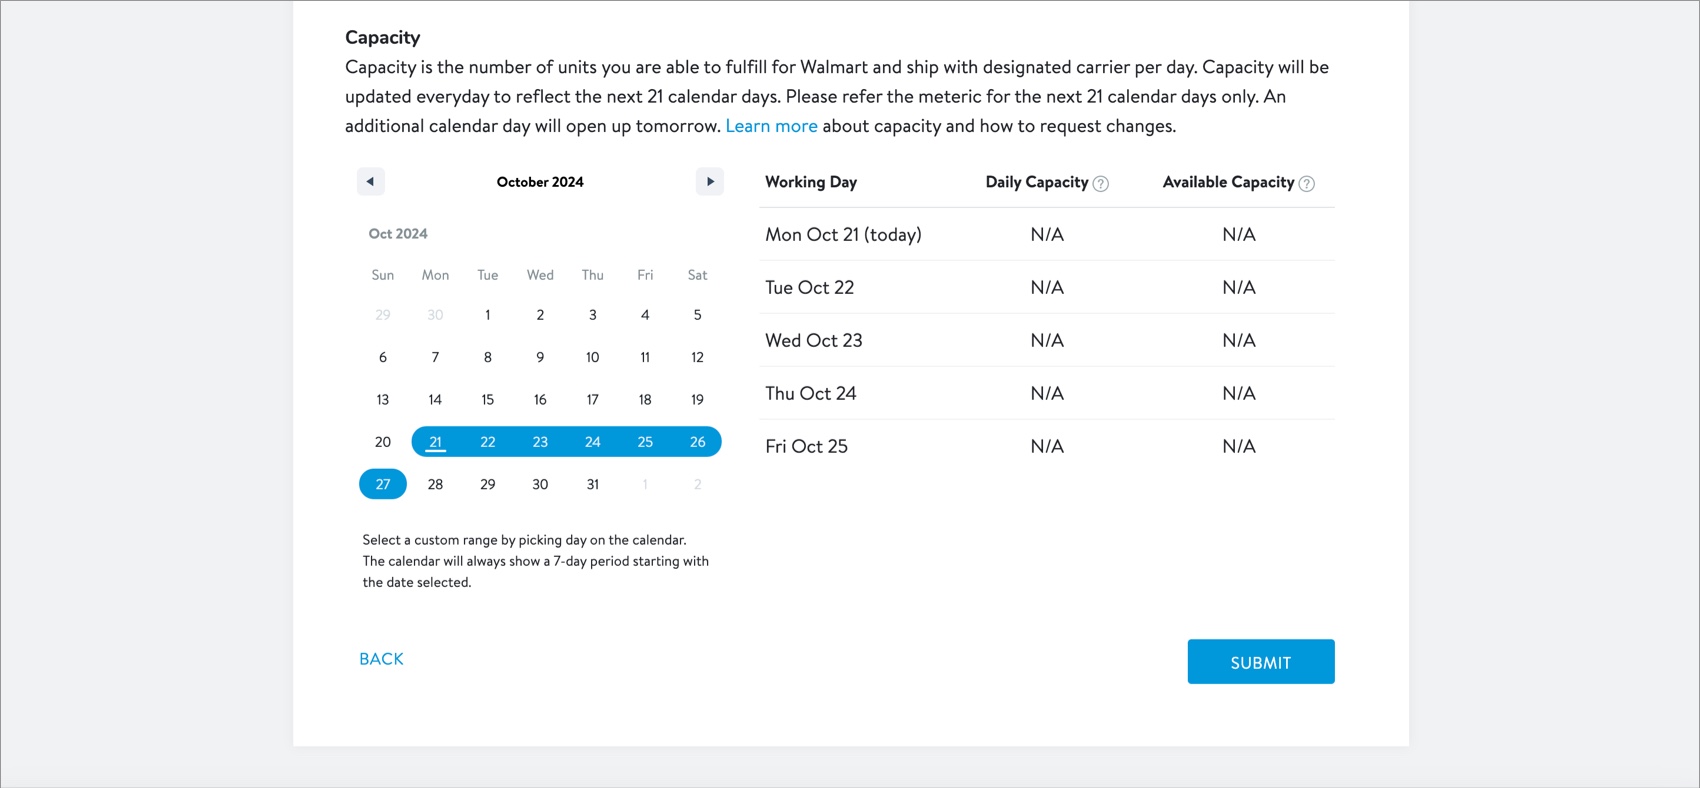
- Update Hours of Operation for your warehouse.
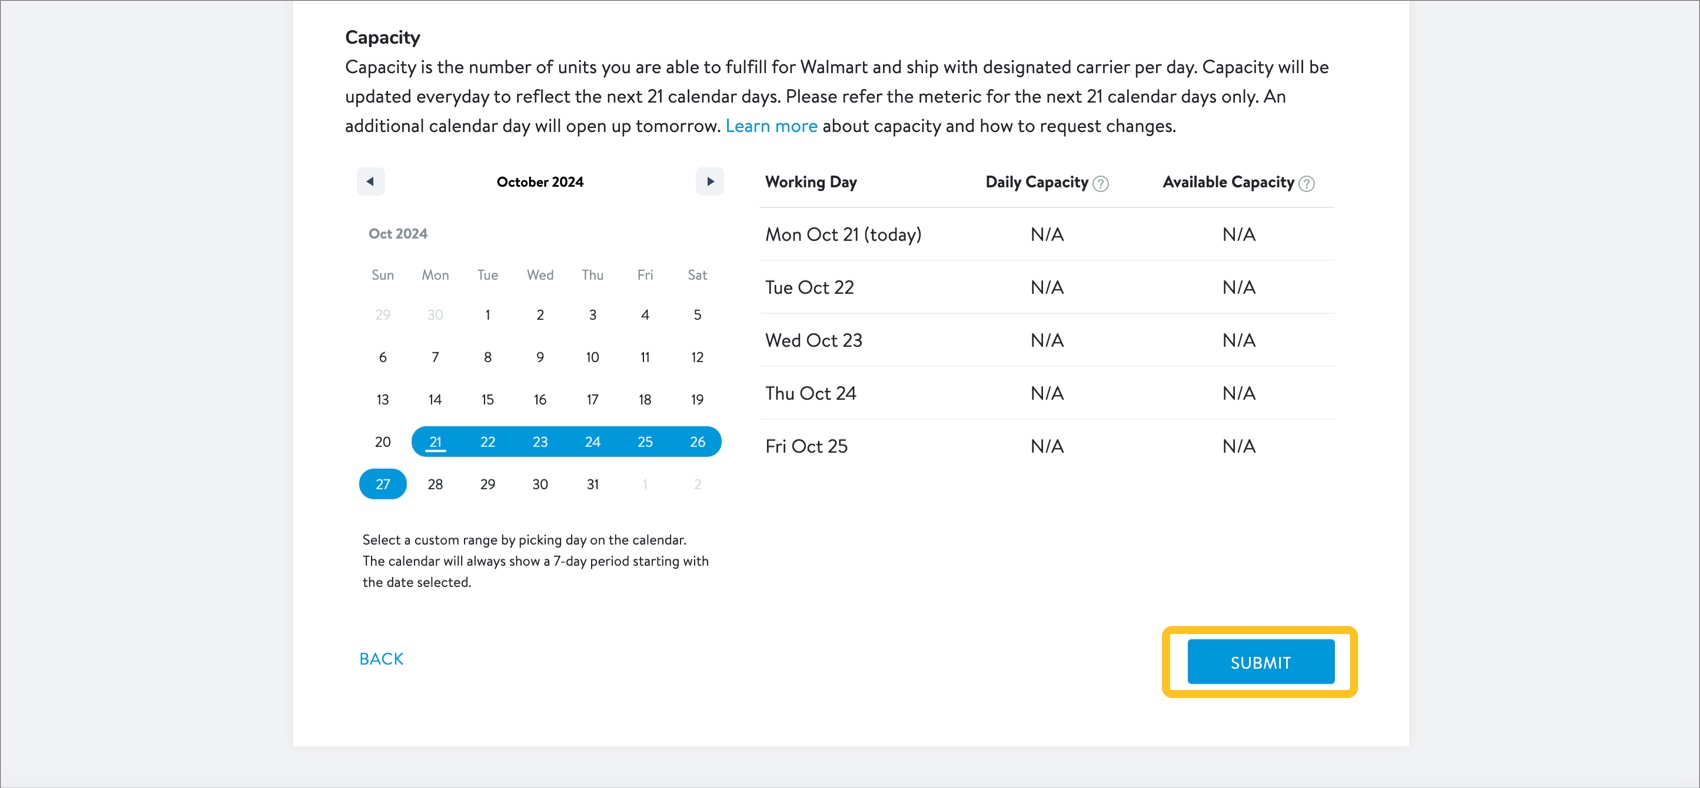
- Click the Submit button to save your updates.
Adding New Warehouses
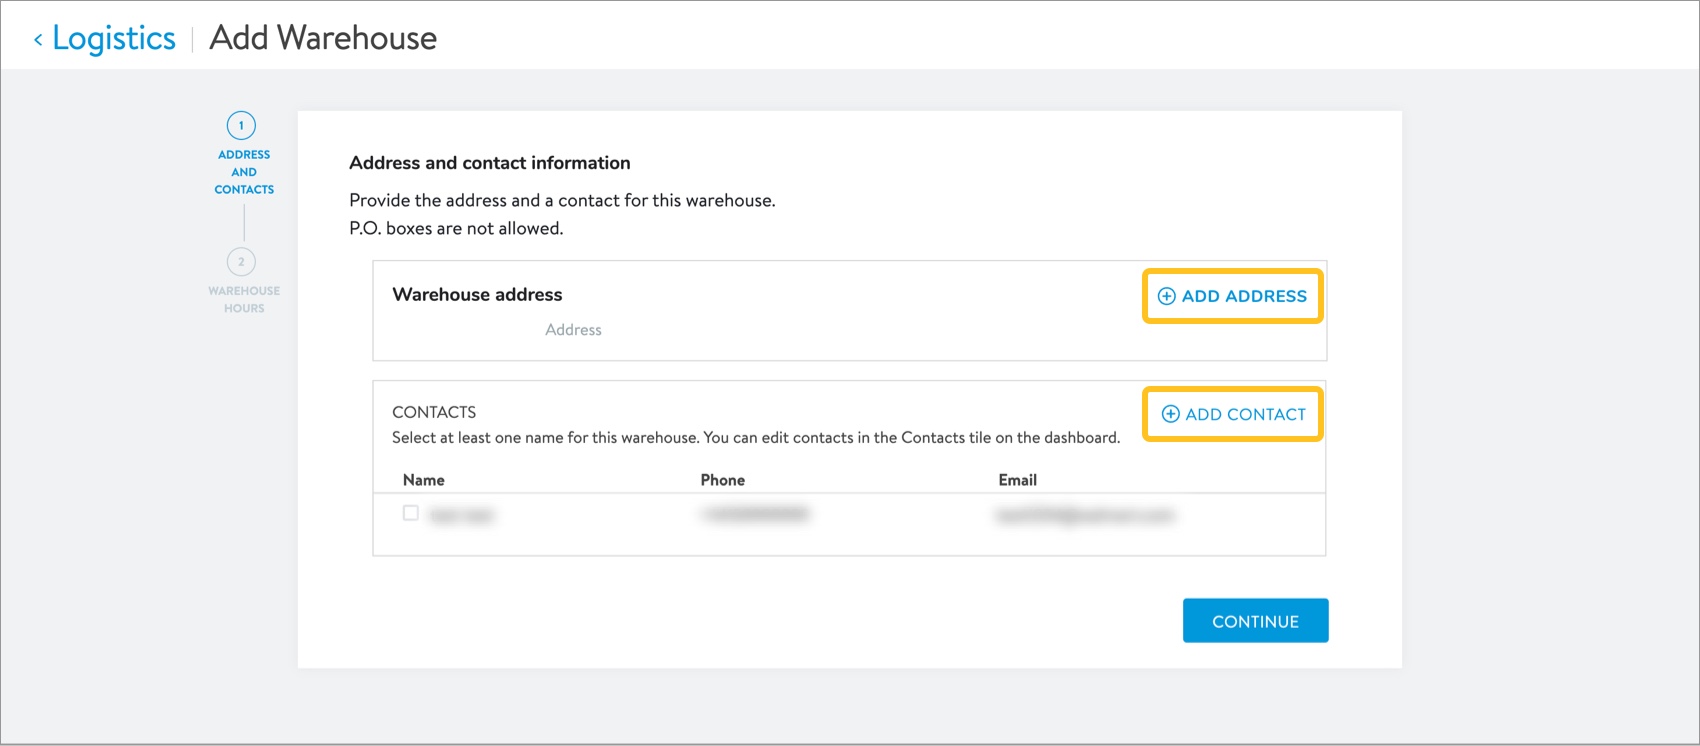
Click Add Warehouse. Then, fill out all the required information.
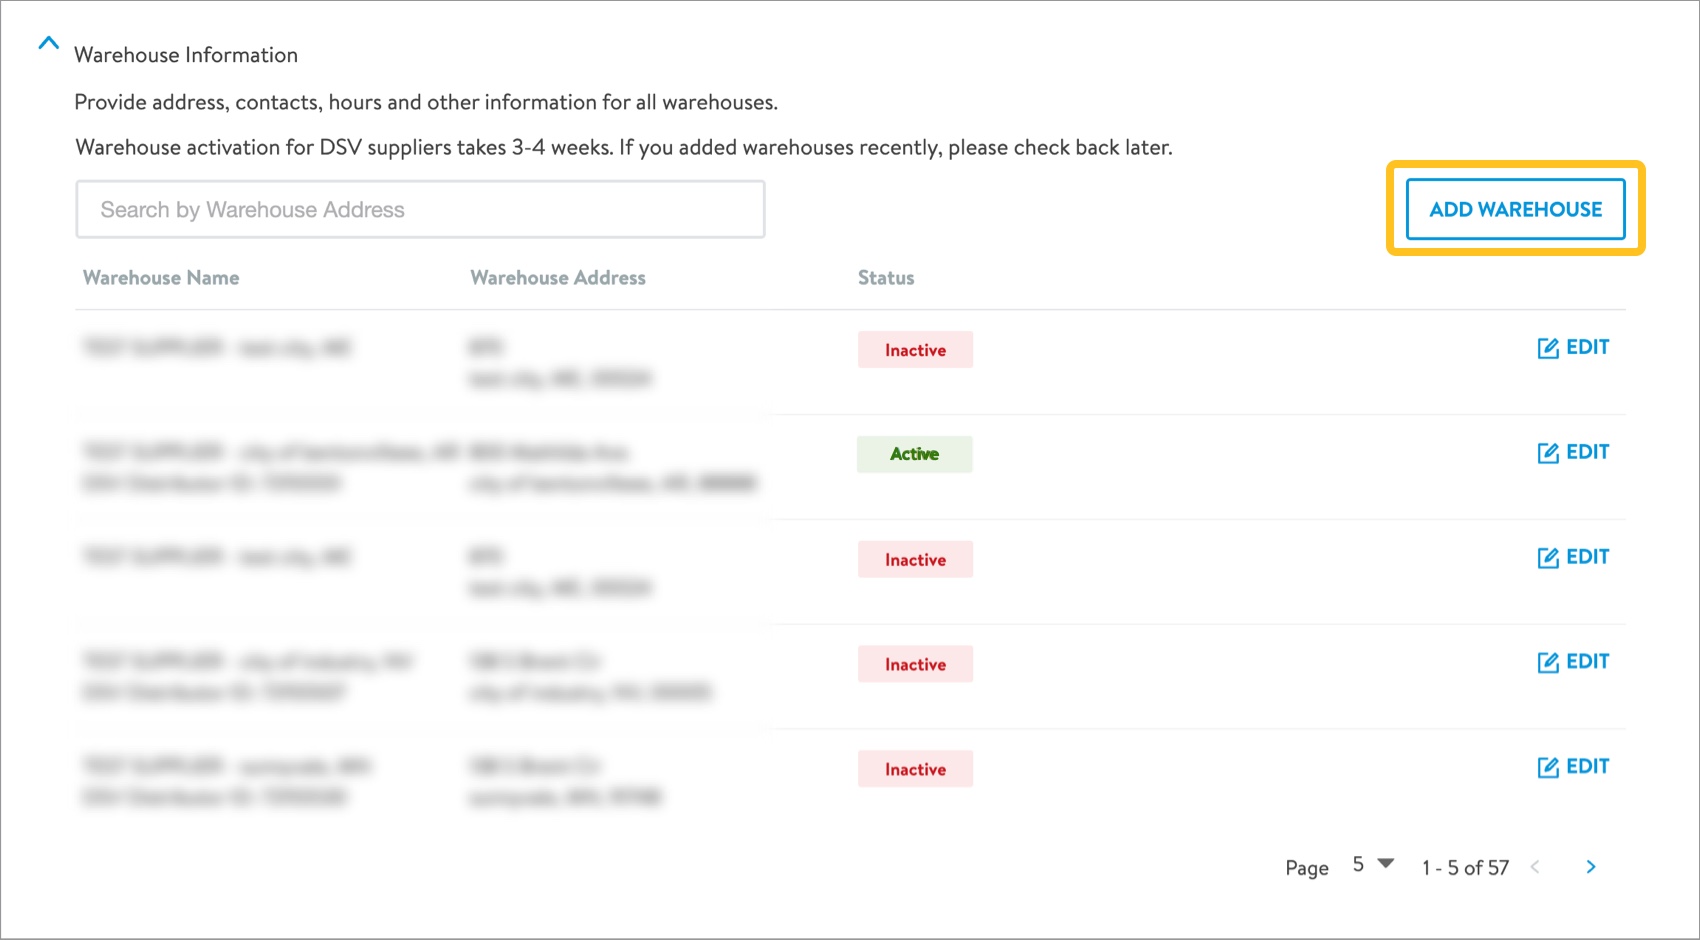
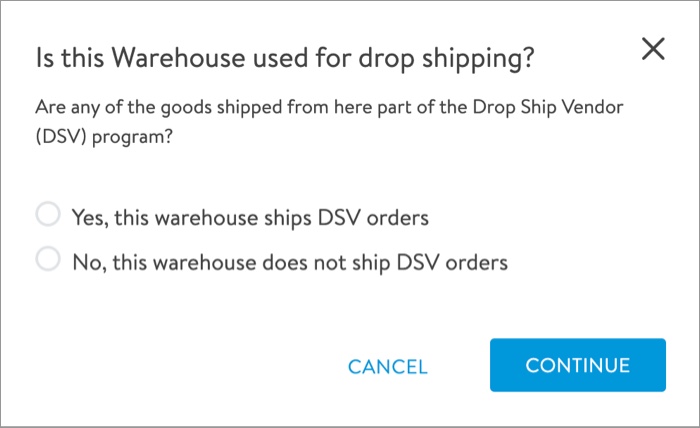
Add the Warehouse Address and assign a contact by selecting an existing contact or adding a new one.
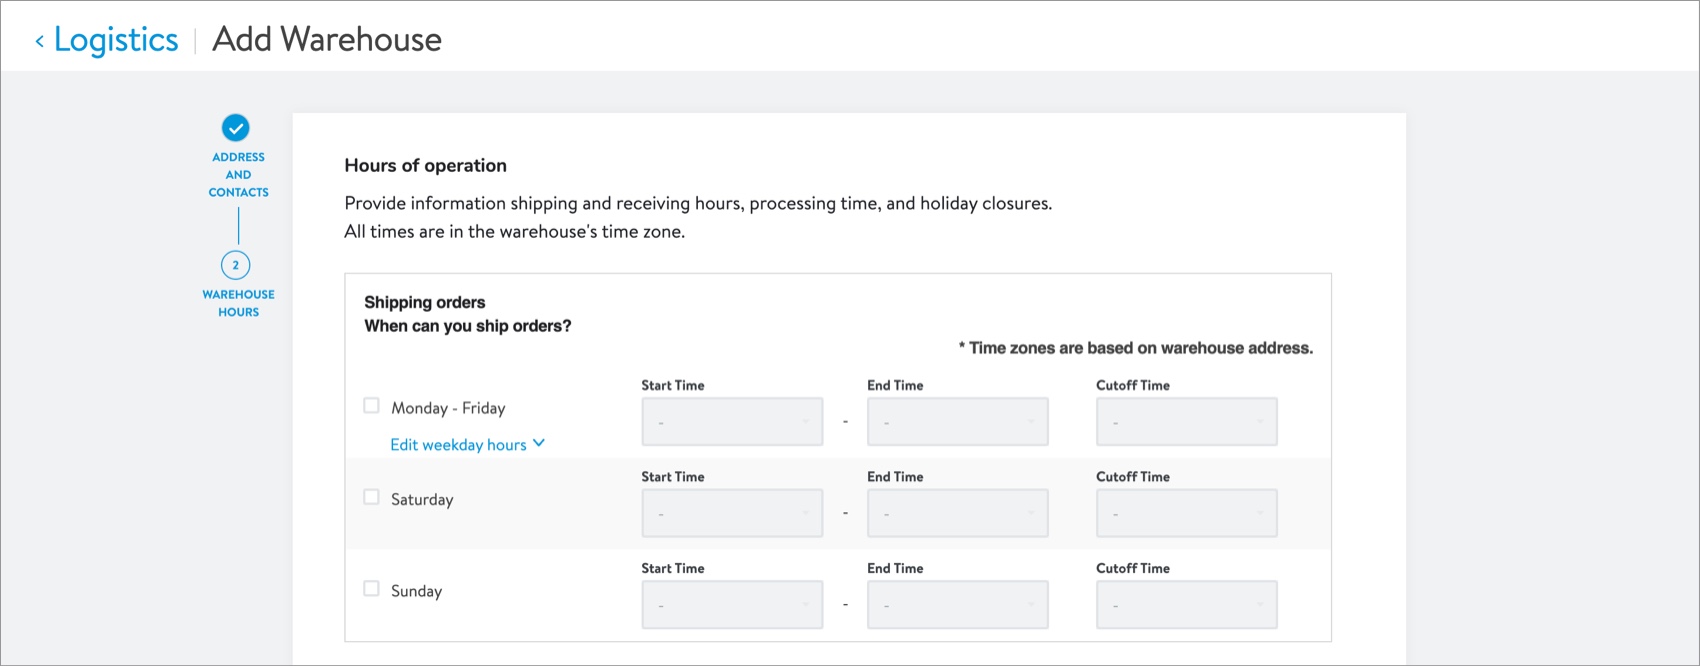
Set the warehouse hours of operation and cutoff times.

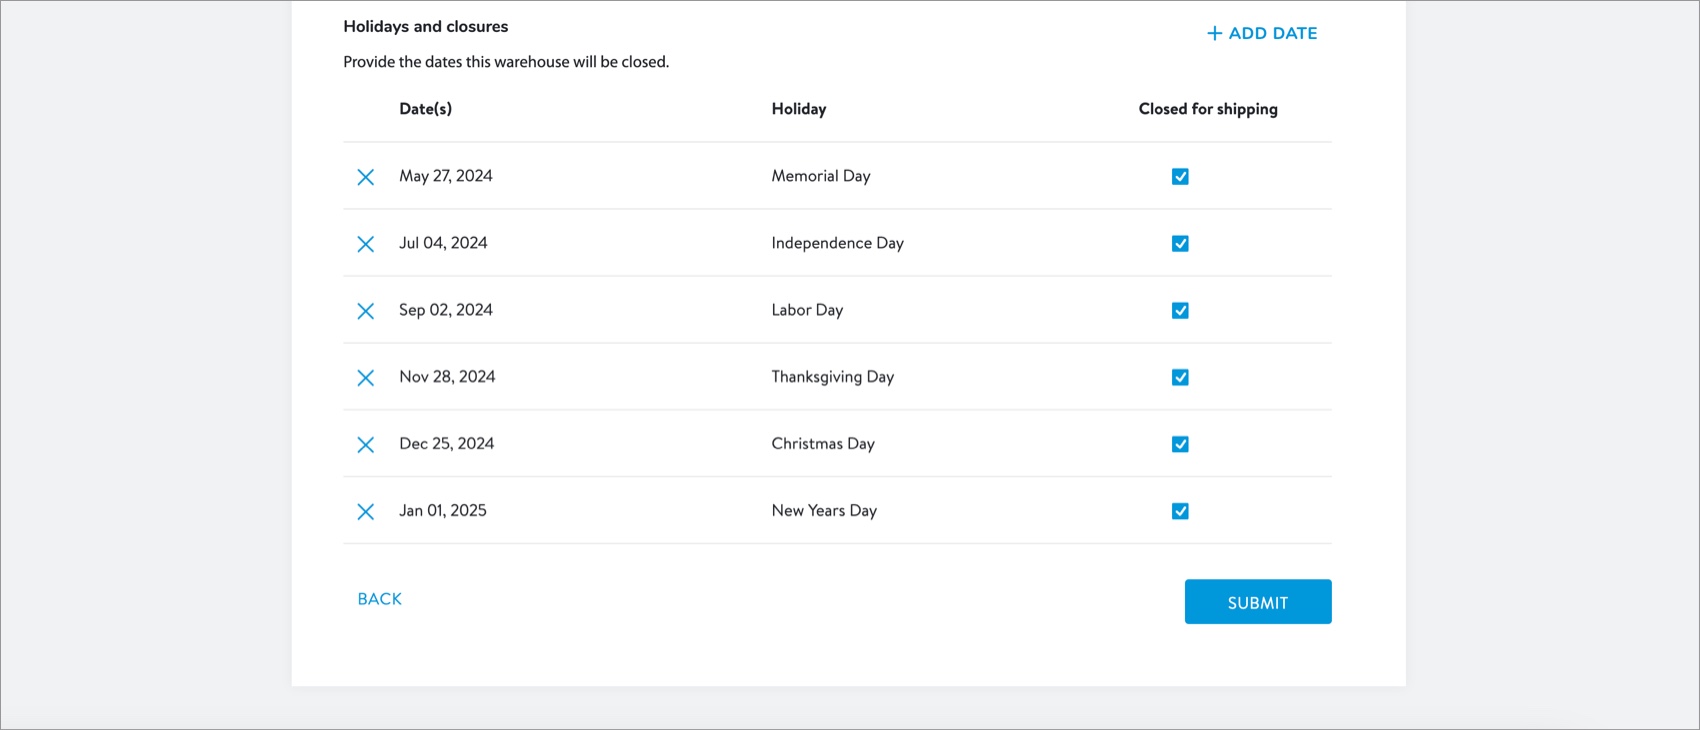
Refer to DSV Operational Outages for more details on when to set closures for emergencies, weather, or other unplanned outages for shipping.

Helpful tips:
- The Warehouse Name will be the name used to identify this Distribution Warehouse within Supplier One.
- The Order Cutoff Time is the latest you can receive an order and still get it shipped that day, so we recommend setting your Cutoff Time to at least one hour before you plan to stop sending shipments for the day.
- You can edit warehouse settings at any time to add operational outages.
- The Location Name is used to help our drivers identify the correct building when they pick up shipments.
- Time Zones are based on Warehouse Address.
When you are finished, click Submit.
Important Note
When you add a new warehouse for an EDI integrated account, the new warehouse WILL NOT be integrated automatically. You must ensure that your new warehouse integration is complete before adding/transmitting inventory. To request an EDI integration for your new warehouse, submit a ticket to Partner Support by clicking Help > Manage tickets in Supplier One. Please include the following details in your case:
- Warehouse ID
- Warehouse Name
- Current Integration Type (e.g. AS2 direct or 3rd party solution provider)
- The name of your 3rd party EDI provider (if applicable)
Editing Warehouses
To edit an existing warehouse, click on Edit to the right of the warehouse. This will display all of the settings and allow you to edit them.

When you are finished, click Submit.
Remove a Warehouse
To remove an existing warehouse from your Distribution Warehouse dashboard, submit a ticket to Partner Support by clicking Help > Manage tickets in Supplier One. Please provide your Supplier Number, Channel, Issue Type, and Issue Subtype. Then, provide the subject of your request and issue details. You may add attachments if needed.
For example:
- Supplier Number: 721555 (you can see on the Supplier Profile page shown below)
- Channel: Dropship (DSV)
- Issue Type: Orders and shipping
- Issue Subtype: Distribution facilities
- Subject: Remove a facility from my profile
- Issue Details:
- Warehouse Name and Distributor ID: Test Supplier - Bentonville AR – 721555
- Warehouse Address: 702 SW 8th Street, Bentonville, AR 72712

