You can access user management from Supplier One by clicking Account at the top right corner and selecting Supplier profile. On the My Team tile, click View and select Contacts. Refer to Add or Manage Contacts.
To view who your Site Admin is in Supplier One, select Account > Supplier Profile > My Admins under Resources section.
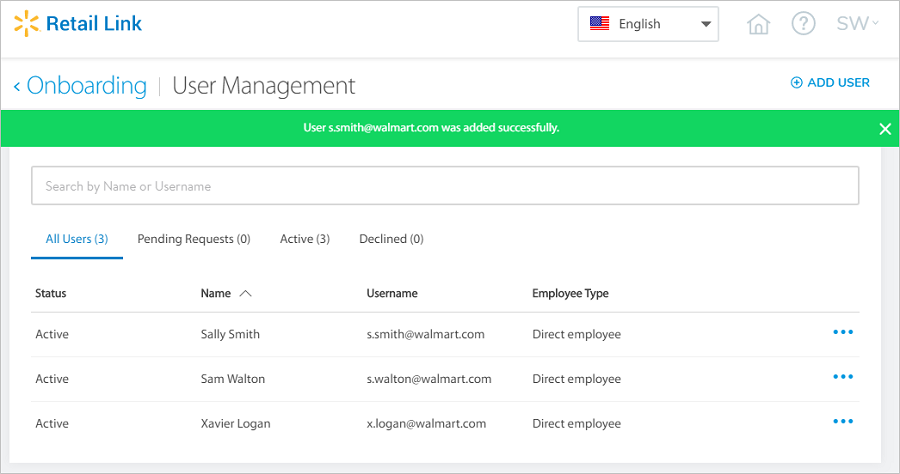
The Retail Link User Management page allows Account Administrators to view their organization’s users (i.e., users within the 6-digit accounts the Administrator has access to).
There are five possible user statuses:
Active: Accounts (users) that are currently active and have access to the designated systems (Retail Link, Supplier One, etc.).
Pending Requests: The accounts (users) that need approval from the Account Administrator or the Retail Link Help Desk team.
Declined: The users that have been declined by the Help Desk team.
Pending Review: Every February, the Account Administrator must review each user for their associated 6-digit supplier IDs and approve or deny the user's access to Walmart systems. (Refer to the Yearly Review of Supplier User Access section below.)
Disabled: If a user’s access remains unverified during the February review period, they will be locked out of all Walmart systems starting March 1 until the Account Administrator unlocks them. (Refer to the Yearly Review of Supplier User Access section below.)
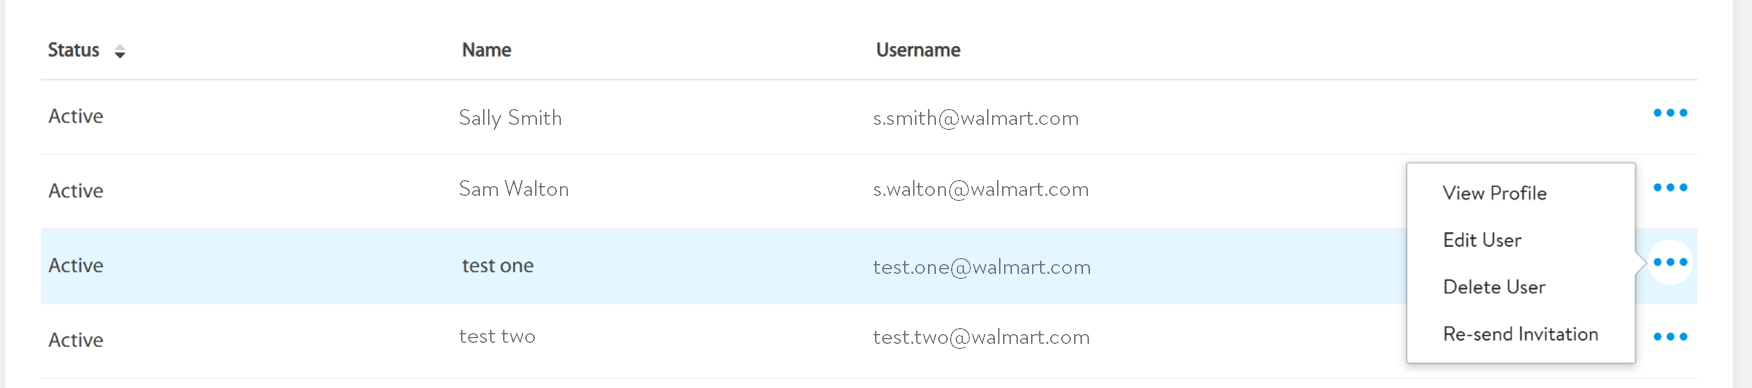
To view or change a user’s access or details, click the user’s name or the dots at the far right.
There are four options for each existing user:
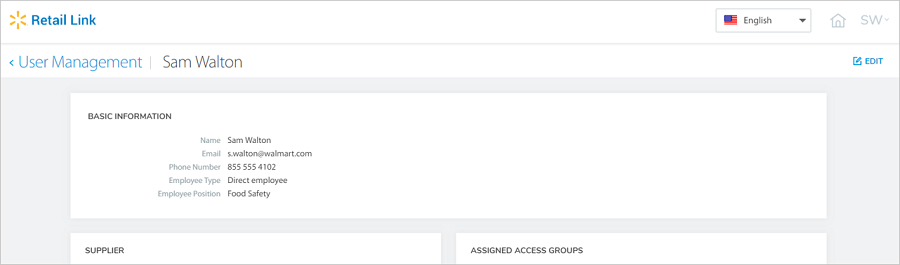
View Profile: View the profile of the user selected.
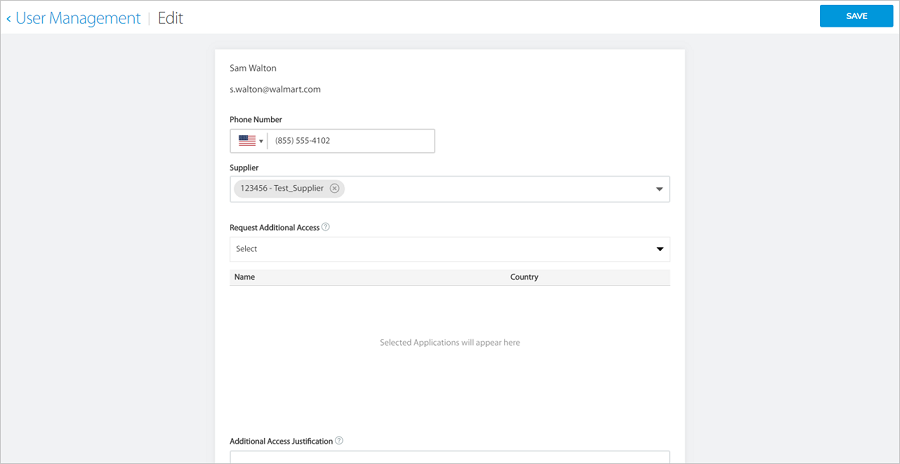
Edit User: Edit the user selected to change the phone number, supplier number, and add or delete additional access.
Delete User: This will remove the user from the company.
If a user has access to a 6-digit account that the Administrator does not have access to, the Administrator cannot delete the user. The Administrator will only be able to remove the user's access to the 6-digit accounts that they manage.
Resend Invitation: Resend an invitation to the user. You can use this feature if you add a user and the user never received the email to set up their password.
Add a User
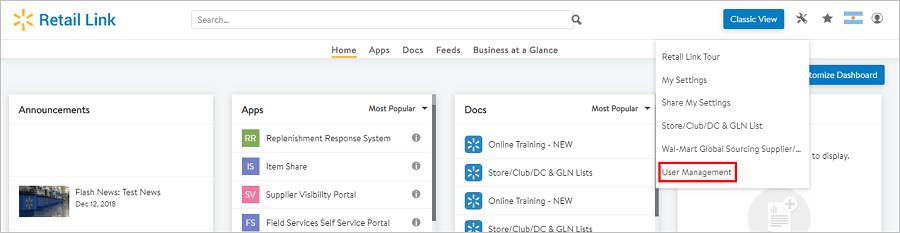
Administrators can add and manage users for their organization. To add a user, log in to Retail Link, click the tools icon at the top right corner of the page, and select User Management.
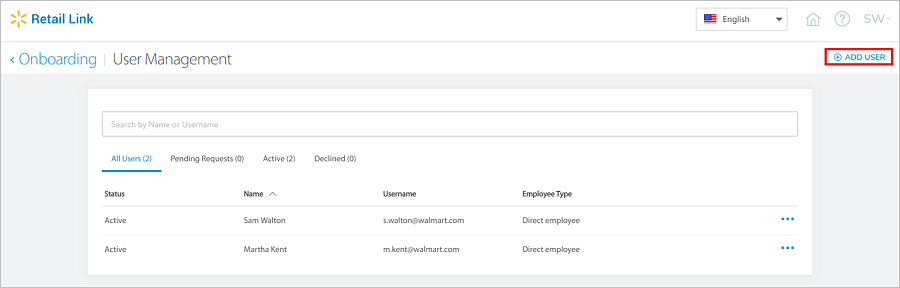
Click + Add User and fill out the user’s details on the next screen.
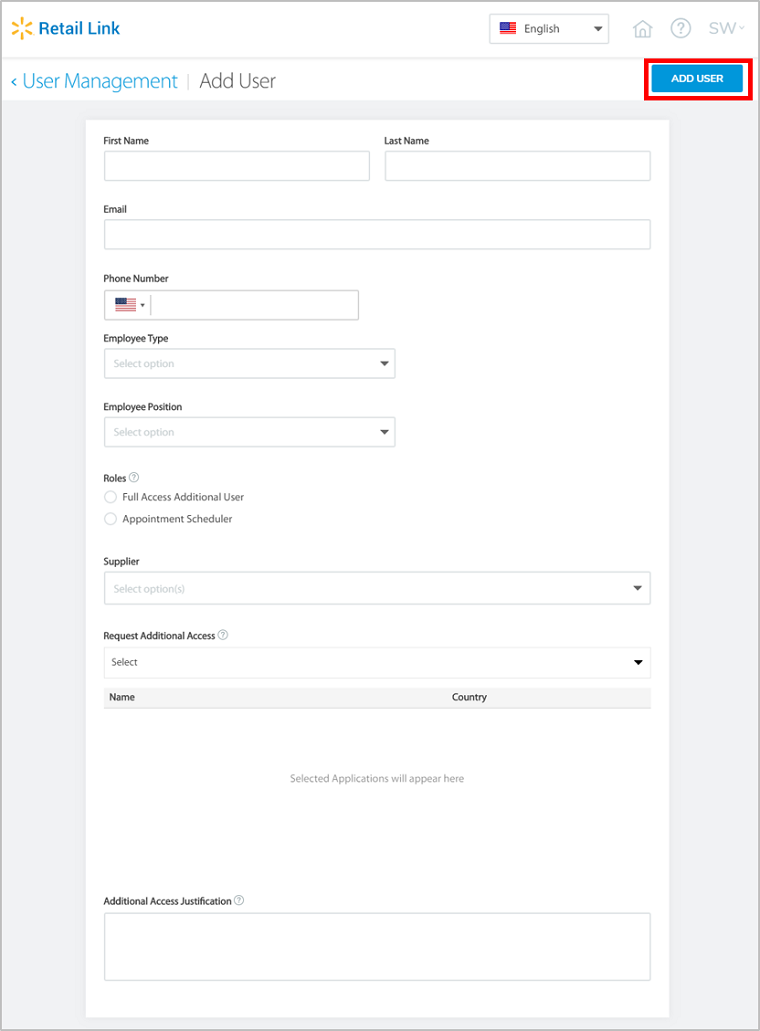
The following information is required when adding new users:
First Name: Enter the user’s first name.
Last Name: Enter the user’s last name.
Phone Number: Enter the user’s phone number.
Employee Type: Enter the employment type of the user. There are three options:
Direct Employee: The user being added is a direct employee of the company.
Employee of Parent/Sister Division/Subsidiary: The new user is an employee of a parent/sister company of the registered company in Retail Link. These users will need approval from Walmart to access Retail Link.
Third-Party: The user is an employee of a third-party company providing services to the registered company. These users will need approval from Walmart to access Retail Link.
Employee Position: The user’s position within the organization (associate, manager, VP, CTO, etc.).
Role: The level of access granted to the user.
Full Access Additional User: Select this option to give the user full access to Retail Link.
Appointment Scheduler: Select this option to give the user access to the appointment scheduler application.
Standard Carrier Alpha Code (SCAC): Provide the SCAC of the transportation company that the user works for so they can utilize the Appointment Scheduler.
Supplier: Enter the supplier number(s) of the accounts that the user will need to access (subsidiaries, sister/parent companies, etc.).
Request Additional Access (optional): If you know any additional access the user needs, please search for the access by providing the access code or the name.
Additional Access Justification: If you add an additional access request, you will need to provide a justification for the access.
Once the required fields are filled out, click Add User.
A confirmation banner will appear on the User Management page when a user is successfully added.
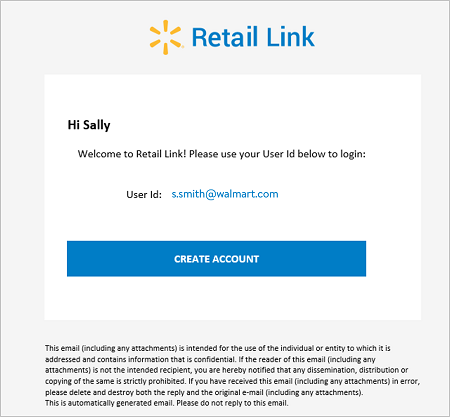
The new user will receive a welcome email with the information to create their account. Their User ID will be the email address that was entered during the add user process. Upon receiving the welcome email, click Create Account.
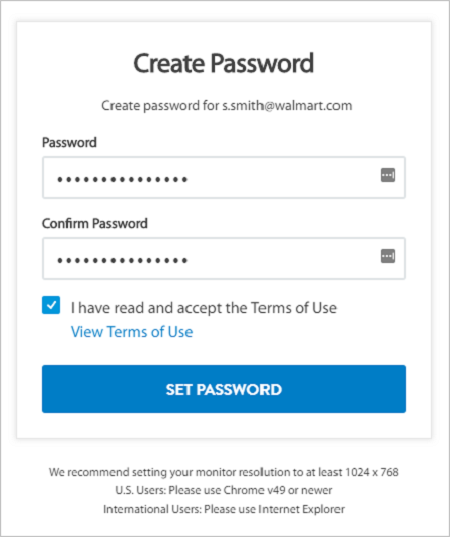
Create a password with a minimum of eight alphanumeric characters (at least one number), re-enter the password in the next field, select the box next to “I have read and accept the Terms of Use”, and click Set Password.
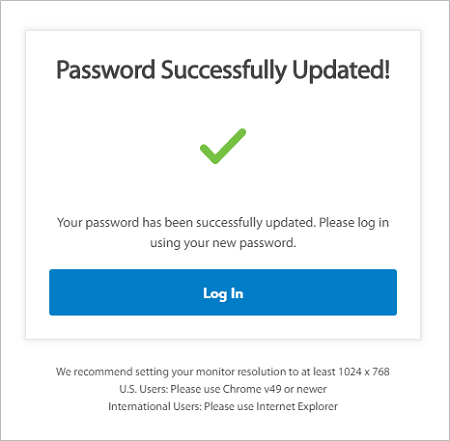
You will receive confirmation when your password has been successfully created.
Edit a User
Make changes to existing users to update their contact information, account access, access level, permissions, etc.
Go to the User Management page and search for the individual by name or username (i.e., email address).
Click the dots at the far right of the user name and select Edit User.
You can also click on the user’s name to open an overview of their access. To change any of these details, click Edit at the top right corner of the page.
You can update the user's phone number, the suppliers that this individual has access to, and add access groups.
If you would like to change the user's first/last name or email, contact the Retail Link Help Desk at 479-273-8888.
A user must always be associated with at least one supplier.
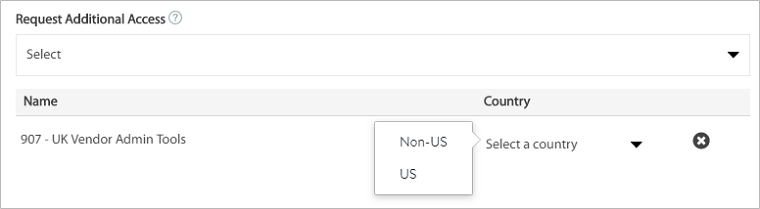
If you request an additional access group, make sure to include the justification in the text box at the bottom of the page and select whether the group is US or Non-US from the dropdown.
Delete a User
Remove a user’s access to Retail Link – typically when an individual has left the company or changed positions within the organization and no longer needs access to these tools.
Go to the User Management page and search for the individual by name or username (i.e., email address).
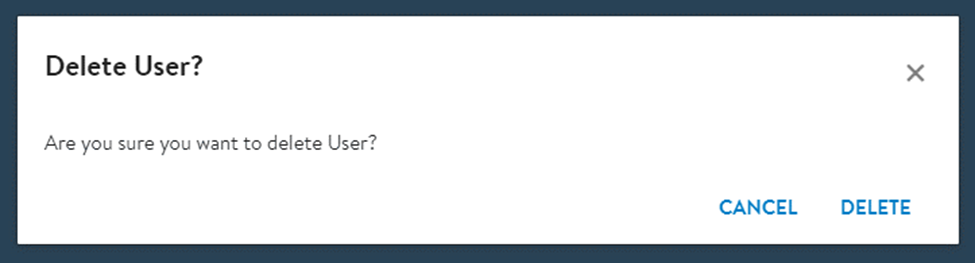
Click the dots at the far right of the user name and select Delete User.
Confirm you want to remove the contact.
Yearly Review of Supplier User Access
Every February, Account Administrators must review each user for their associated 6-digit supplier IDs and approve or deny the user's access to Walmart systems.
To review your users, log in to Retail Link, click the tools icon at the top right corner of the page, and select User Management. Or use the banner as detailed in step 1 below.
Pending Review
All users will see a banner in Retail Link. Account Administrators should click the link to complete the verification.
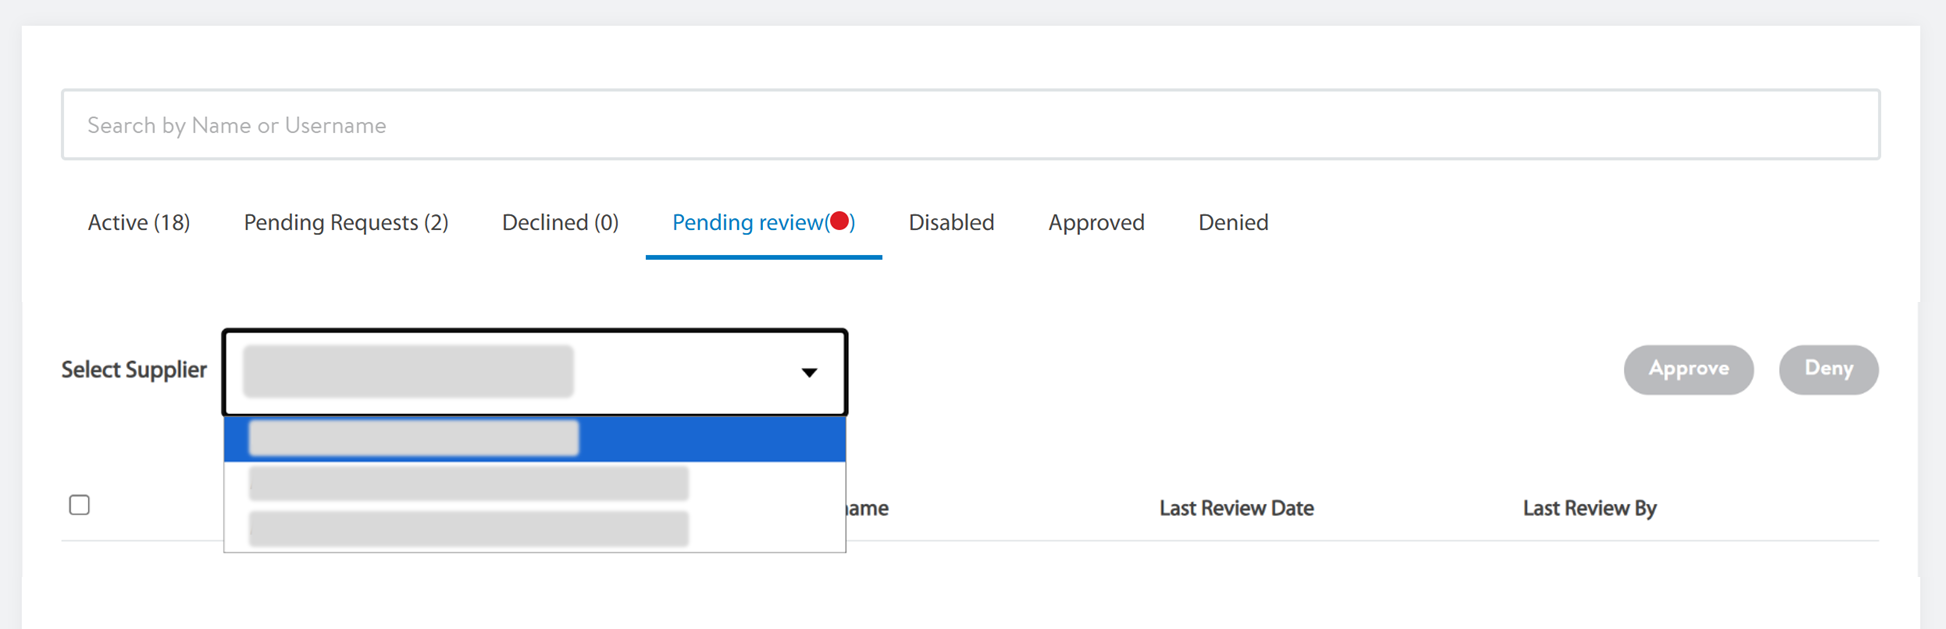
Click the Pending review tab. The red dot indicates that action is required.
Select a Supplier from the drop-down menu to view all users associated with that 6-digit Supplier ID.
If you have more than one 6-digit supplier ID, you will need to select each supplier ID to review all users.
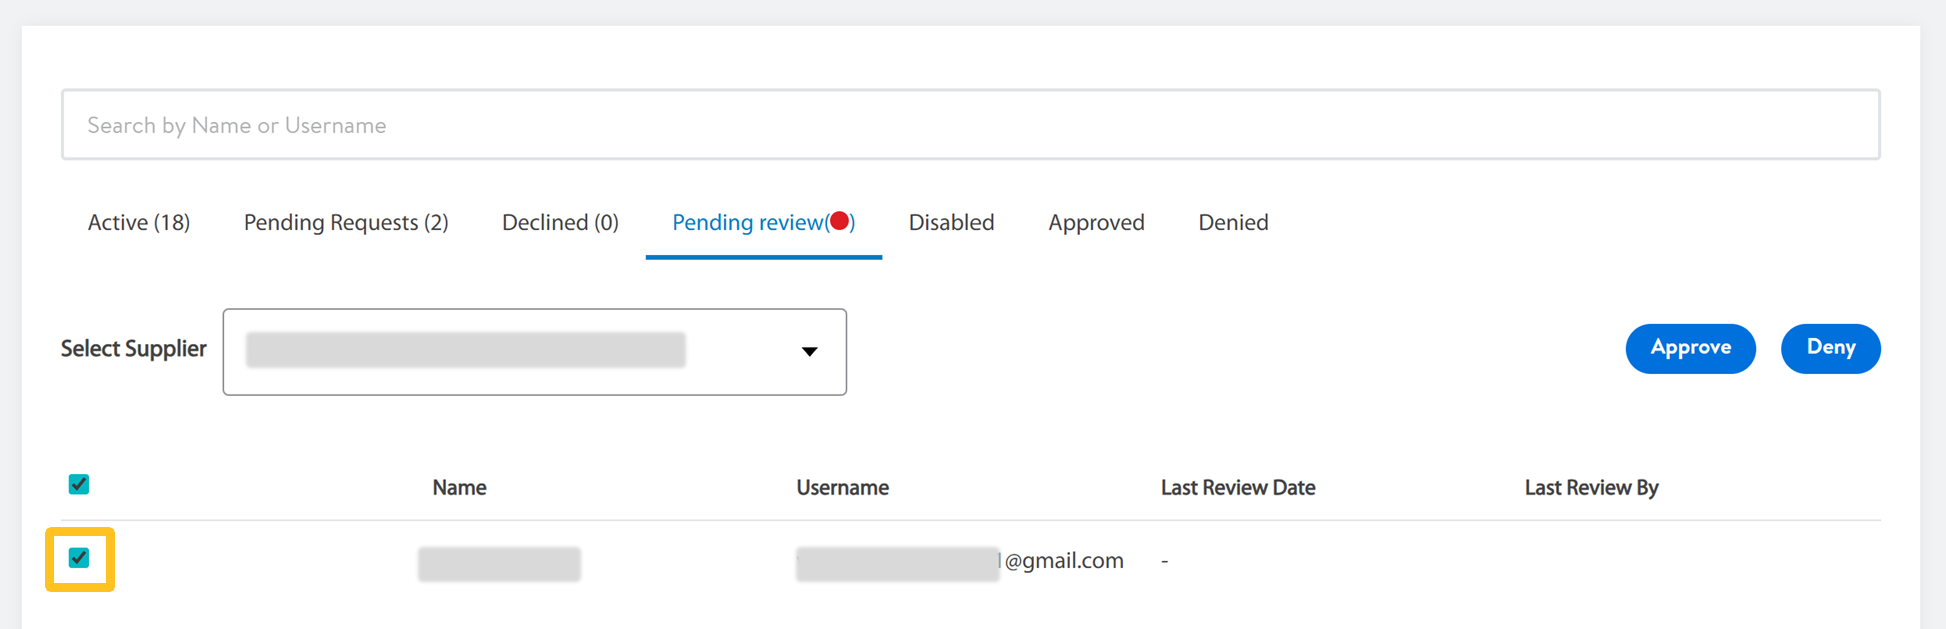
The table shows the Name, User Name (i.e., email address), Last Review Date, and Last Review By (administrator's email address) for each user. To approve or deny access to Walmart systems, click the check box next to the user's Name. You may select multiple users at a time.
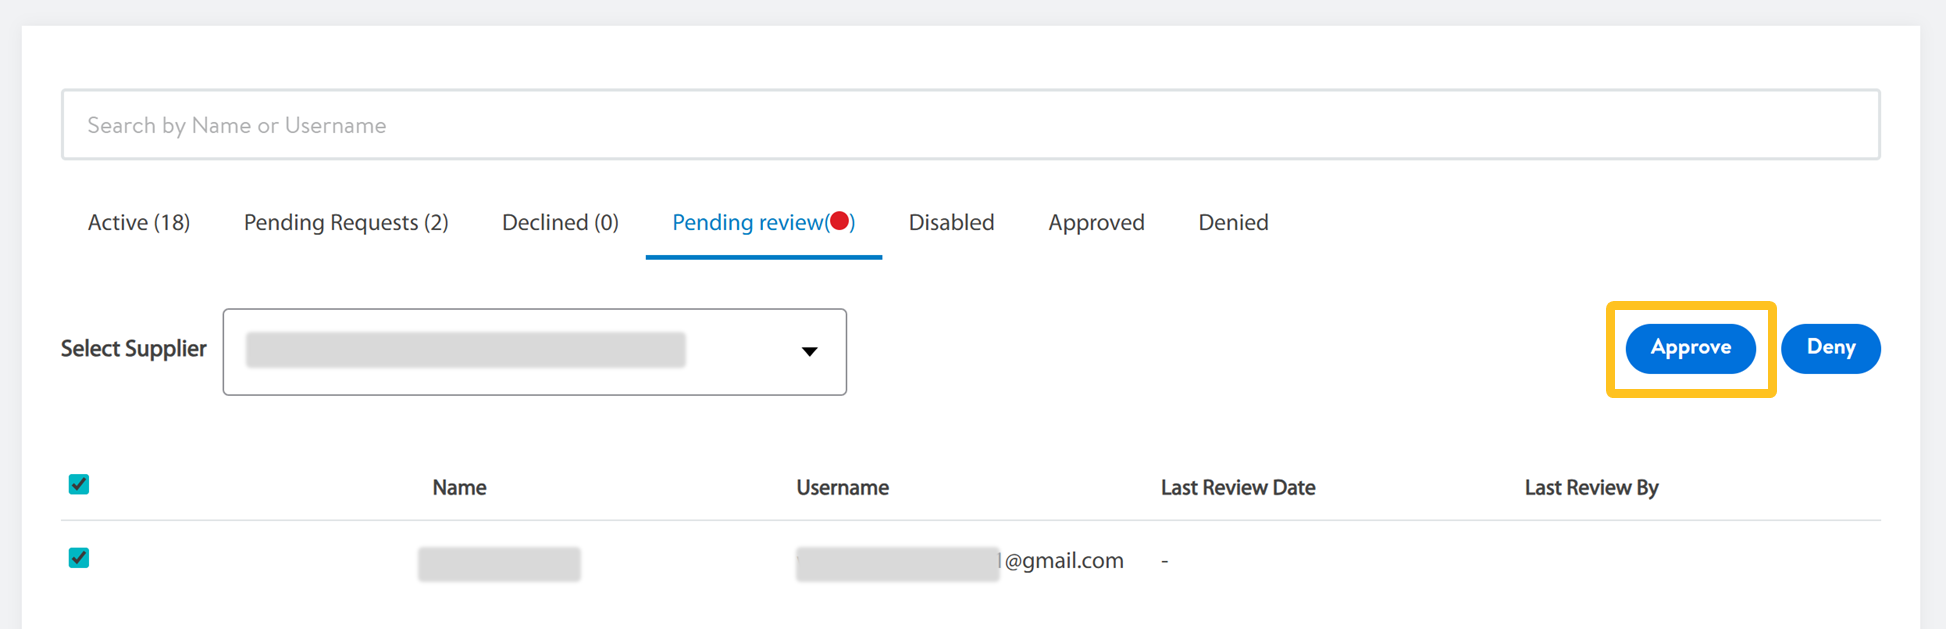
Click Approve for users who should continue to access Walmart systems. Click Yes to confirm your approval.
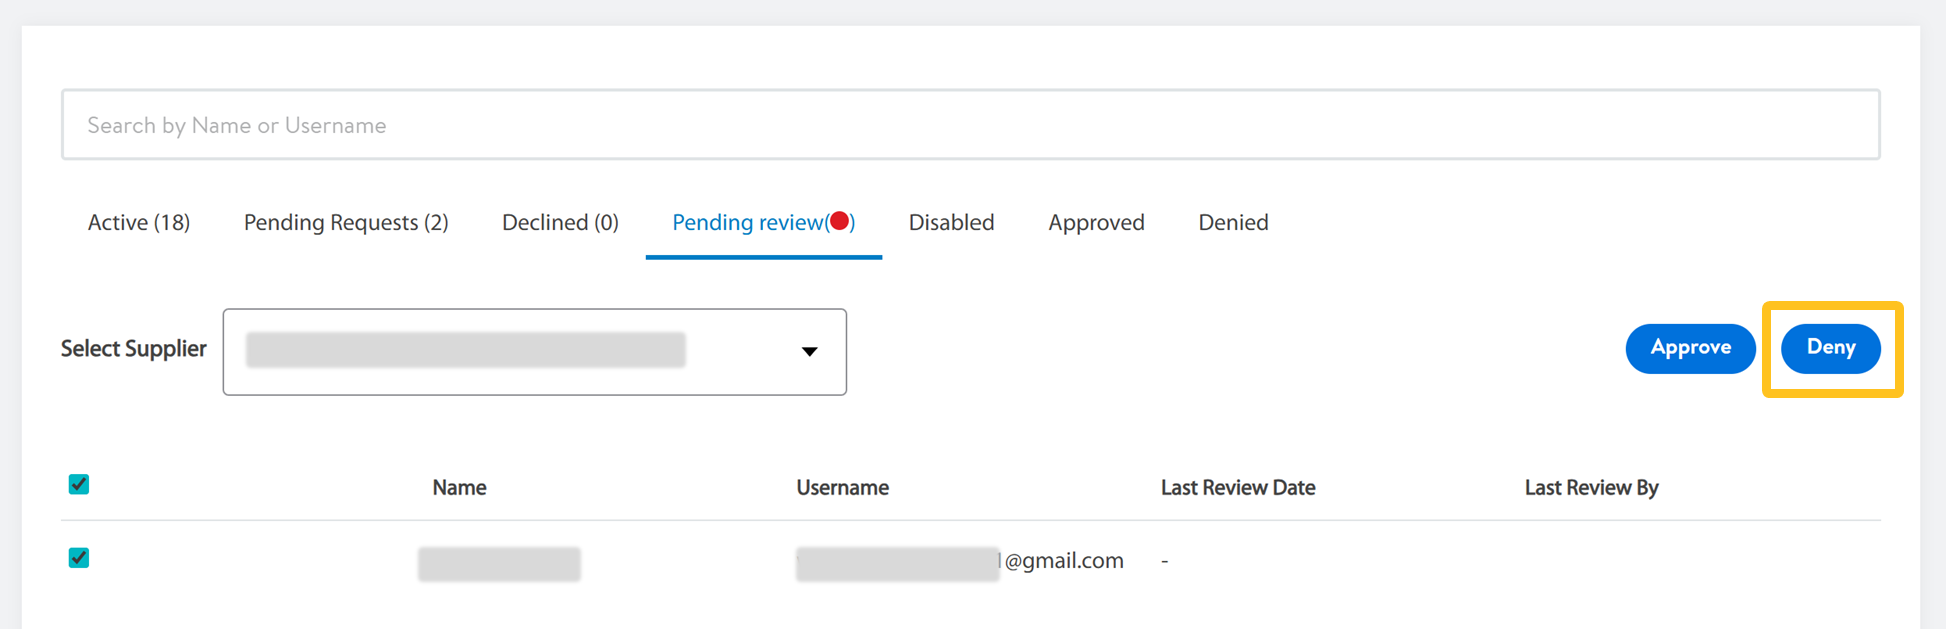
Click Deny for users who should not continue to access Walmart systems. This action removes the user completely for the Supplier ID you selected in Step 3, and they will no longer appear on the Pending review tab.
To approve a previously denied user, click on the Denied tab then select the check box next to the user and click Approve.
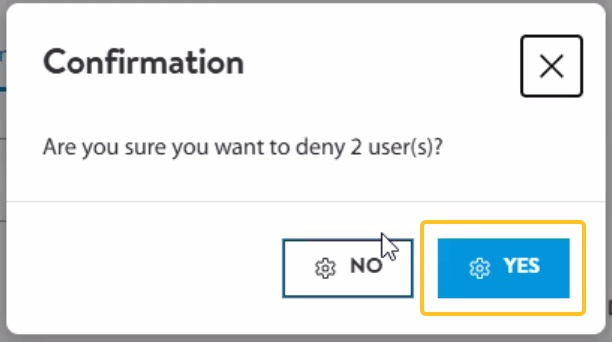
Click Yes to confirm your denial.
To prevent disruption of user access, Administrators should complete this review for all 6-digit accounts they have access to by the end of February every year.
Disabled
If a user’s access remains unverified during the February review period, they will be locked out of all Walmart systems starting March 1 until the Account Administrator unlocks them (follow the steps below).
Click the Disabled tab.
Select the user(s) you want to unlock, and click Approve. The users will appear on the Active tab once they are unlocked.


 You can also click on the user’s name to open an overview of their access. To change any of these details, click Edit at the top right corner of the page.