Upload Image Files or Folders When Managing Imagery
When you're managing image uploads from the Maintenance Hub or editing images in the catalog, you can upload more image files or folders of images. See the sections below for more details.
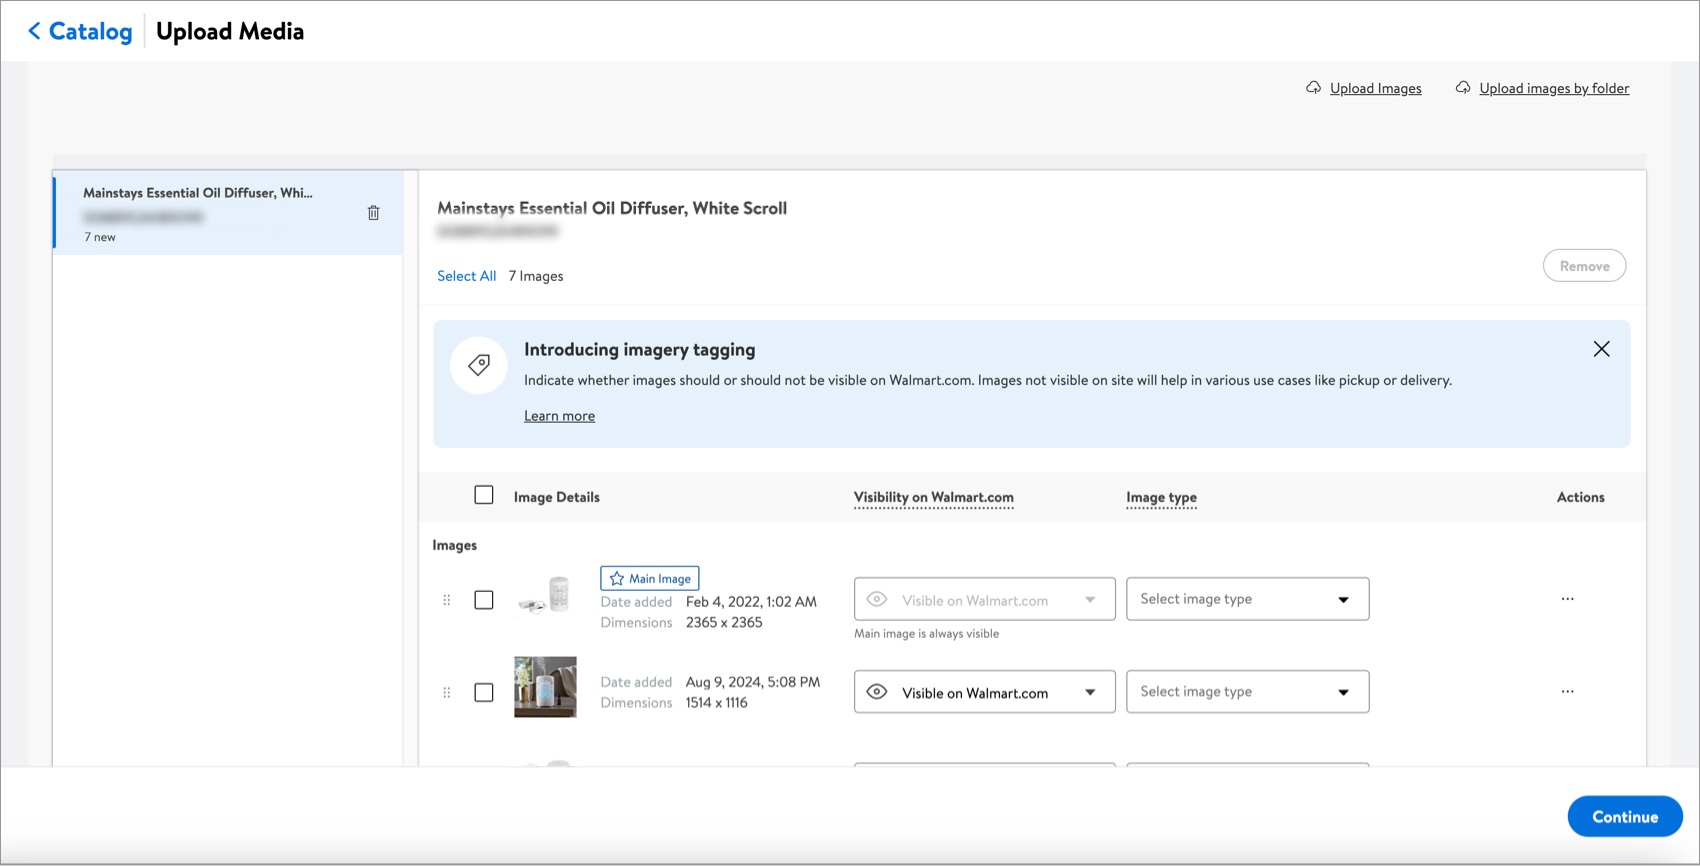
Upload Images into Existing Folders
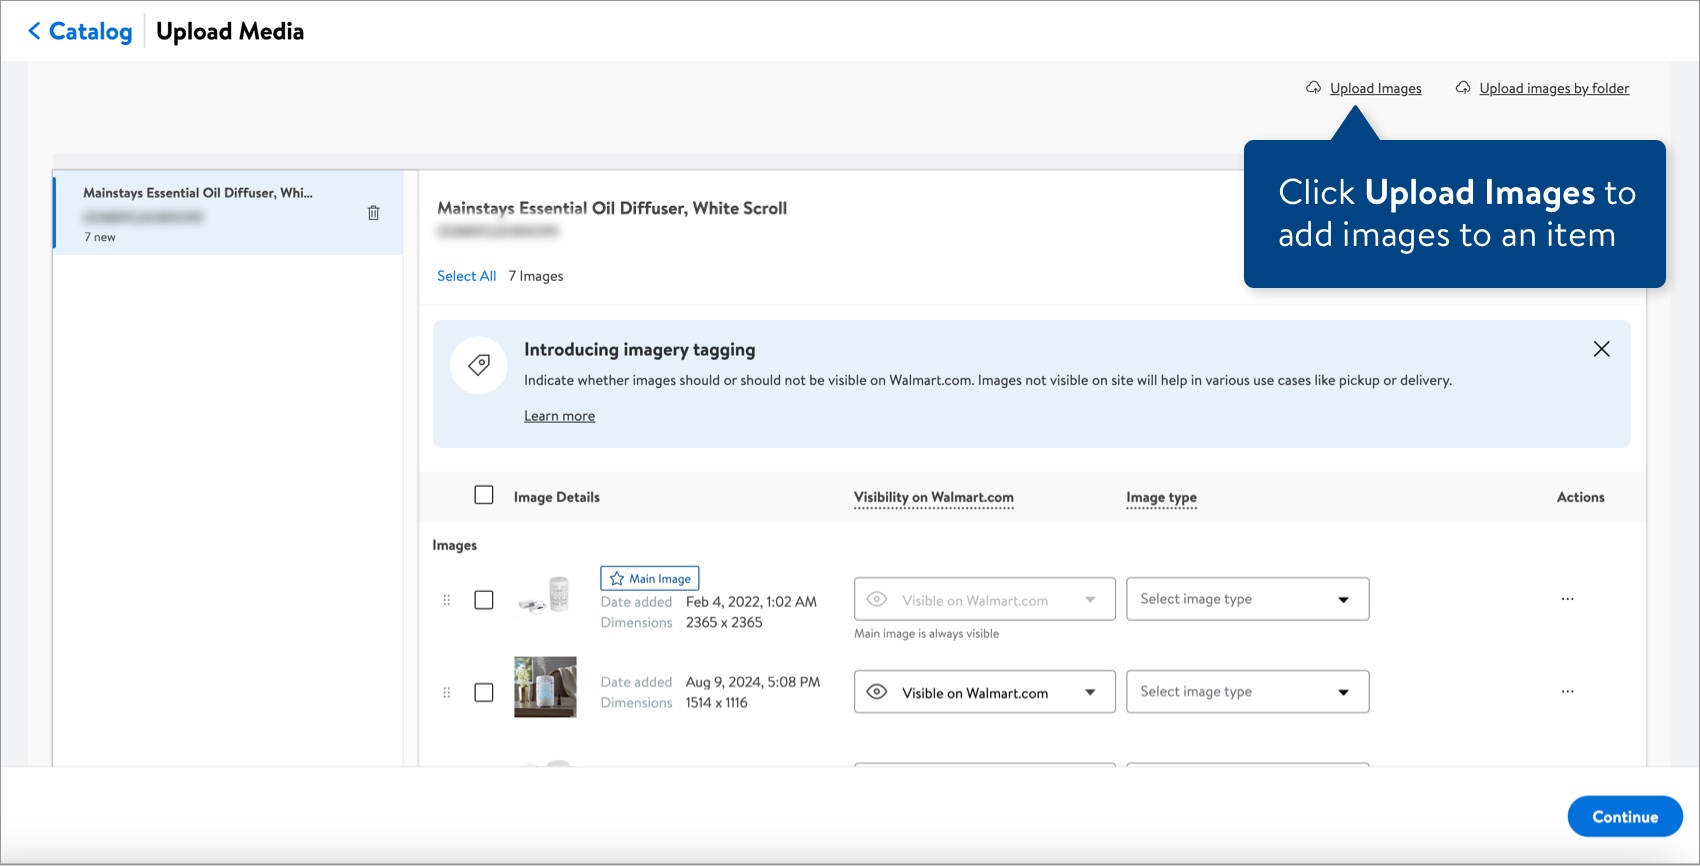
- If you have multiple image folders on the left side of your screen, click on the item that you want to edit imagery for. Then, click Upload Images to add images.
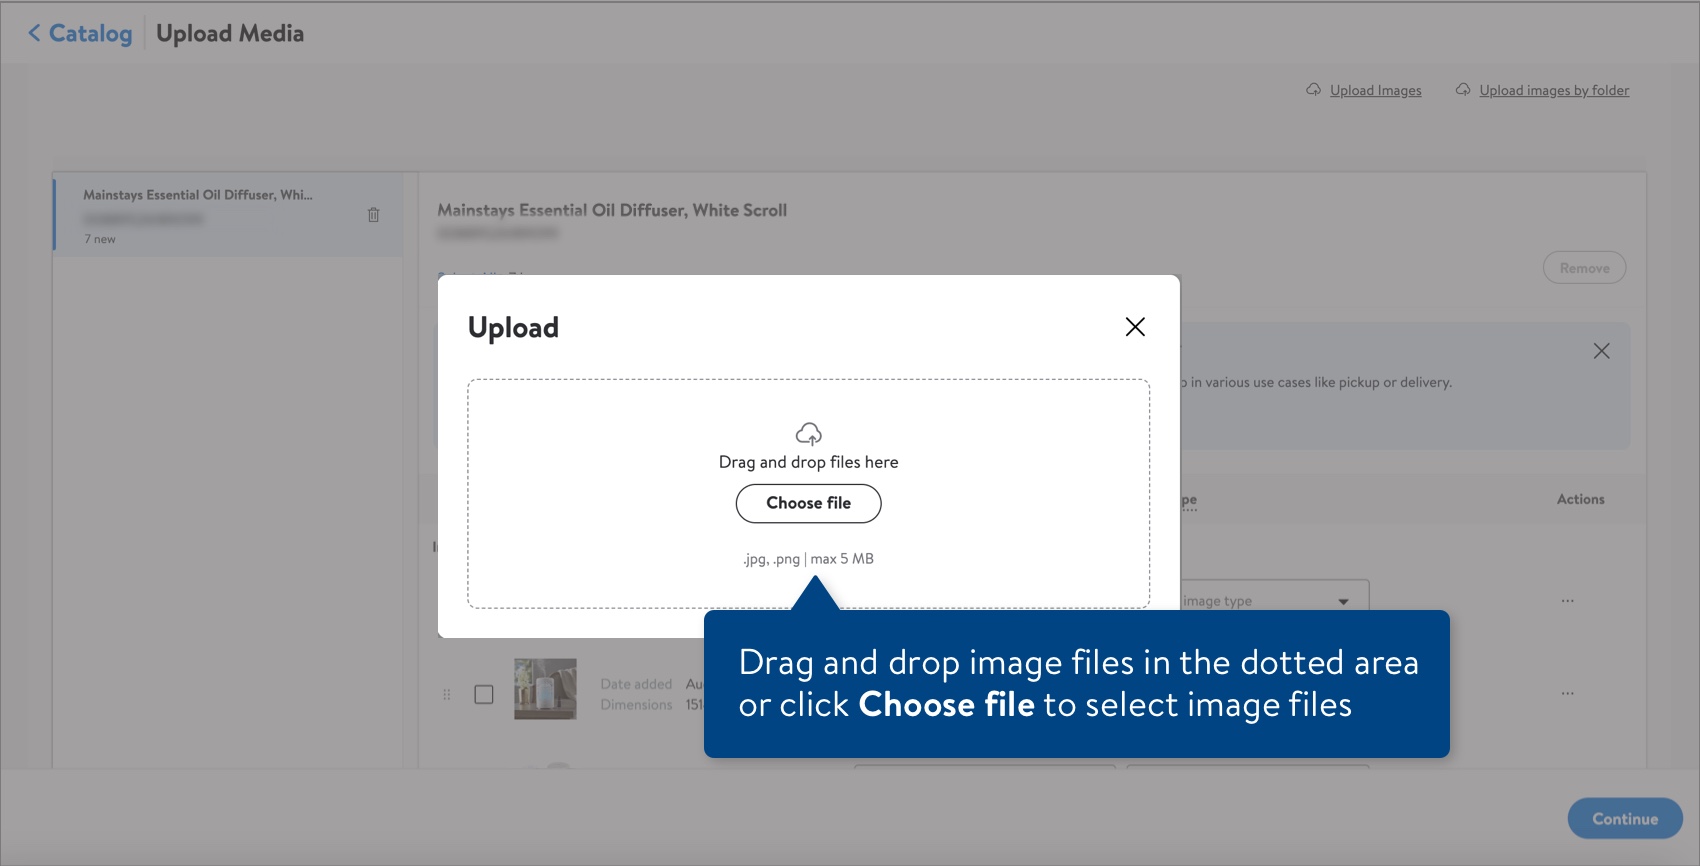
- Drag and drop image files into the dotted area. You can also click the Choose file button to select image files from your computer.
- Click the Continue button once your image files have been uploaded successfully.
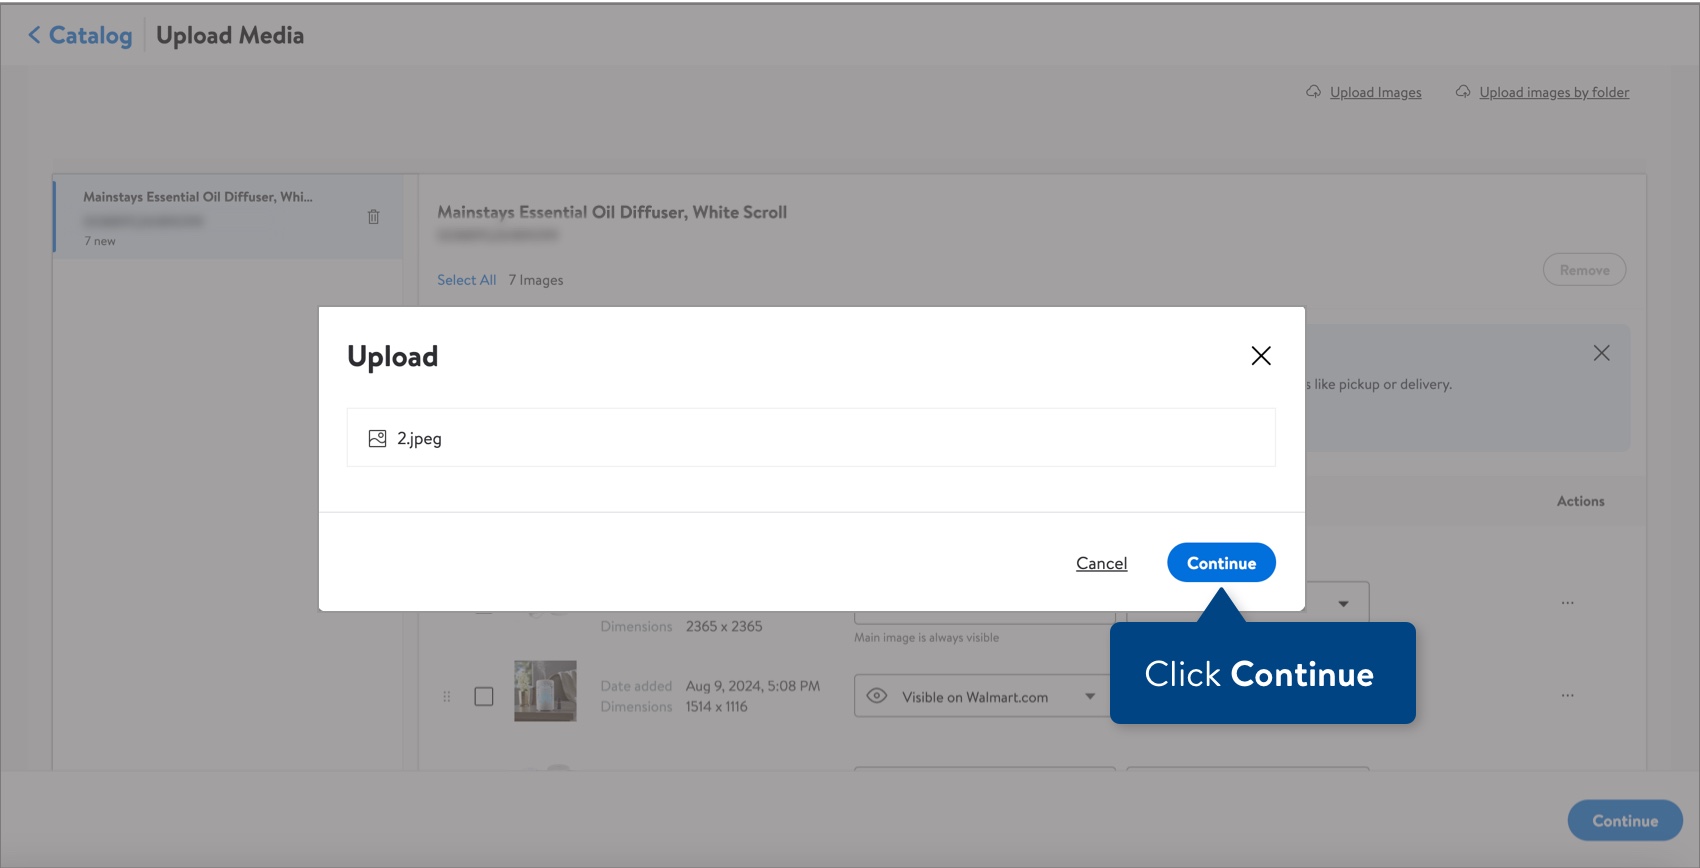
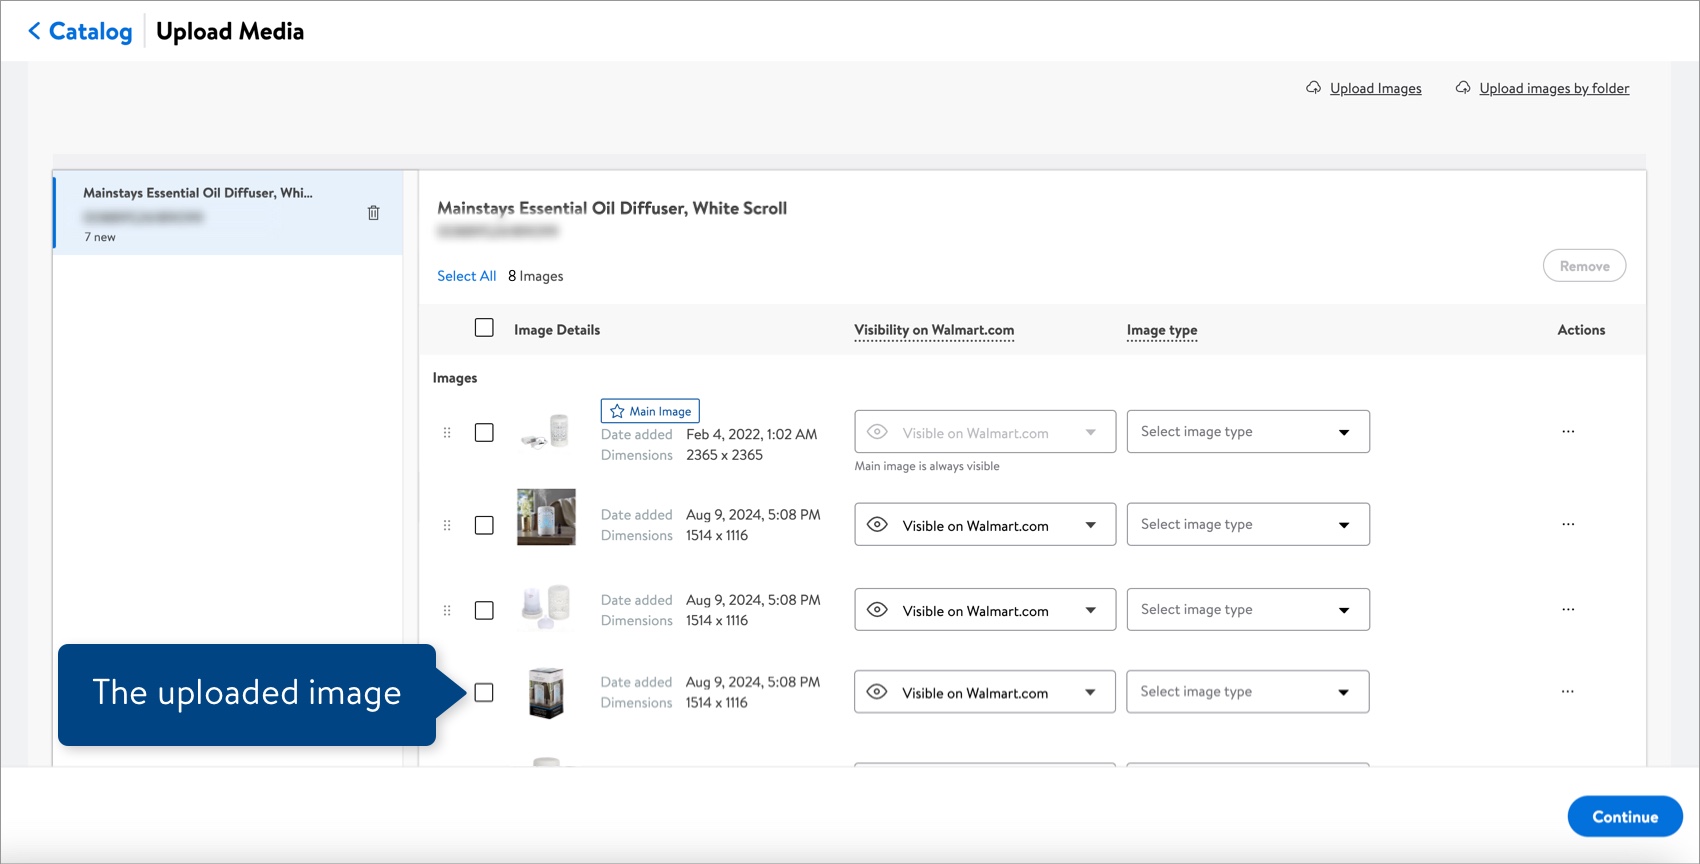
- The uploaded image files will appear below the existing images.
Upload Image Folders for Other Items
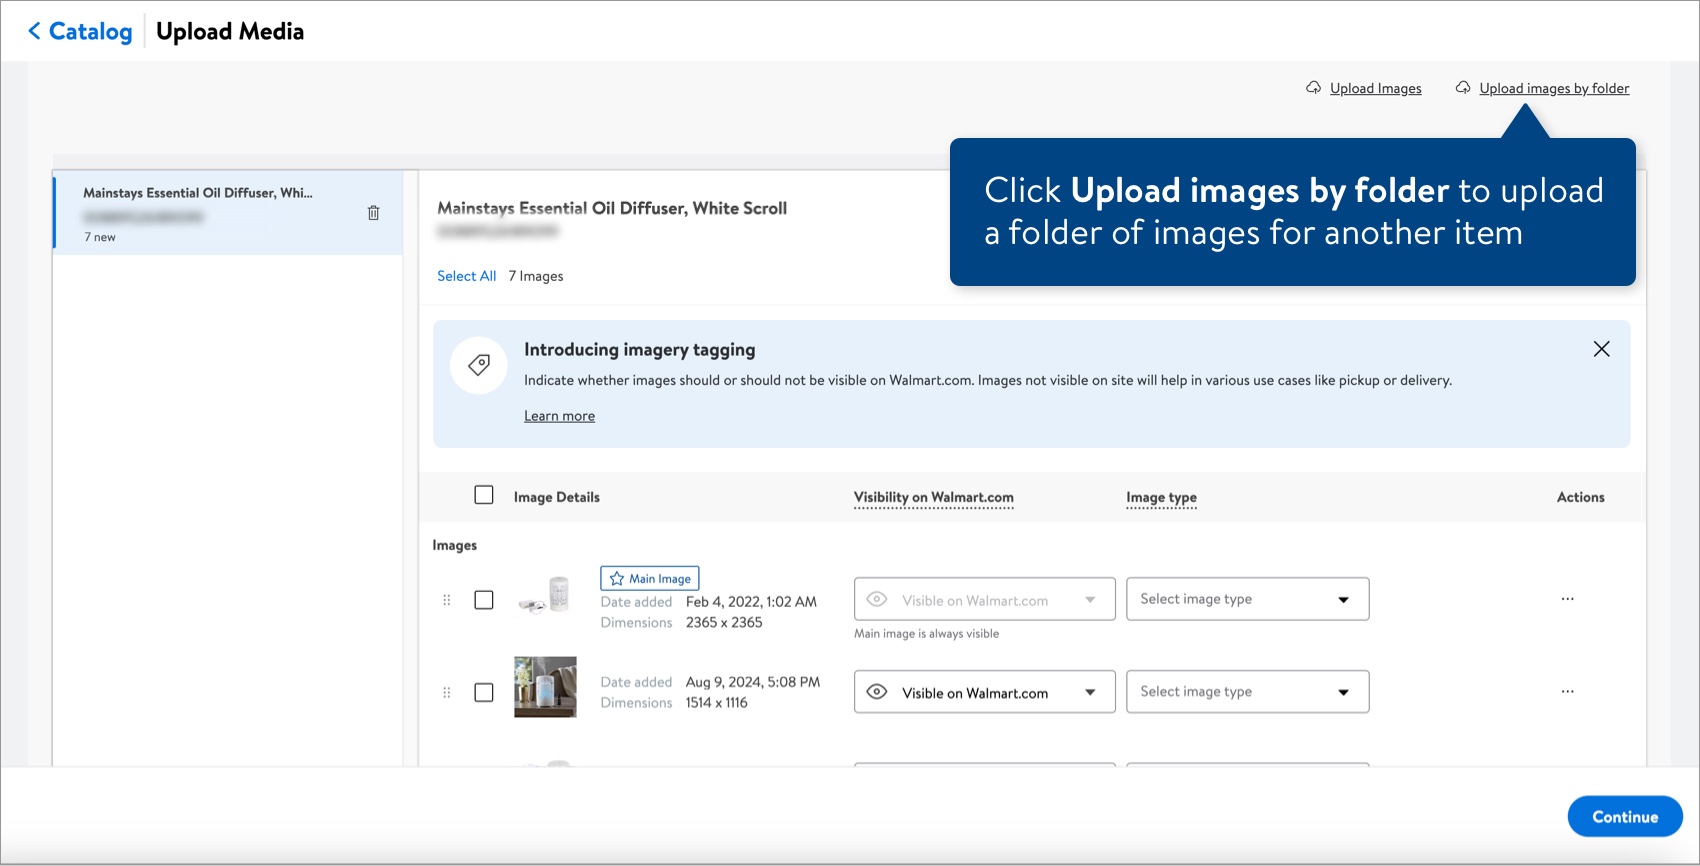
- Click Upload images by folder to upload a folder of images (named with the item GTIN) for another item.
 To select multiple folders of images, place them in a single folder (named anything except for a GTIN).
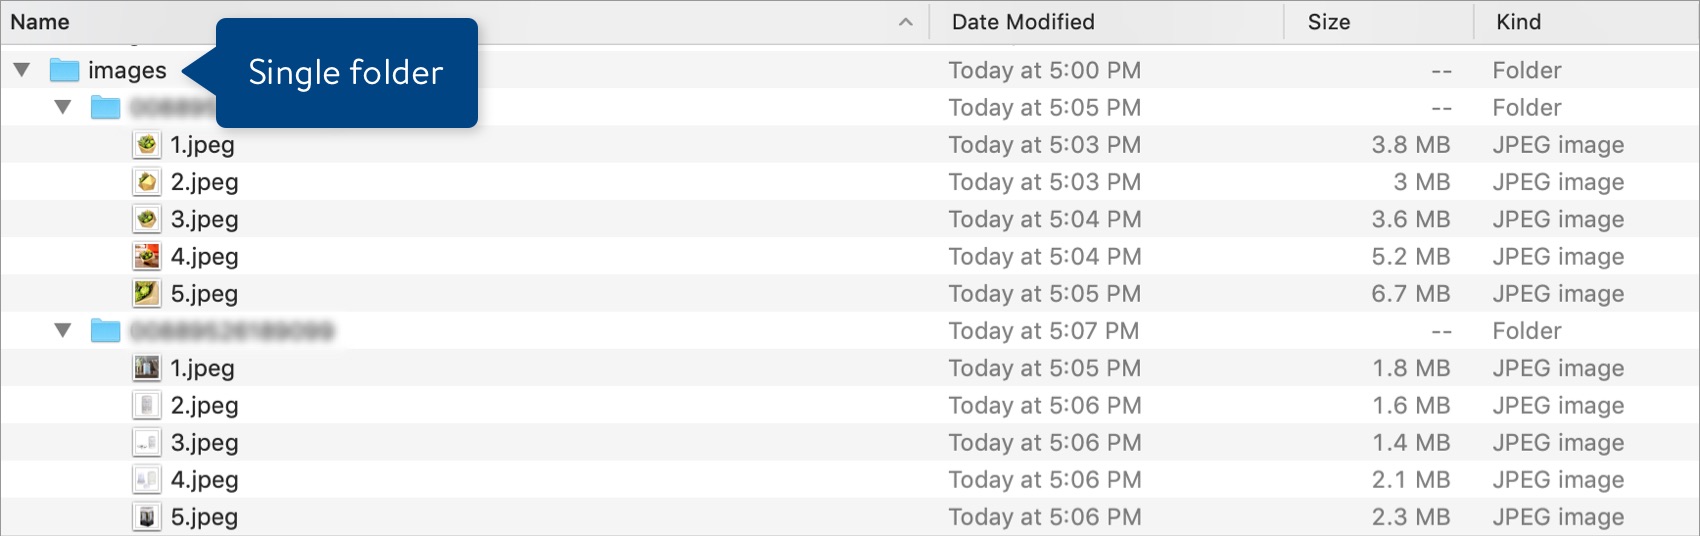
- Drag and drop the folder of images into the dotted area. You can also click the Choose folder button to select a folder of images from your computer.

Having Issues Uploading Images?
Check for the most common errors before trying your upload again.
Have Questions or Need Help?
If you experience any issues viewing and managing your catalog, please click "Help" in the top navigation menu and select "Manage tickets" to file a case ticket. Or, select "Chat" to get real-time help from our chat bot or click "Search articles" to search Supplier One HelpDocs.
Make sure to select the issue type Items and Inventory.
For detailed instructions, refer to Manage Case Tickets.