Supplier Onboarding: Product and Insurance (GFR)
Access Product and Insurance
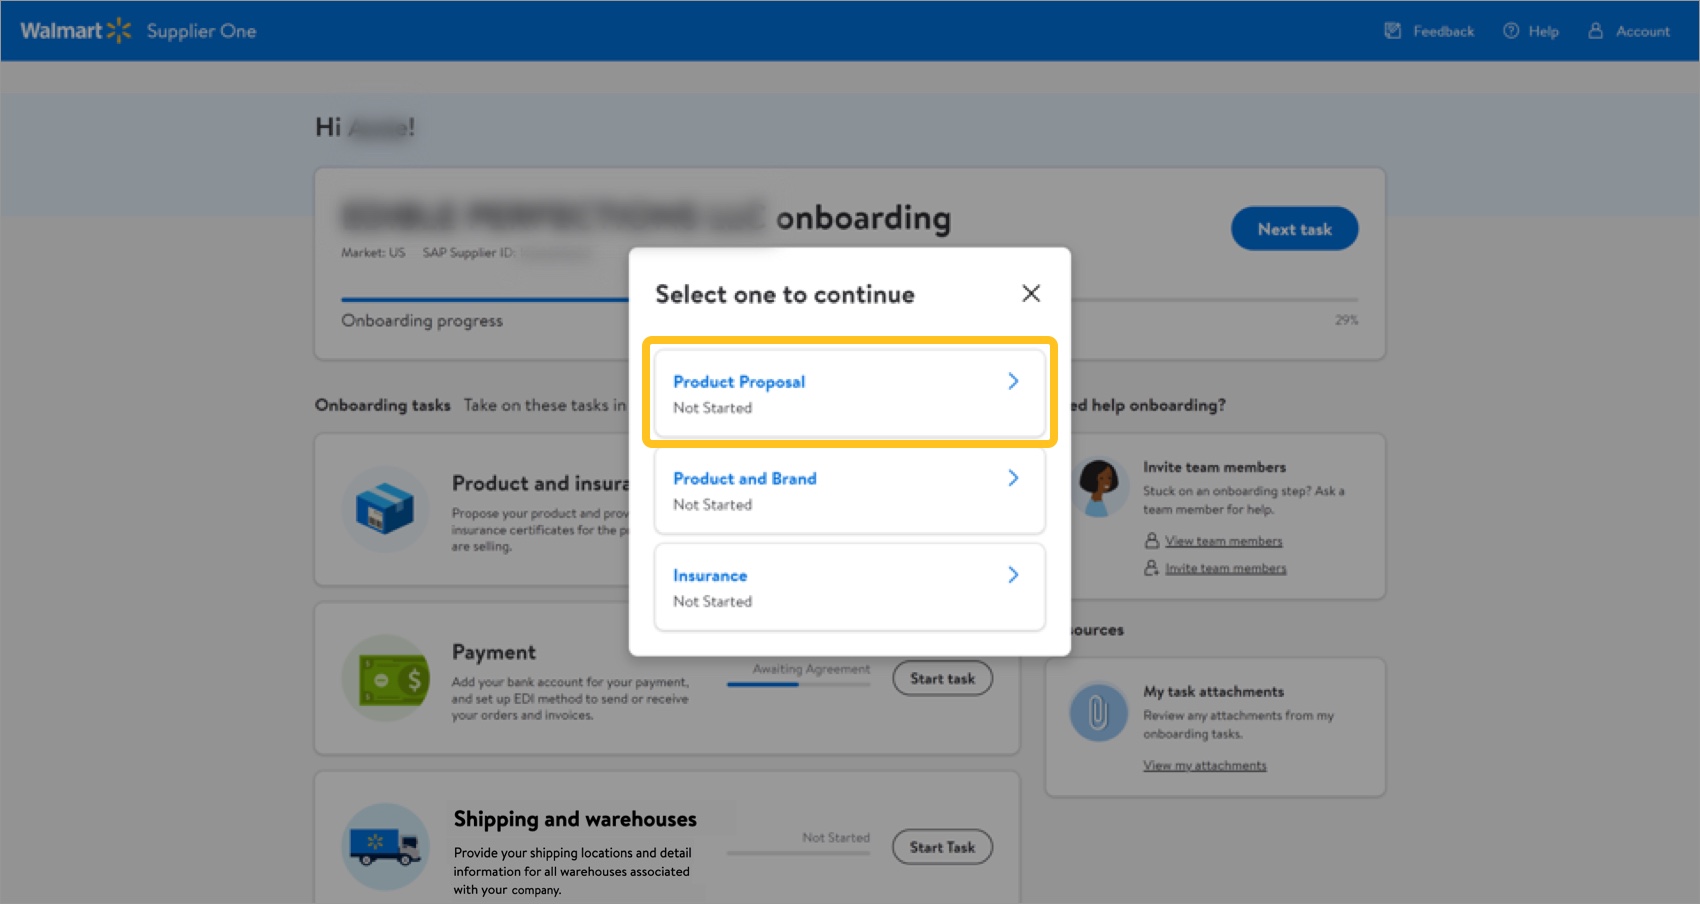
- From the supplier onboarding dashboard within Supplier One, click Start task on the Product and insurance tile.
- Select Product Proposal to tell us about products that you would like to sell at Walmart. Refer to the steps below to learn how to add product proposals.
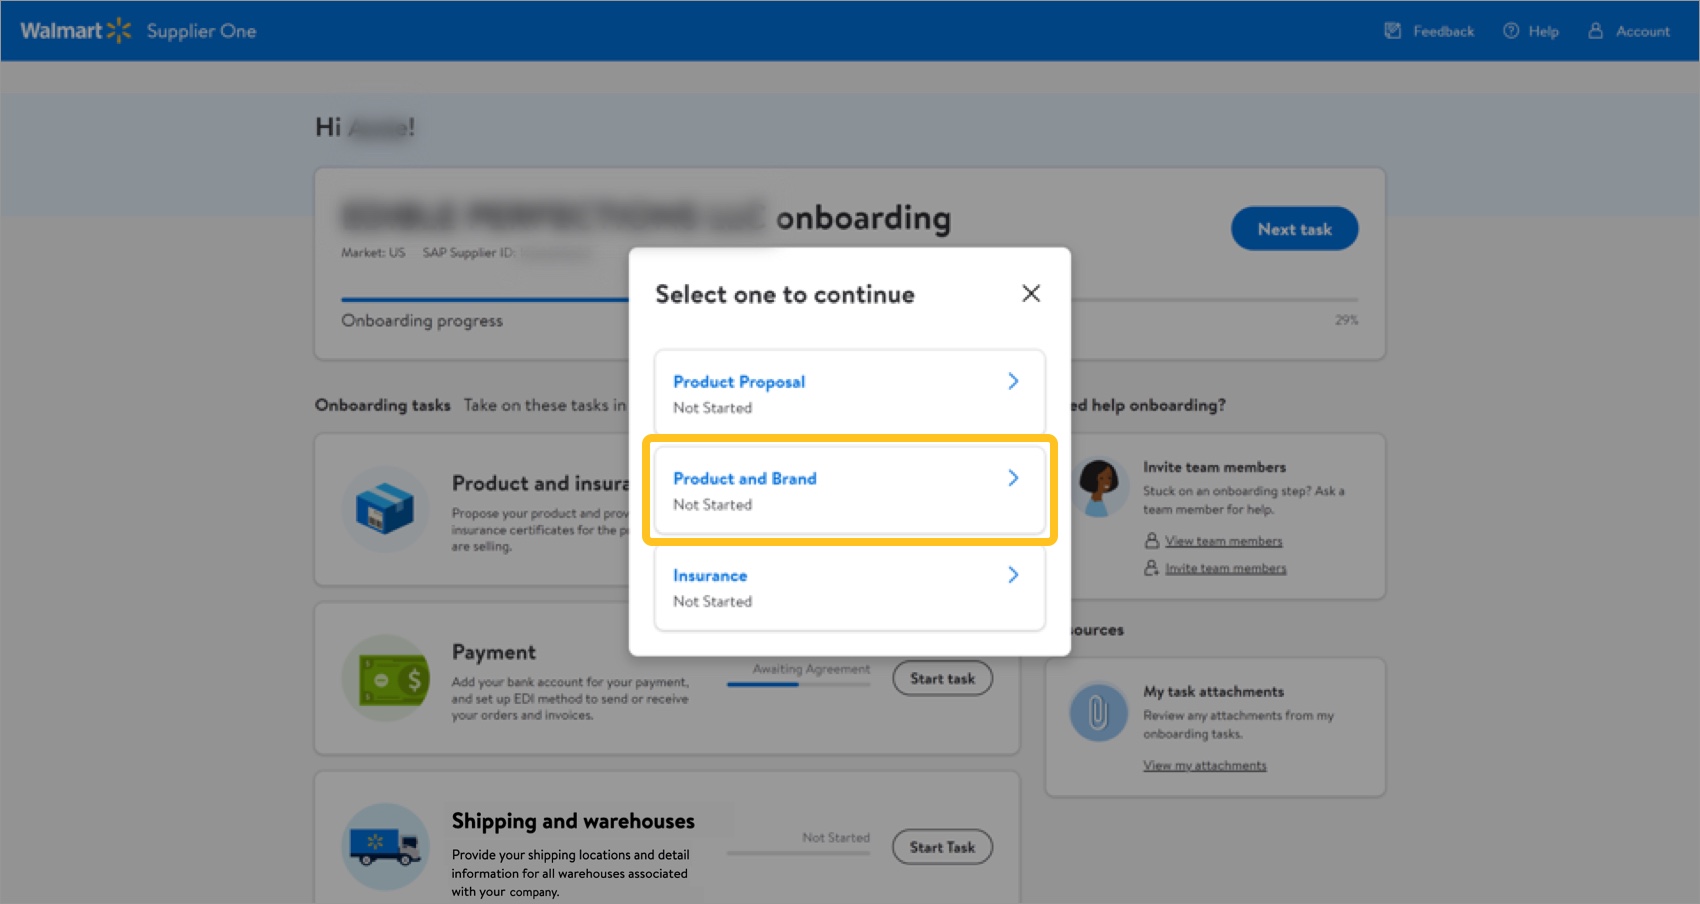
- Select Product and Brand to tell us about your products (e.g., food safety practices), where you want to sell them (in stores or online), and if they have all needed Brand IDs (for brands sold in Walmart stores). Refer to the steps below to learn how to provide product and brand information.
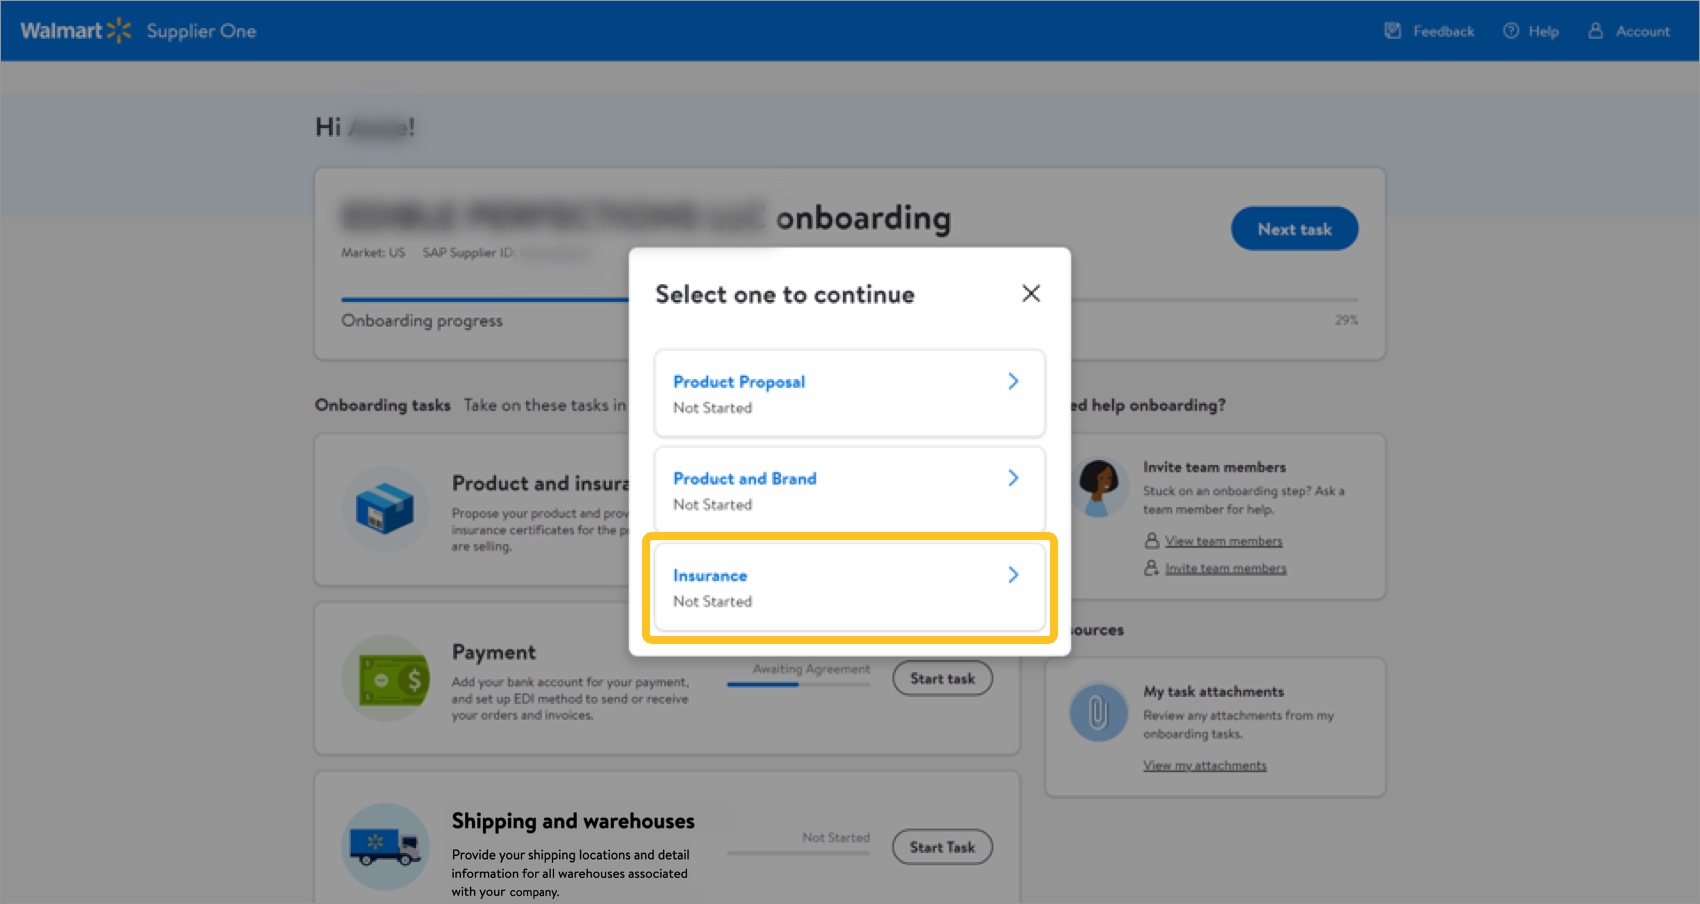
- Select Insurance to upload your current Certificate of Insurance to cover legal costs or other liabilities that could result from claims or lawsuits related to your products. Refer to the steps below to learn how to provide your insurance certificate.
- Select Product Proposal to tell us about products that you would like to sell at Walmart. Refer to the steps below to learn how to add product proposals.
Product Proposal
- Provide high-level product information about the products that you would like to sell at Walmart. Make sure to review the Responsible Sourcing Statement and click the check box to agree to the terms before clicking Continue.
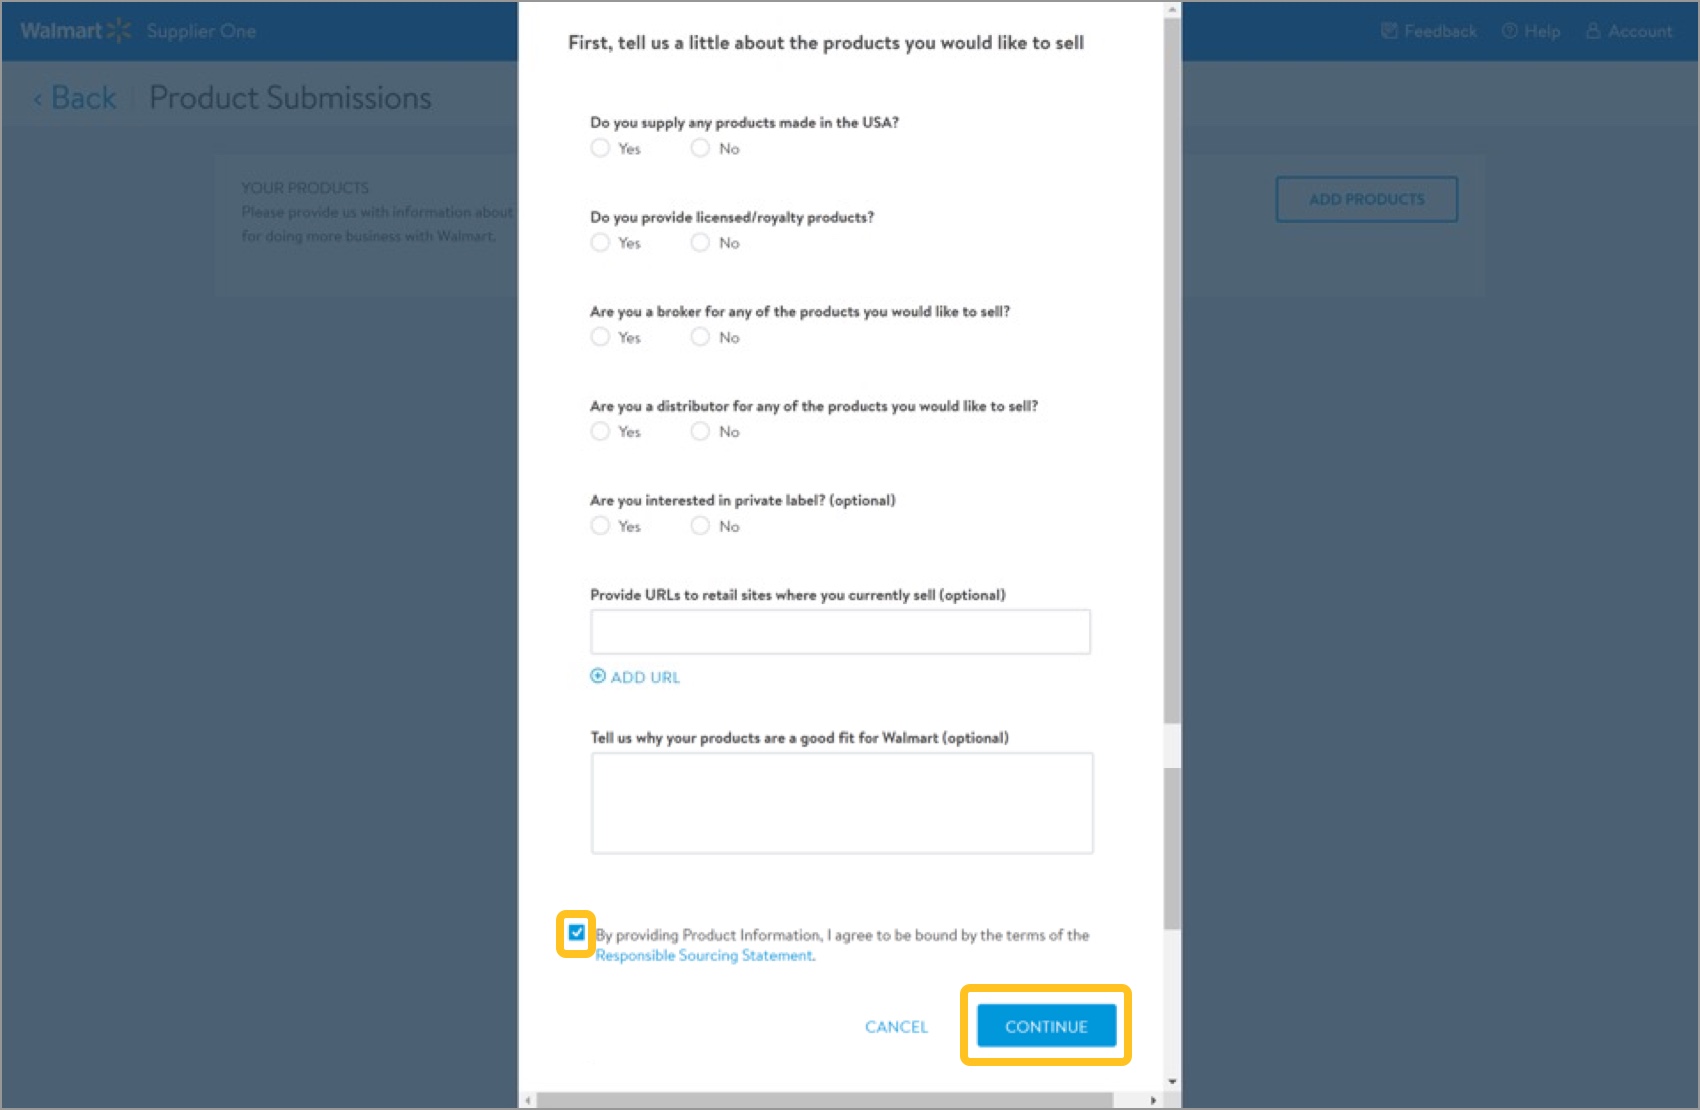
- Optional but recommended: Provide URLs to retail sites where your company currently sells products. If you need to add multiple URLs, click Add URL to add fields. This information helps the Walmart merchant understand how your items fit in the broader marketplace.
- Optional but recommended: Tell us why your company's products are a good fit for Walmart. This information helps the Walmart merchant understand how your items meet the needs of our customers or fill gaps in our assortment.Existing suppliers may provide details on how your products may fill gaps in our assortment in new categories or departments.
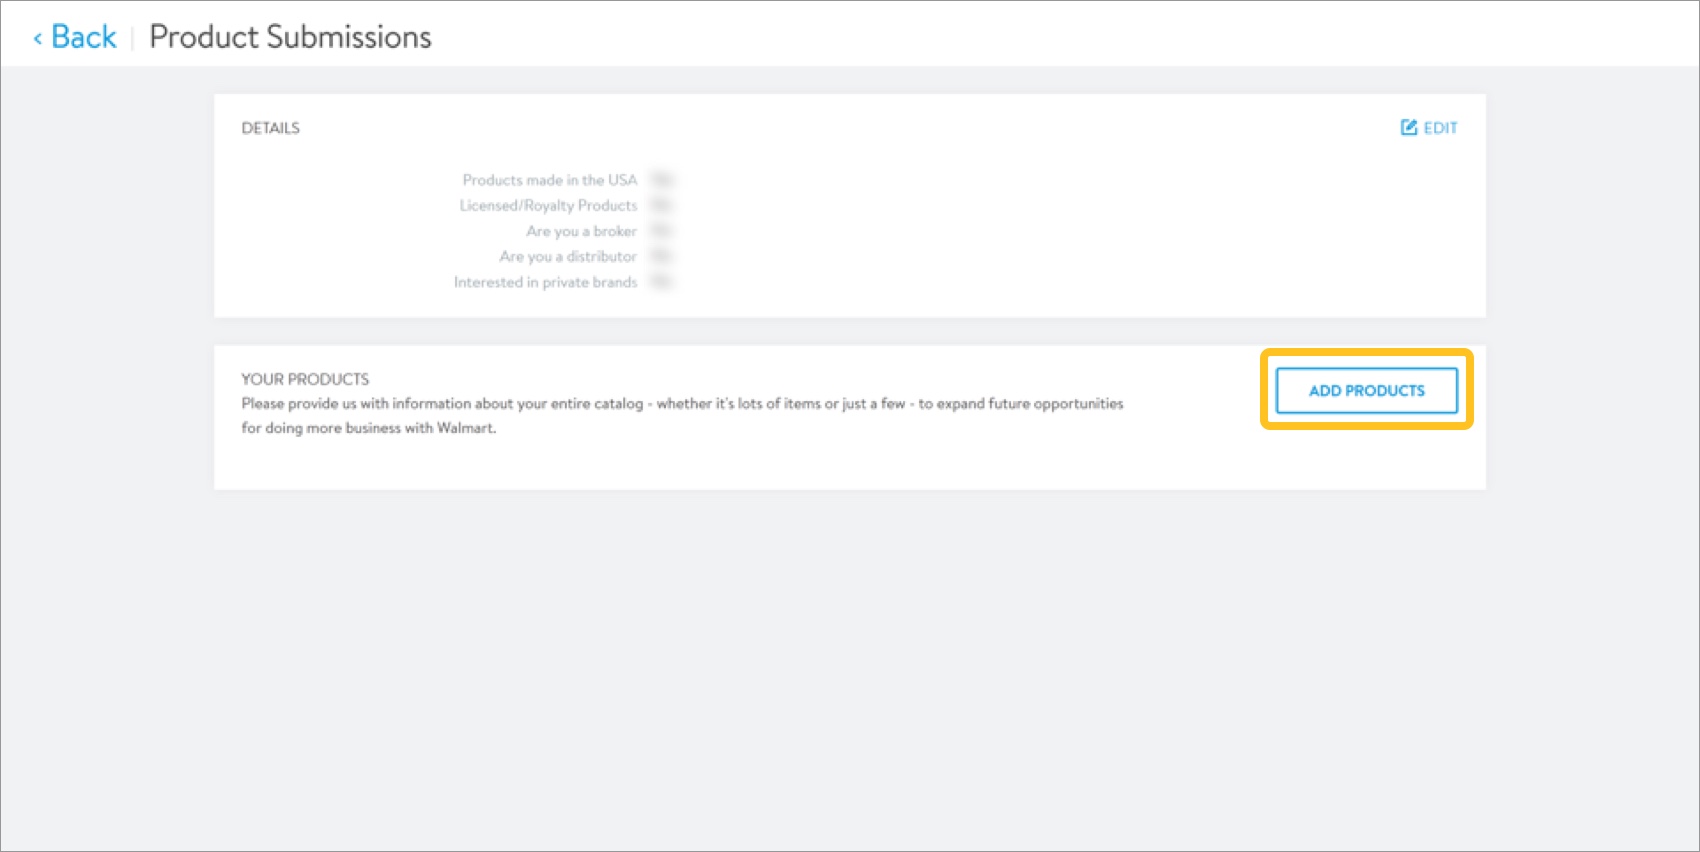
- Once you have provided the high-level product information and agreed to the Responsible Sourcing Statement, you'll see the Product Submissions page. Click Add Products to tell us more about your proposed items.
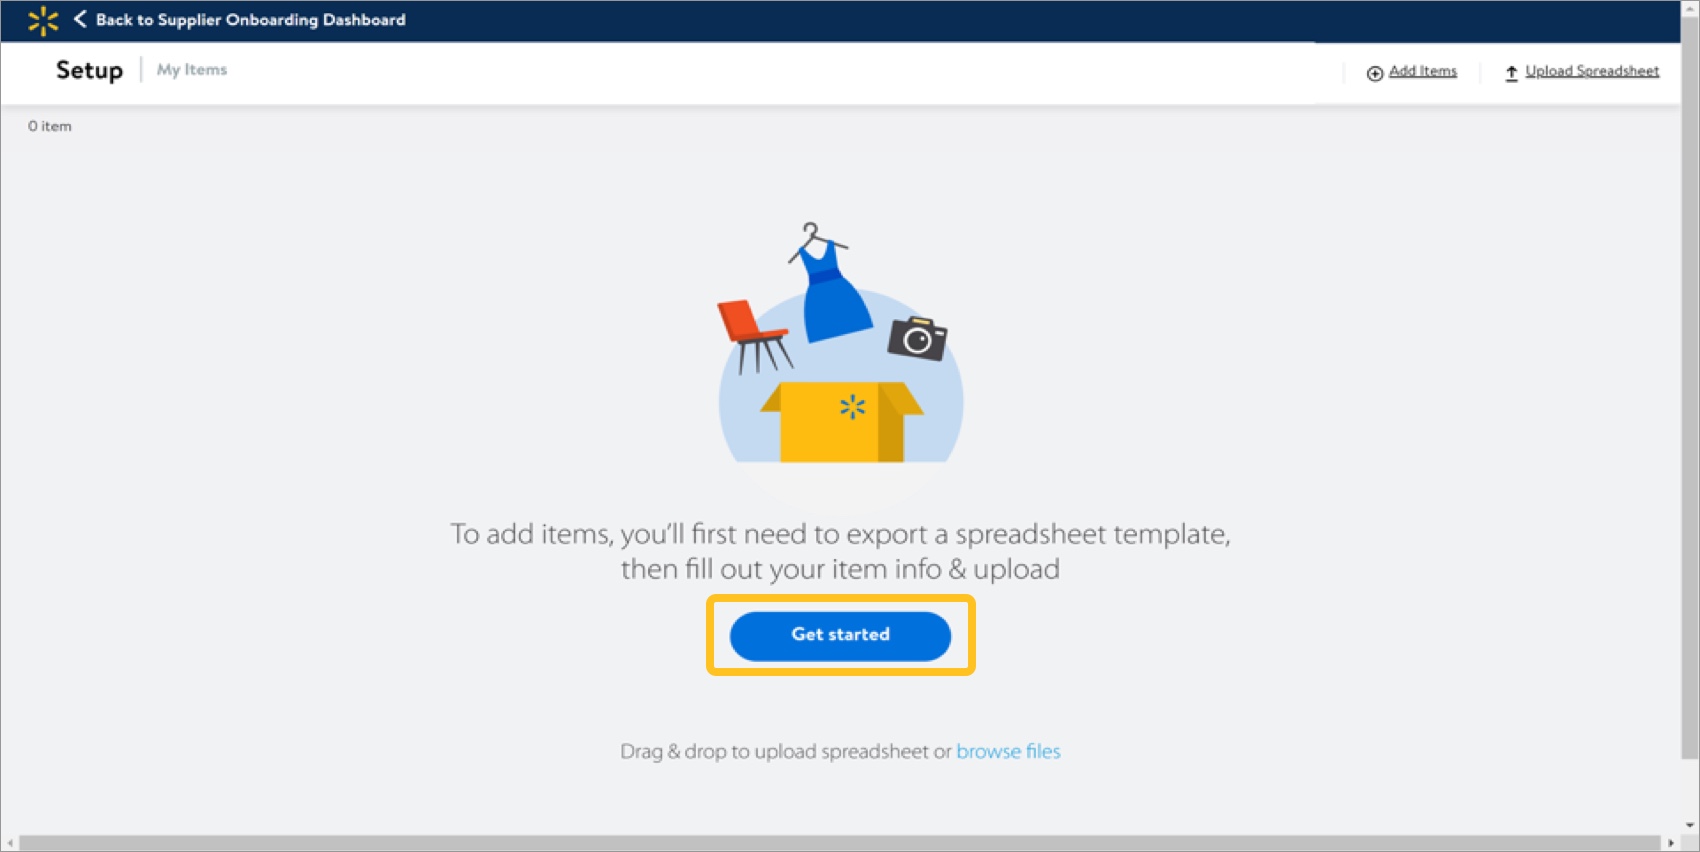
- Click Get started to begin providing product information.
 Clicking Add Items at the top right corner of the page is another way to enter this workflow.
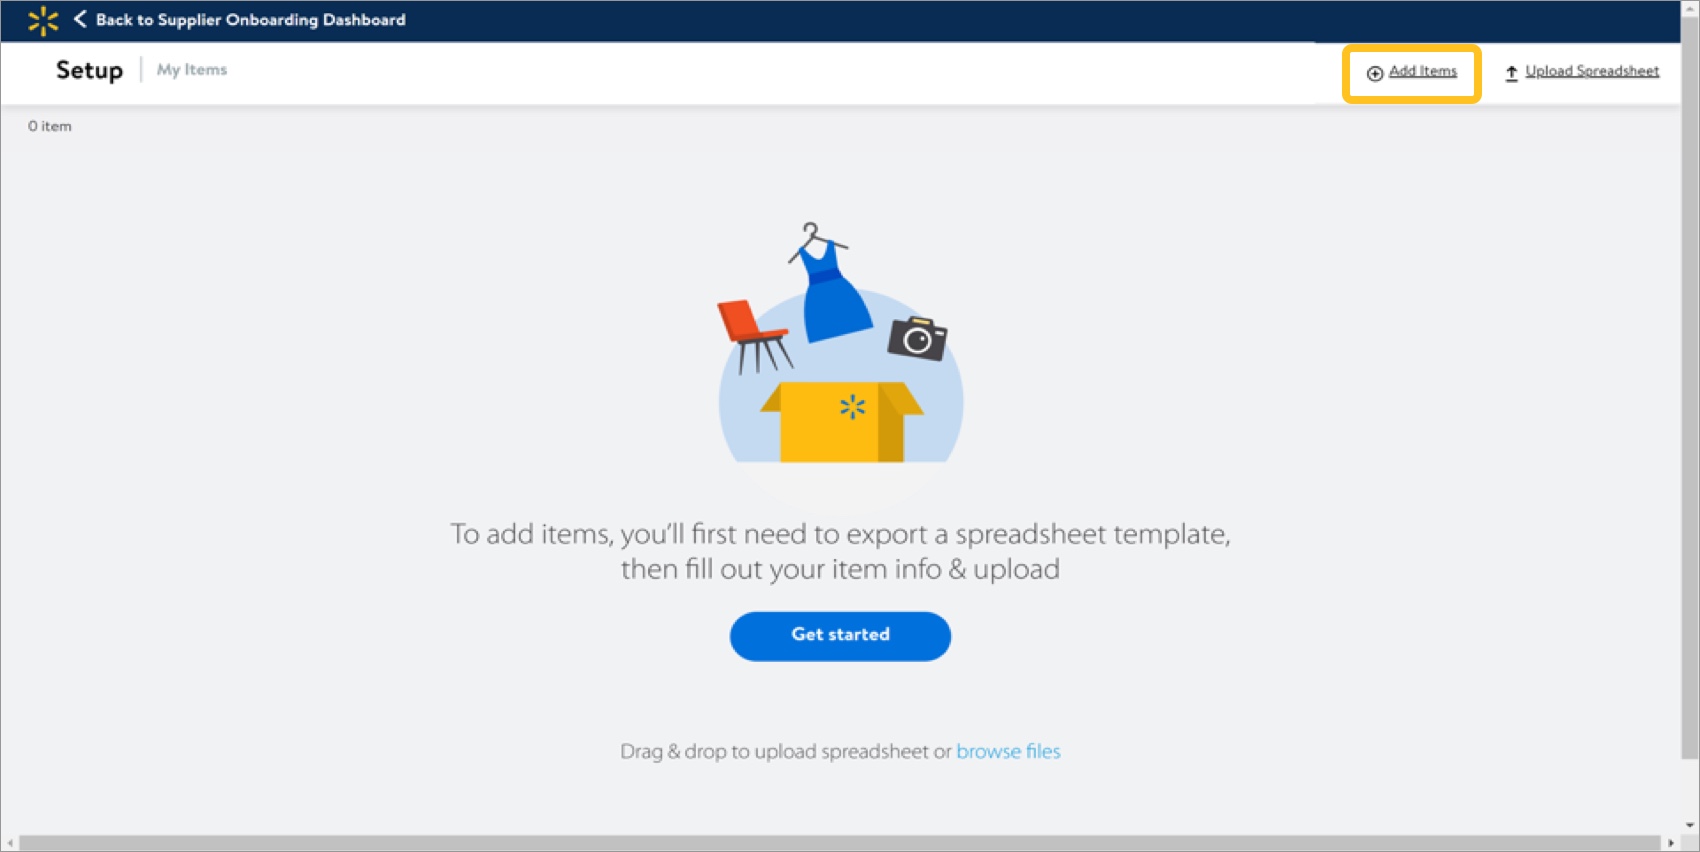 If you previously downloaded an Item Proposals spreadsheet and are ready to submit it, click Upload Spreadsheet or browse files. Skip to Step 10.
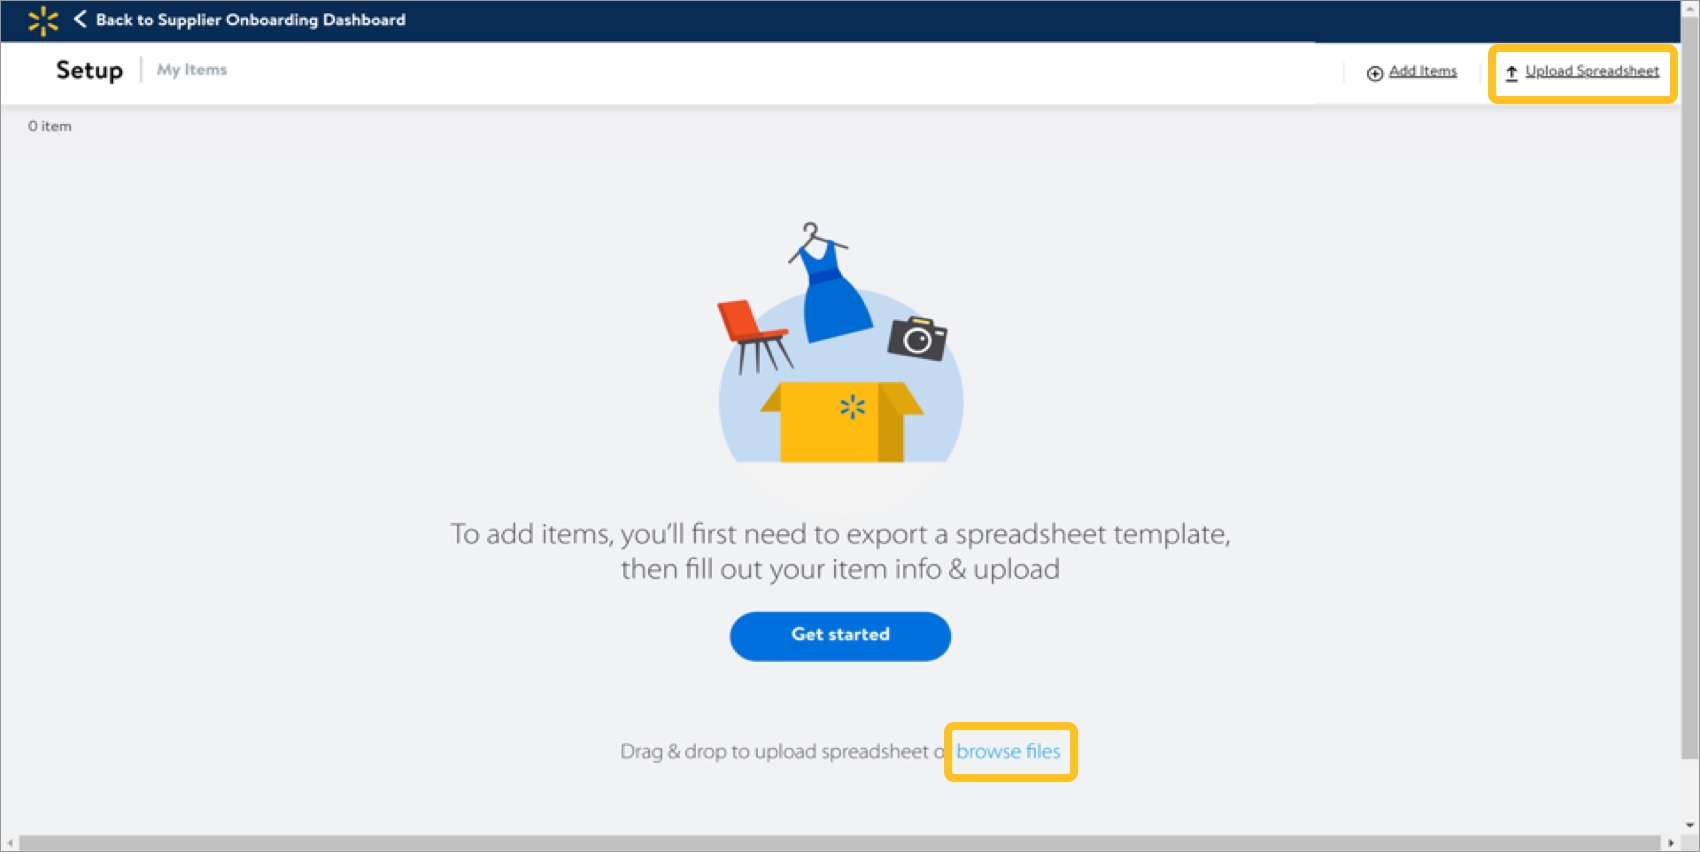
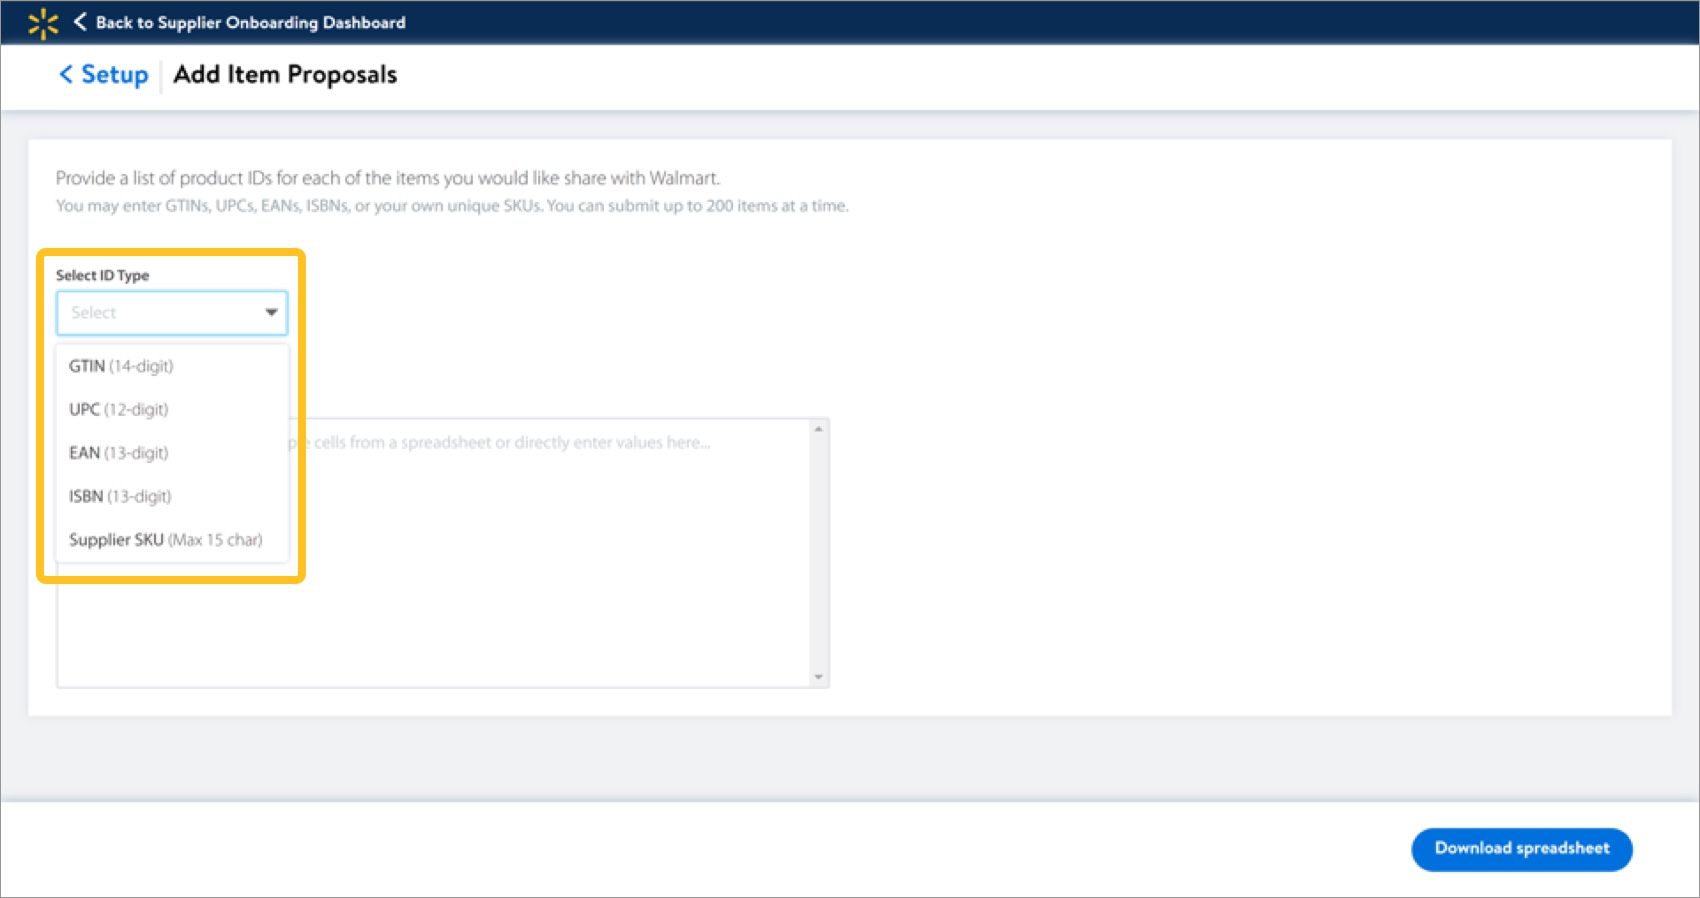
- Select the ID type (e.g., GTIN, UPC, EAN, ISBN, or Supplier SKU) from the drop-down menu.ID types are differentiated by digit length: GTIN (14 digits), UPC (12 digits), EAN (13 digits), ISBN (13 digits), and Supplier SKU (15 character maximum). Refer to Product Identifiers for more information.
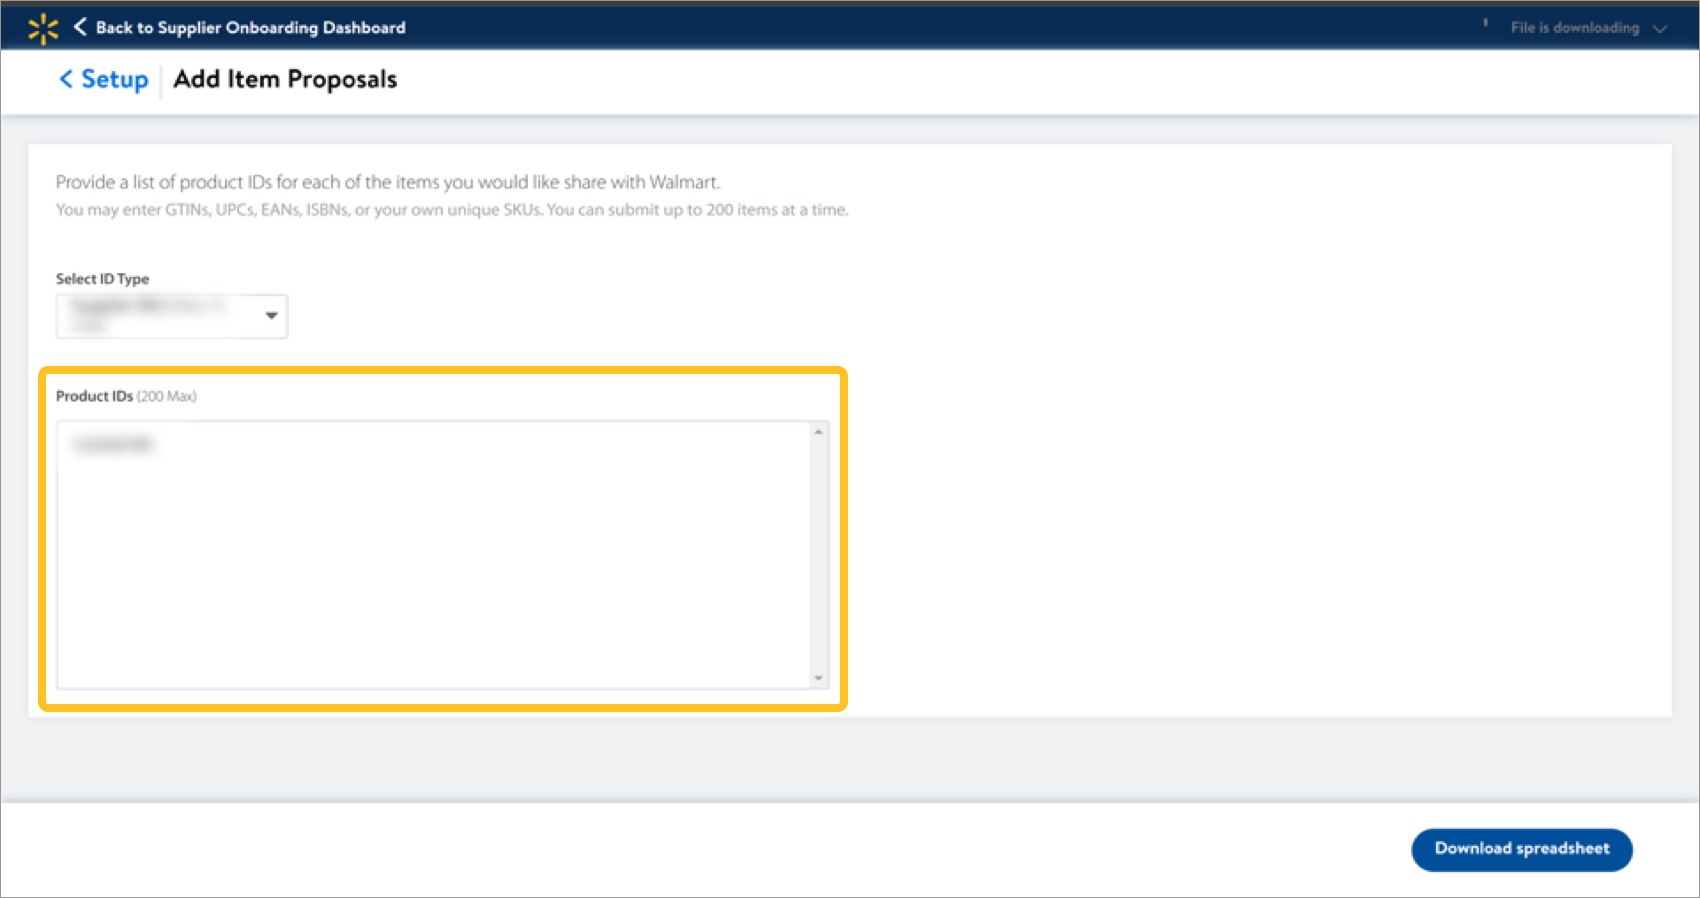
- You must provide at least one Product ID (maximum of 200) during supplier onboarding. The system validates all Product IDs provided, and any invalid Product IDs will be listed in an error message.
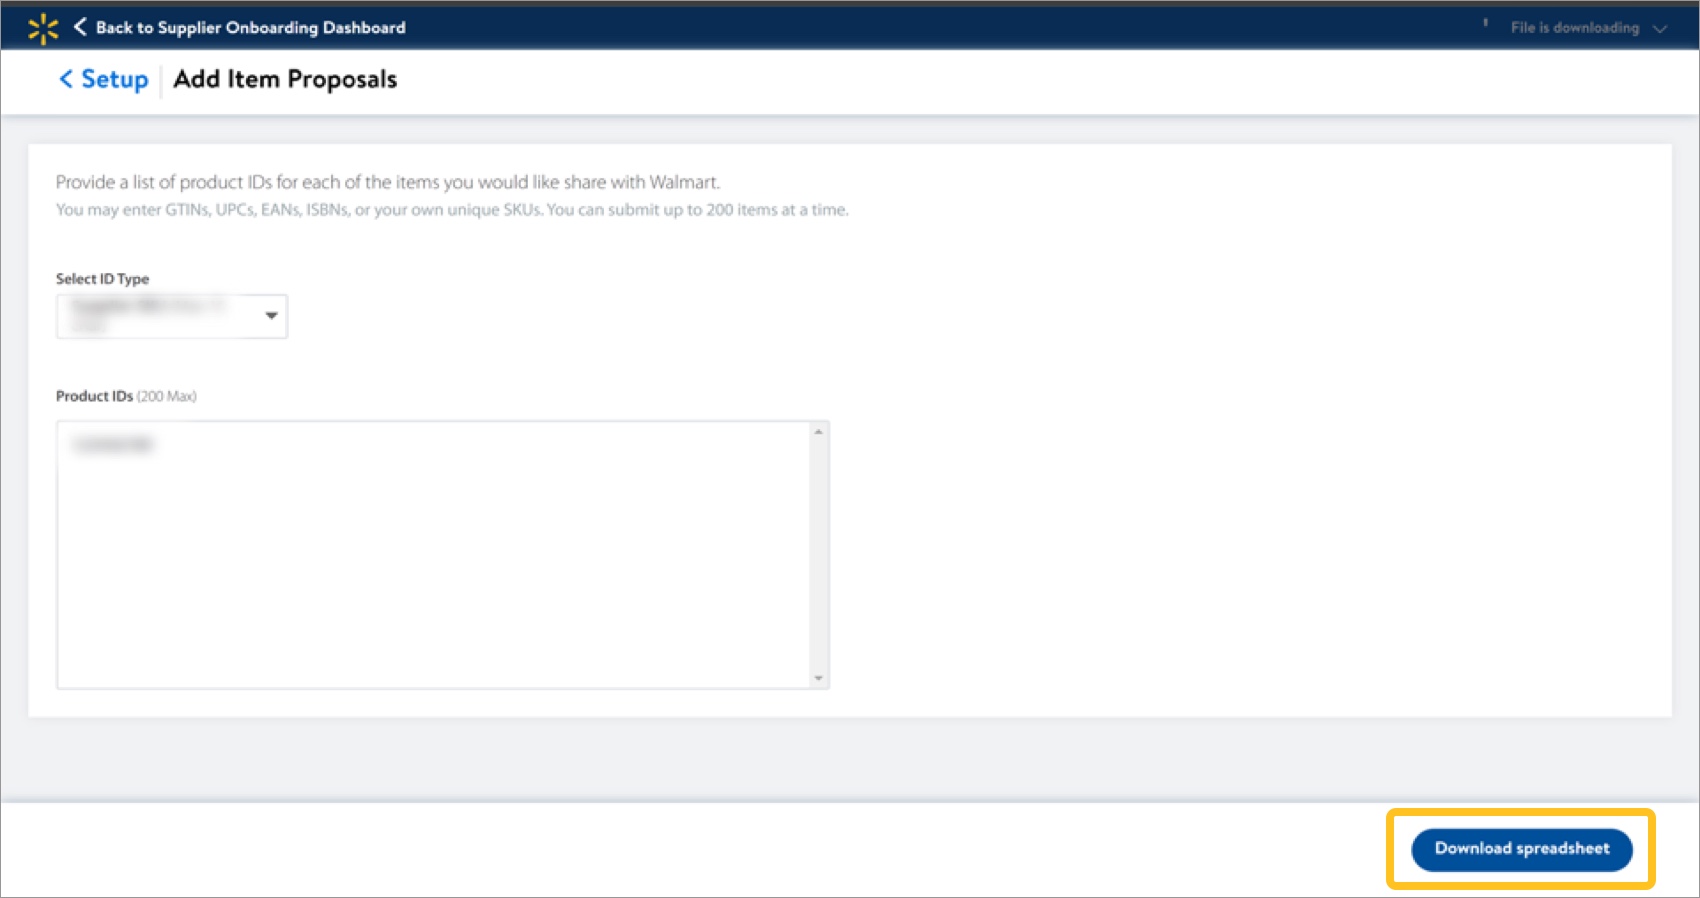
- Click Download spreadsheet to generate an Item Proposals spreadsheet. In Google Chrome, an icon appears at the top right corner to indicate download progress. Once the download is complete, click on the file name to open/save it.By default, the spreadsheet is named with the date and time it was created. You can give it a unique file name to make it easier to remember. Save your spreadsheet in Excel Workbook, or .xlsx, format.
- In the newly created/downloaded spreadsheet, fill in all required fields. Refer to the attribute definitions and requirements in Row 6 below the attribute names.All fields under the columns with a blue header are required ("Minimum required for a merchant to consider your products"). The system will not allow upload of or process a spreadsheet with missing required information. For more information, refer to the table below:
Attribute
Valid Data Type(s) and Instructions
Product ID Type
Closed List – Select one of the following options from the drop-down menu:
- UPC: GTIN-12, the 12-digit number including check digit. If less than 12-digits (such as an 8-digit UPC-E), add leading zeros.
- GTIN: GTIN-14, the 14-digit number including check digit. If less than 14-digits, add leading zeros.
- ISBN: International Standard Book Number, the 10 or 13-digit number including check digit.
- EAN: GTIN-13, the 13-digit number including check digit. If less than 13-digits, add leading zeros.
- SKU: Up to 50 characters. The string of letters and/or numbers a partner uses to identify the item. EDI users must not exceed 15 characters for this field.
Product ID
Alphanumeric, 50 characters – Provide the GTIN, EAN, UPC or SKU that identifies the product.
- Example: 00123456781011
Product Category
Closed List – Select the IronBank Universal Product Category / Subcategory that best matches the product. This is used to organize and define products.
Product Name
Alphanumeric, 200 characters – Provide the title of the product as it would be displayed on the Item Page. The standard form is: Brand + Defining Qualities + Item Name + Pack Count, if applicable.
- Example: George Girls' Short-Sleeve Polo
Brand
Alphanumeric, 60 characters – Provide the name, term, design, or other feature that distinguishes one seller's product from those of others. This can be the name of the company associated with the product, but not always. If item does not have a brand, use "Unbranded".
- Example: M&Ms
Site Description
Alphanumeric, 4,000 characters – Provide an overview of the key selling points of the item, marketing content, and highlights in paragraph form. For SEO purposes, repeat the product name and relevant keywords here.
- Example: The George - Girls' Short Sleeve Polo Shirt will make a great addition to your daughter's uniform wardrobe. This short-sleeved girls' shirt has a flat knit collar and cuff for a comfortable fit. Plus, it's tagless, so your daughter's skin won't be irritated by a scratchy tag. This girls' short sleeve polo is made from a cotton blend, and treated with Scotchgard for stain protection. It has a two-button placket, an extended back hem and vents on each side hem. The girls' polo shirt is machine washable and very easy to maintain.
Key Features (+)
Alphanumeric, 4,000 characters – As a best practice, provide short, 200-character key features that will appear as bulleted text on the item page and in search results. Key features in this simple and clean format help customers understand the benefits of the product. We highly recommended using three or more key features.
- Example: Classic American dish in original flavor
Learn how to format key features and add more columns if needed.Product Packaging Level Code
Closed List – Select the level of the Trade Item pack from the drop-down menu:
- EA: Each
- CA: Case
- IN: Inner Pack
- PL: Pallet
Learn more about Trade Item levels.Unit Cost
Decimal, 10 characters – Provide the price Walmart is paying the supplier per unit (i.e., the orderable cost divided by the orderable quantity), formatted with 2 digits right of the decimal and no commas or currency symbol.
- Example: 23.52
Suggested Retail
Decimal, 8 characters – Provide the manufacturer's suggested retail price. This is not the price that Walmart customers will pay for your product. You can use up to 8 digits before the decimal place. Do not use commas or dollar signs.
- Example: 19.95
Suggested Retail UOM
Closed List – Select the unit of measurement that determines how to charge the customer when a bulk barcode is entered at point of sale. This flag tells the cashier to enter a count for Each or to weigh the product for Pound.
Country of Origin Code (+)
Closed List – Select the code used to declare where the product is produced for regulatory / custom's requirements. In the case of multiple countries, the country in which the last substantial process or operation, that is economically justified, was performed.
Supplier First Shippable Date
Date – Provide the date the product is first available to ship from the seller or the service is available. Used by the seller to communicate to the buyer when the product is first available to ship or the service is available to begin.
- Examples: 2024-11-17 (YYYY-MM-DD) or 2025/01/16 (YYYY/MM/DD)
Main Image URL
URL, 200 characters – Provide the main image for the item.
- File Format: JPEG (.jpg)
- Recommended Pixel Dimensions: 2200px x 2200px
- Minimum Pixel Dimensions for Zoom 1500px x 1500px
- Swatch Pixel Dimensions: 50px x 50px
- Resolution: 300 ppi
- Maximum file size: 5MB
- Aspect Ratio: 1:1 (Square)
- Recommended File Naming: GTIN-14 digit
Image URLs should end in an image file type (.jpg) to follow best practices. They must link to a public image file that loads as an image.
You can use the image provided here if you don't have one for your product yet. This will allow you to move forward and upload the product submission spreadsheet. Remember to update your product image at a later time.
The Main Image URL is not required for Fashion categories: Baby Clothing, Carriers & Accessories, Cases & Bags, Clothing, Footwear, Jewelry, and Watches. Please do not submit a Main image URL during the supplier onboarding process. - Save the spreadsheet and close the file before uploading it to the system.
- Navigate back to the My Items page. From the supplier onboarding dashboard, the path is Product and insurance tile > Product Proposal > Steps 1–2 above. Click Upload Spreadsheet or browse files.

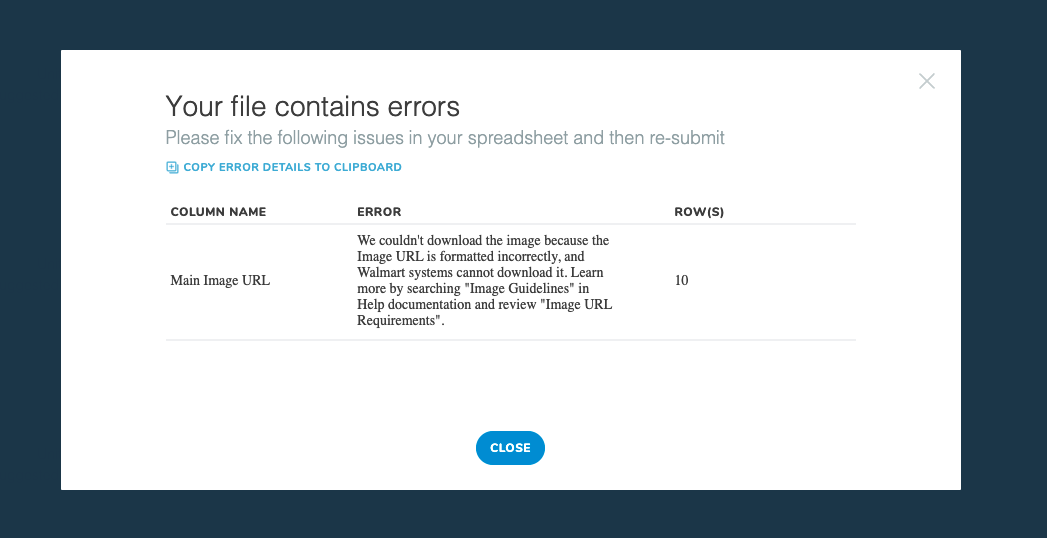
- Select and open the spreadsheet from your computer. The system will validate certain item data upon upload and show any errors in a pop-up window.If there are errors, review the error message for the attributes under the Column Name(s) and Row(s) listed. Update the values in your spreadsheet, and try uploading the file again.
- Review the uploaded items and confirm that you are ready to submit your proposals.
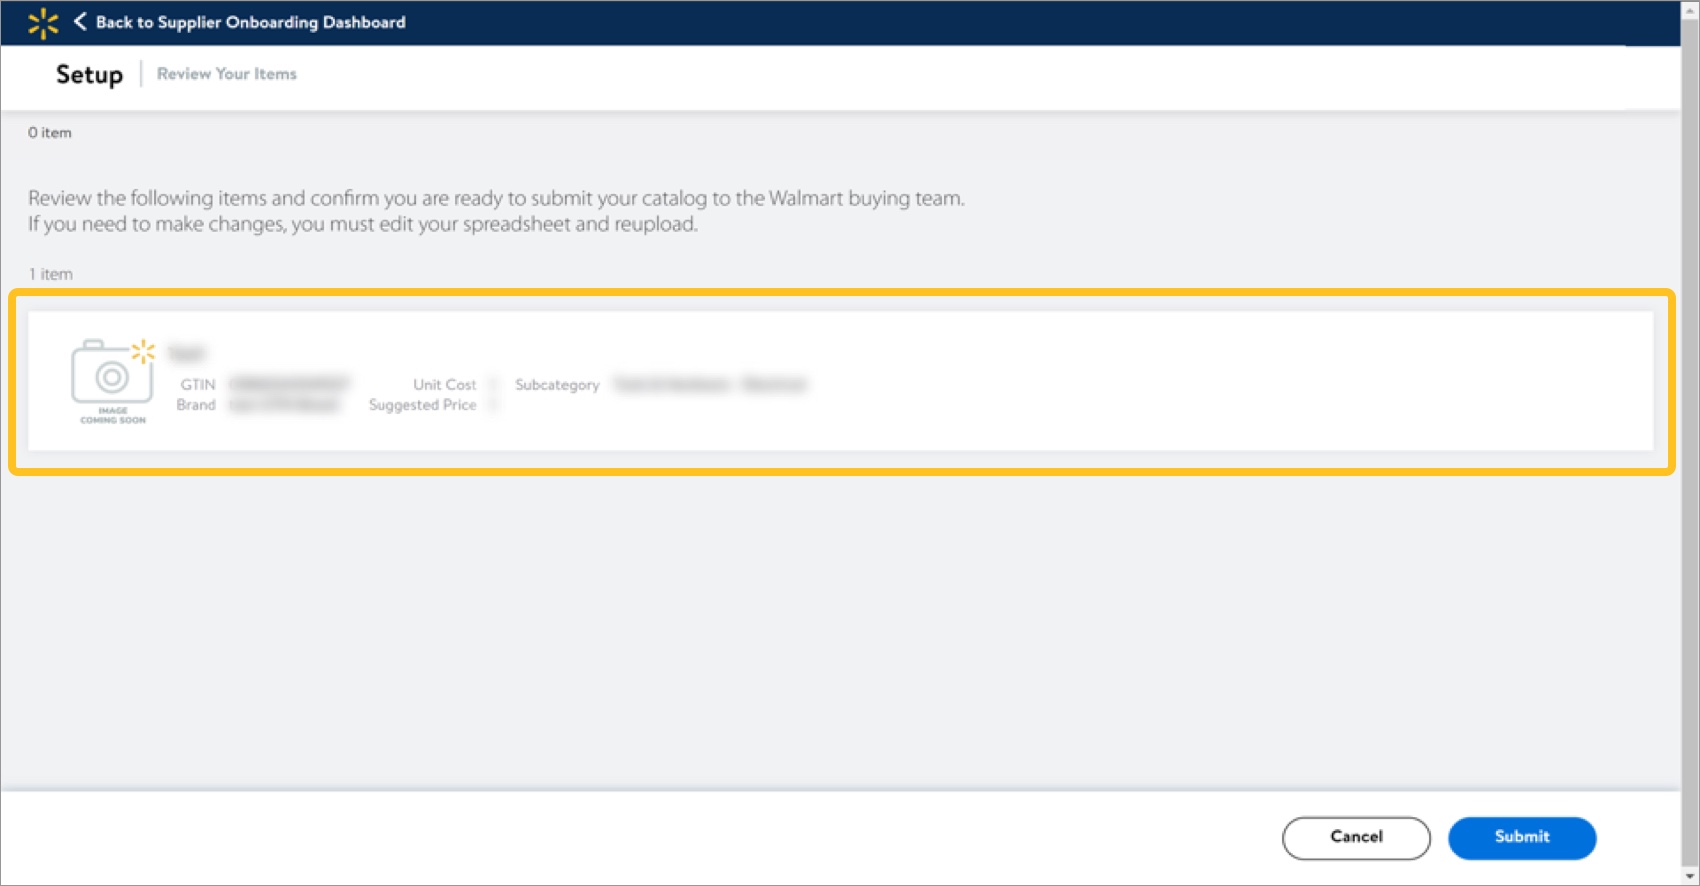 If you need to make changes, you must edit your spreadsheet and upload the file again.
 - Click Submit. The system will send your proposals to the Walmart buying team for review.
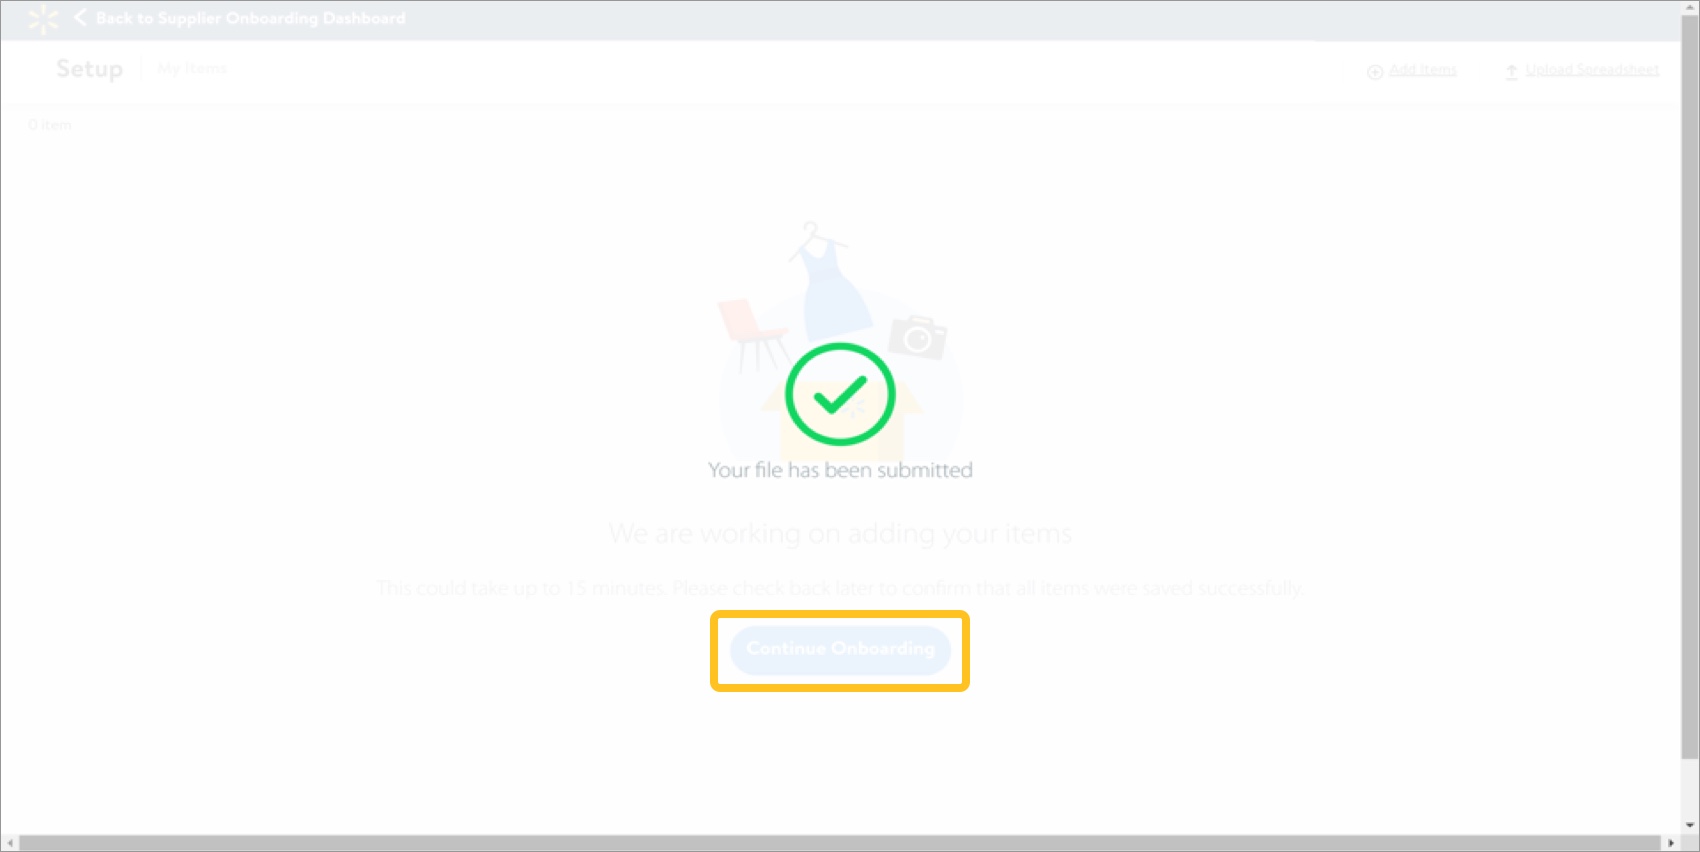
 The process of adding proposed items may take up to 15 minutes. Check back later to confirm that all items were saved successfully.
 - Click Continue Onboarding to go back to the supplier onboarding dashboard within Supplier One.
Product and Brand
- Tell us if you plan on selling products in the store. Click Next.
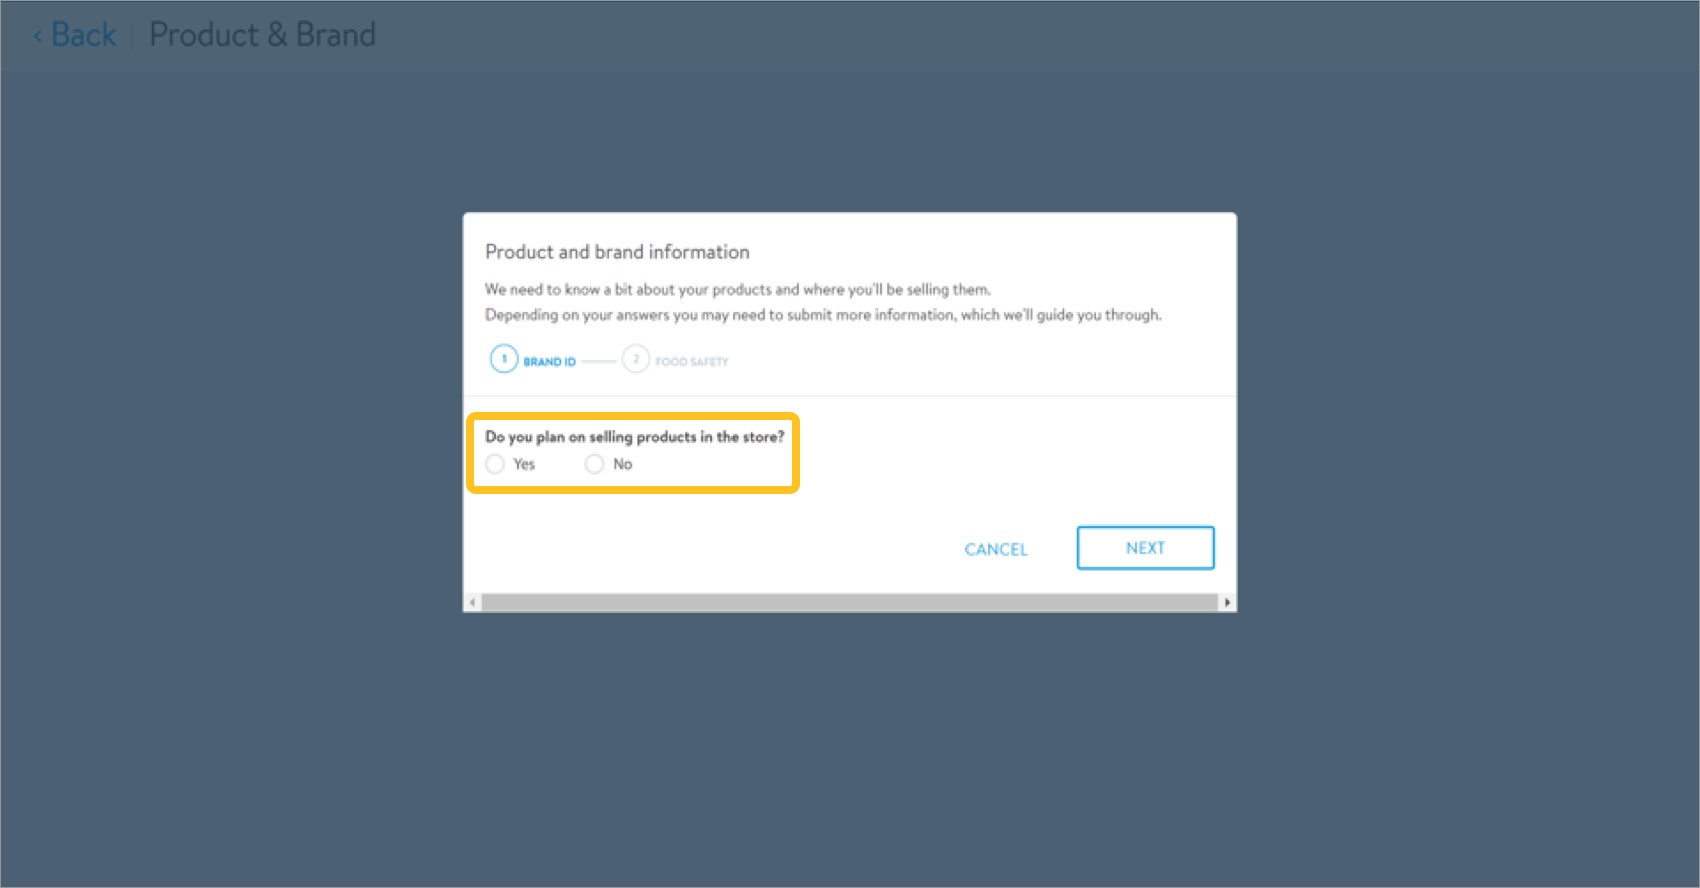 If you select Yes, a Walmart brand ID is needed for all new brands sold in the store.
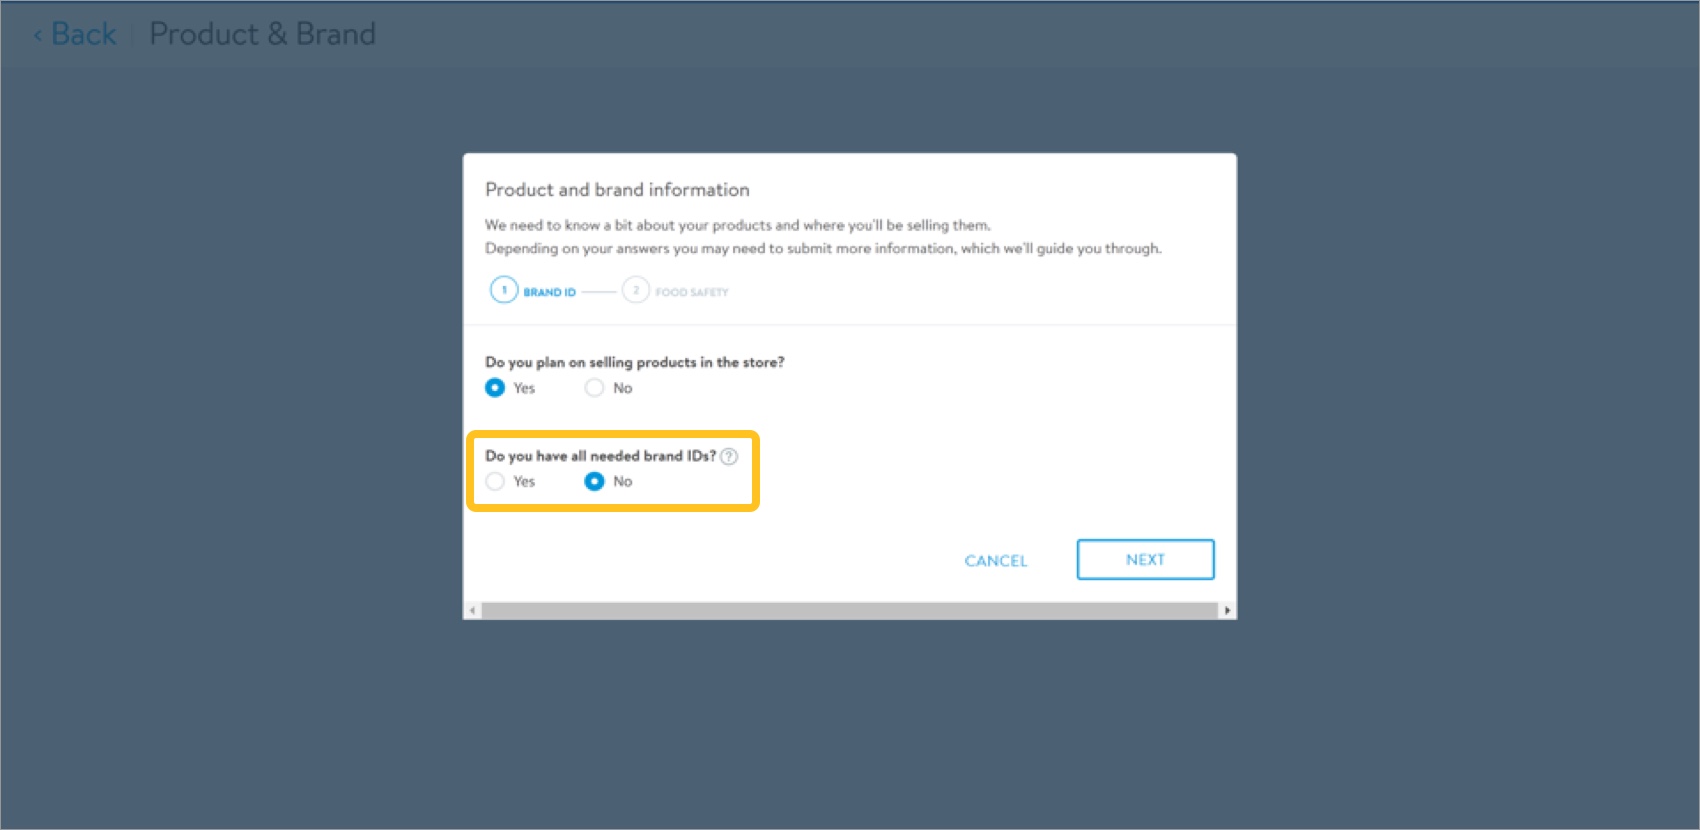
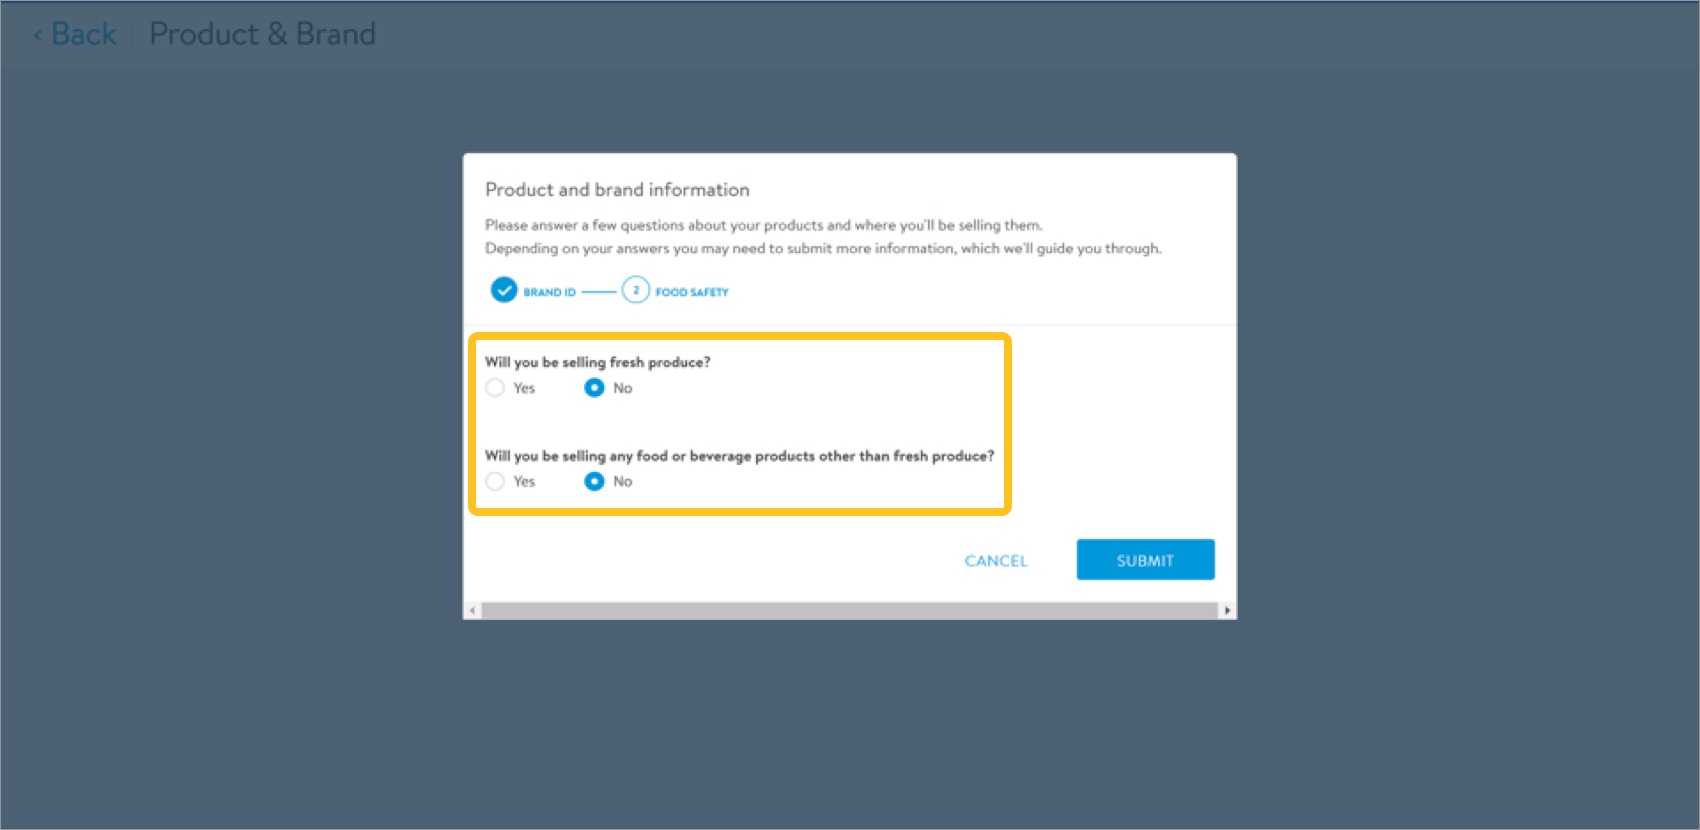
- Tell us if you will be selling fresh produce or any food or beverage products other than fresh produce. Click Submit.
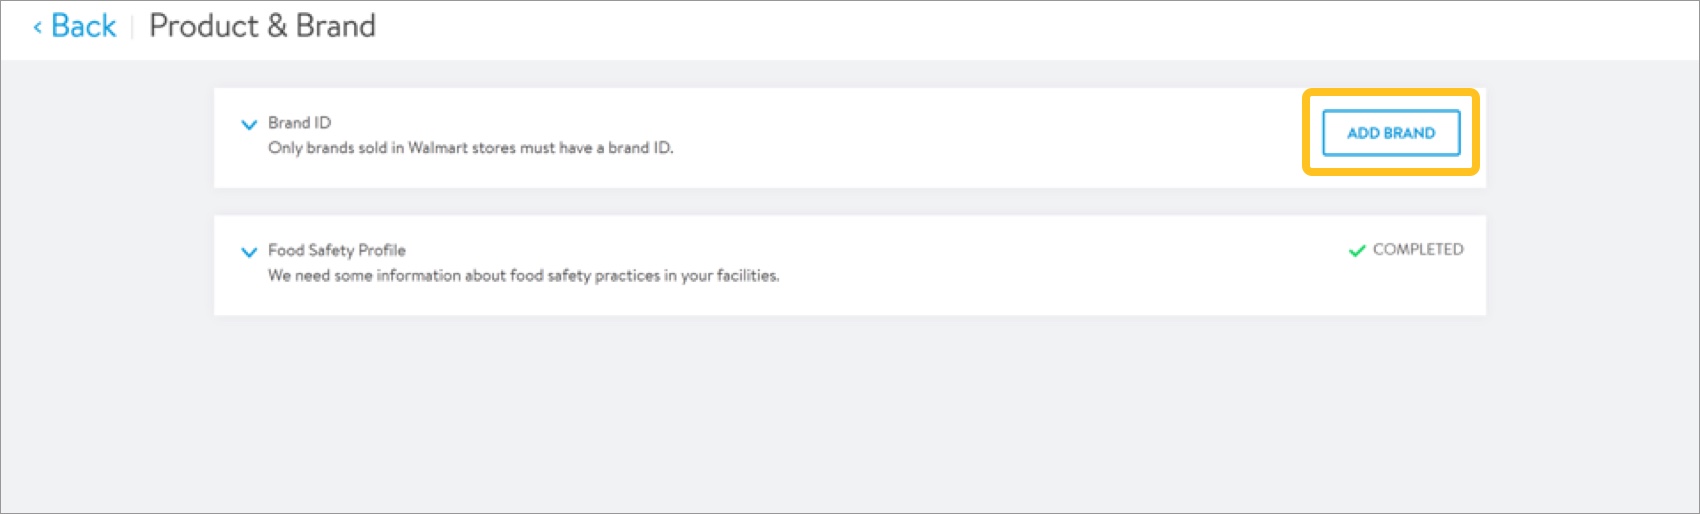
- On the Product & Brand screen, click Add Brand to provide information for new brand(s) sold in the store. Refer to the steps below.
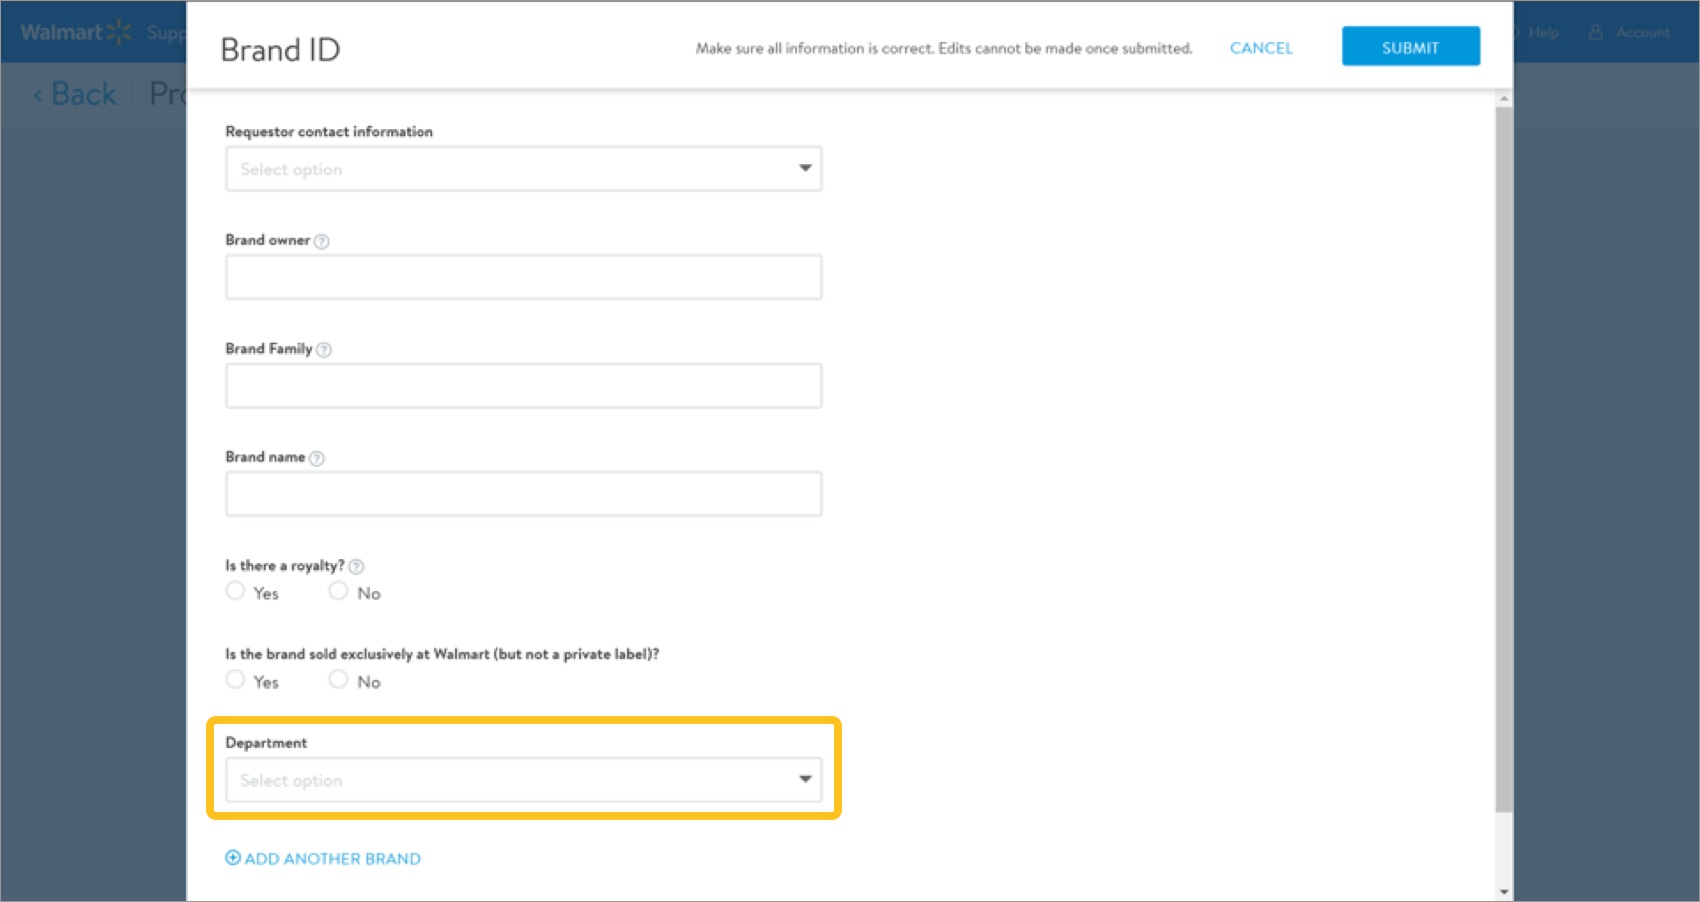
Brand ID
- Select the Requestor contact information from the drop-down menu.
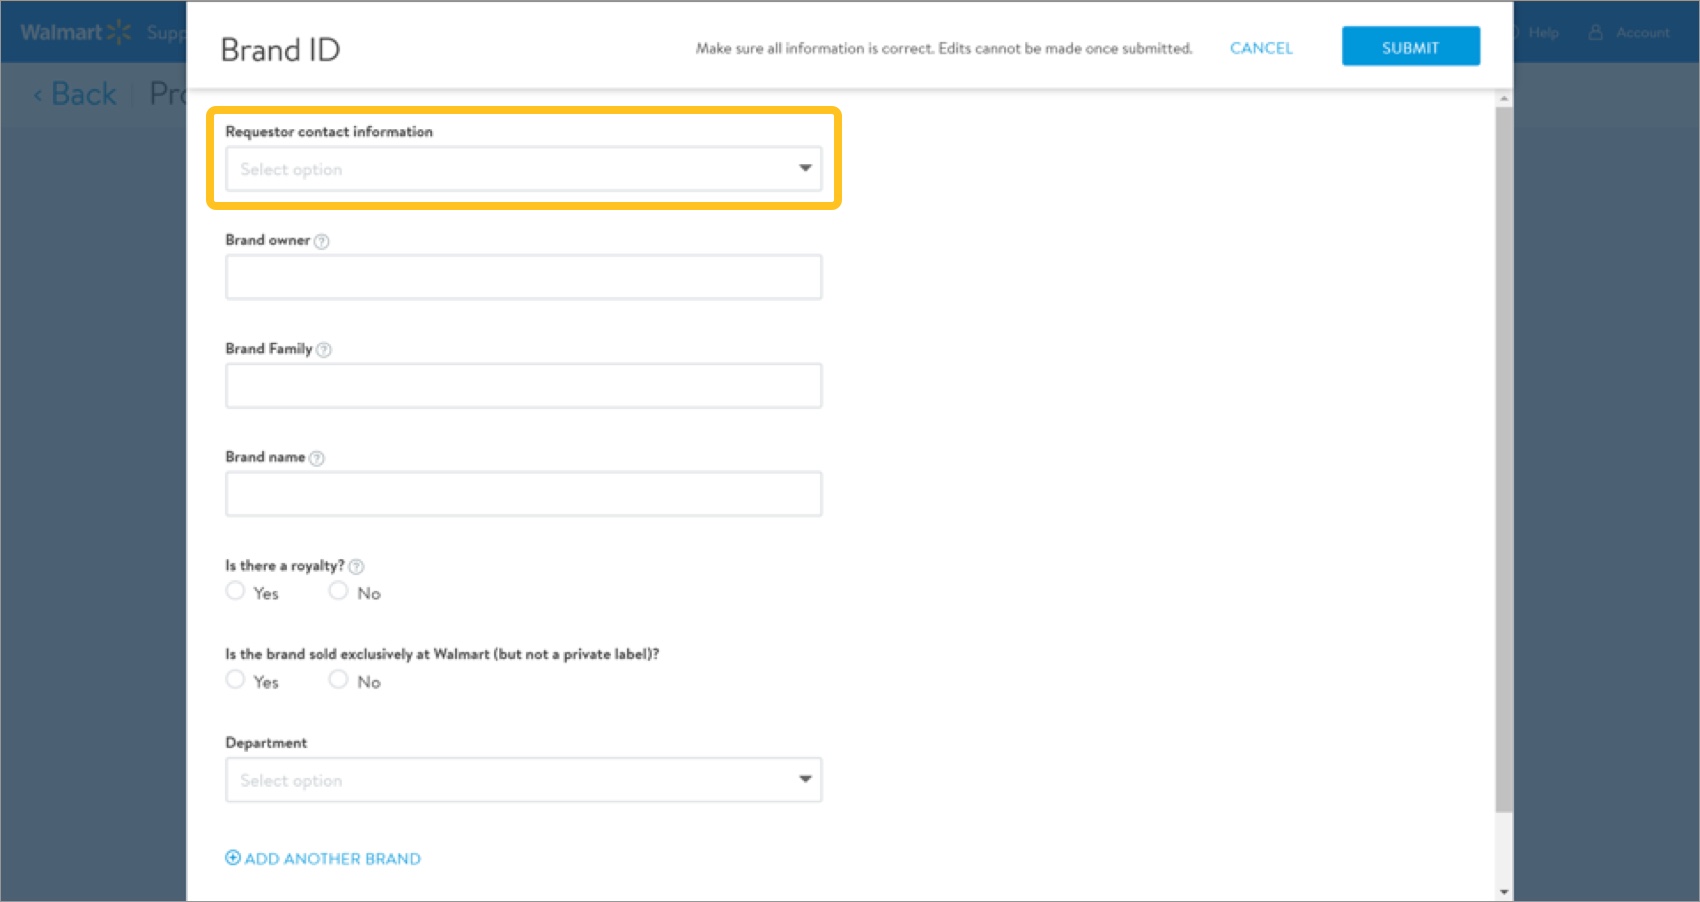
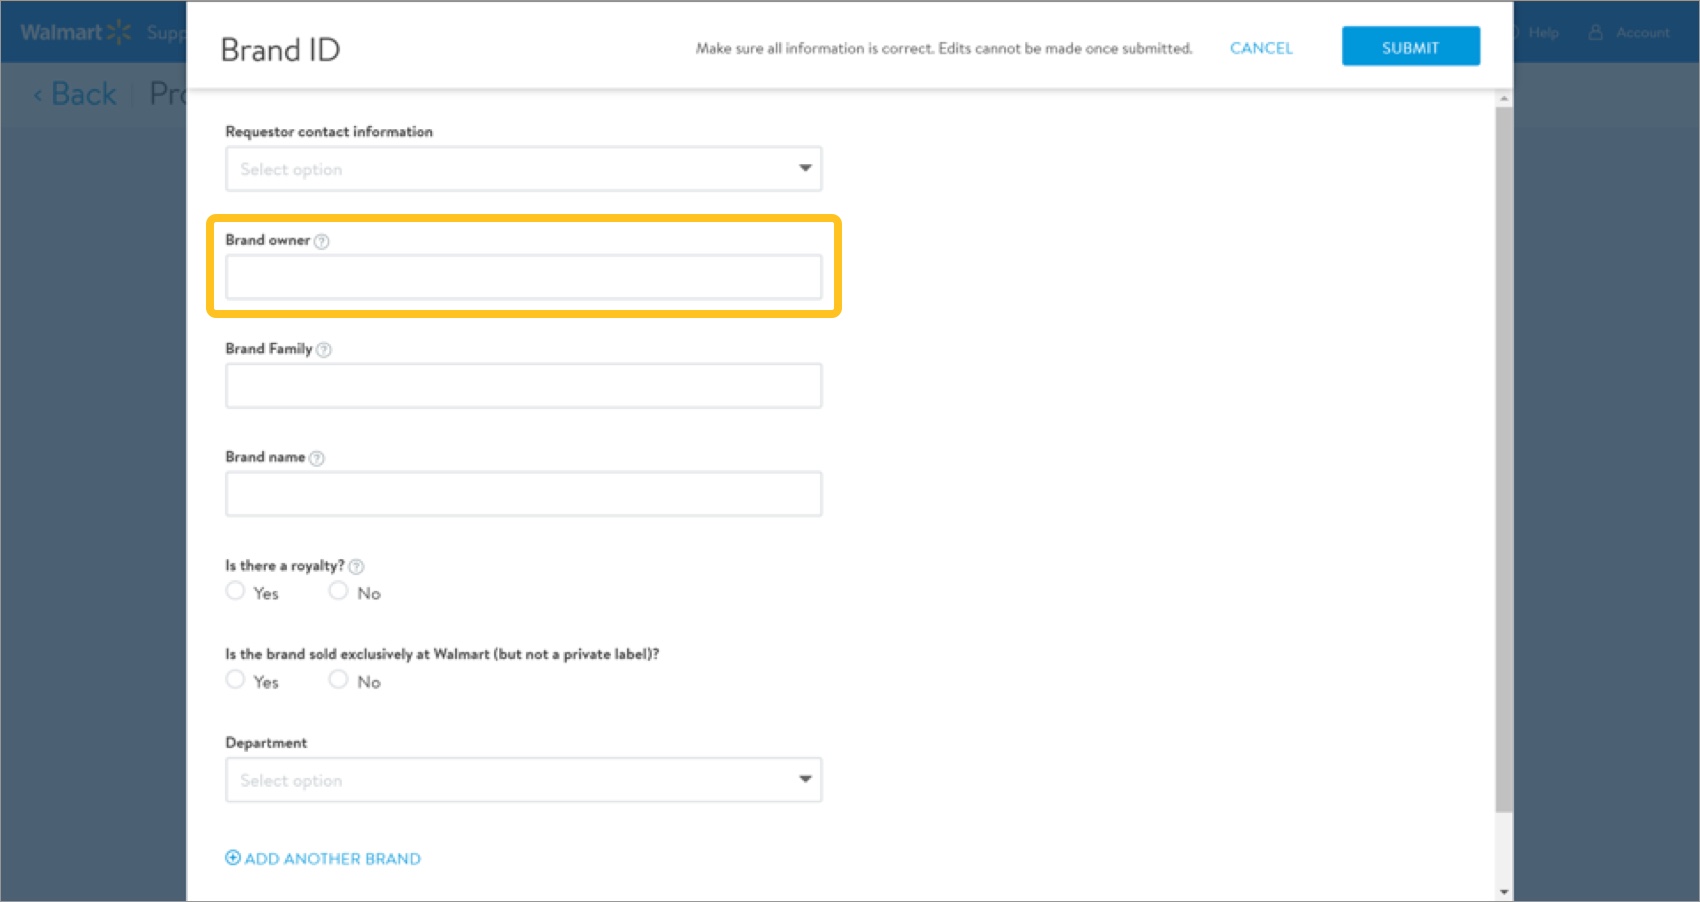
- Enter the Brand owner.The brand owner is the company that owns the brand. It is typically the supplier’s name. Unless the product is from a private label, the brand owner should not be Walmart.
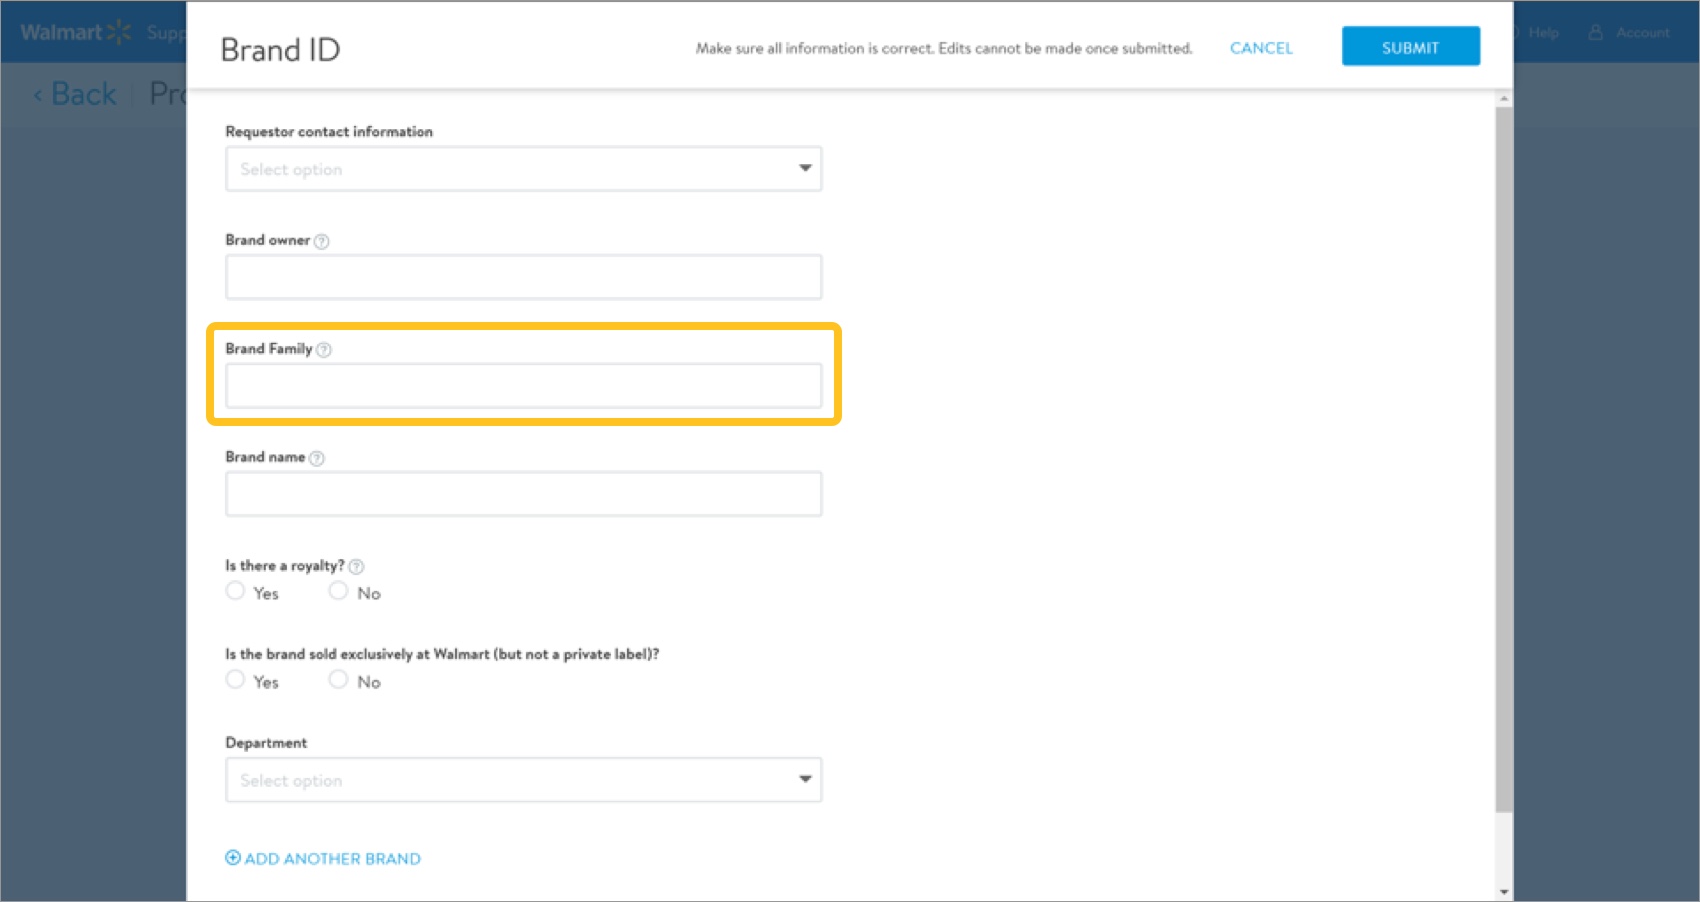
- Enter the Brand family.The brand family, also known as brand parent, may be used as a subcategory in the same brand name. If no distinction is required, we suggest using the same information listed for the brand name.
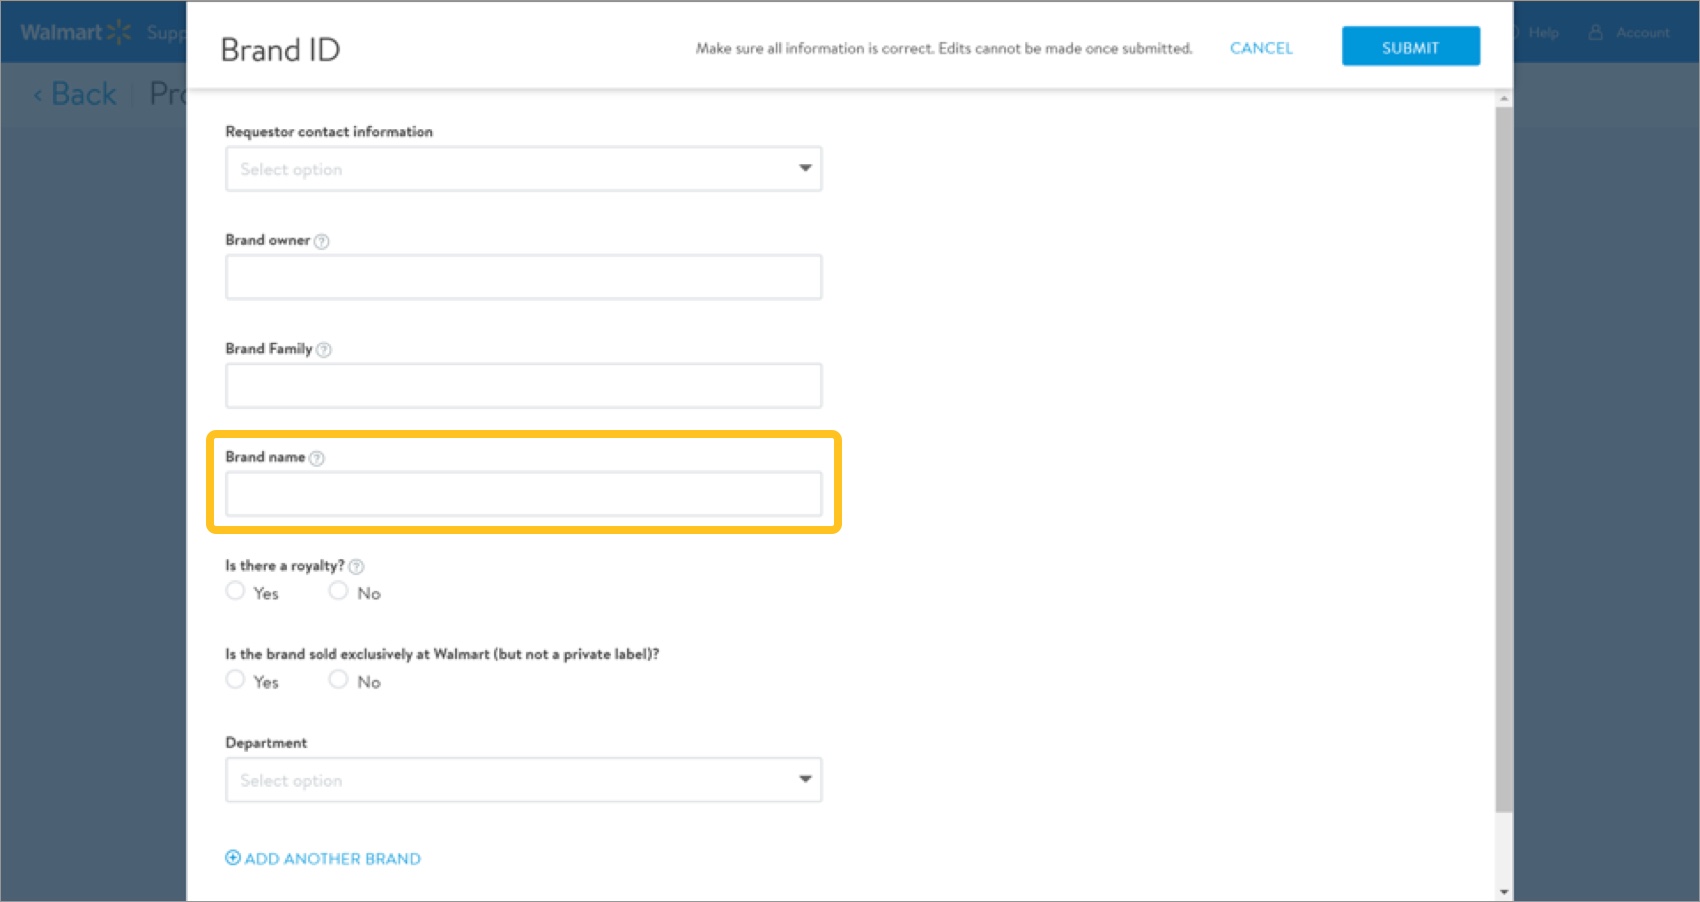
- Enter the Brand name.The brand name is the name of the product brand.
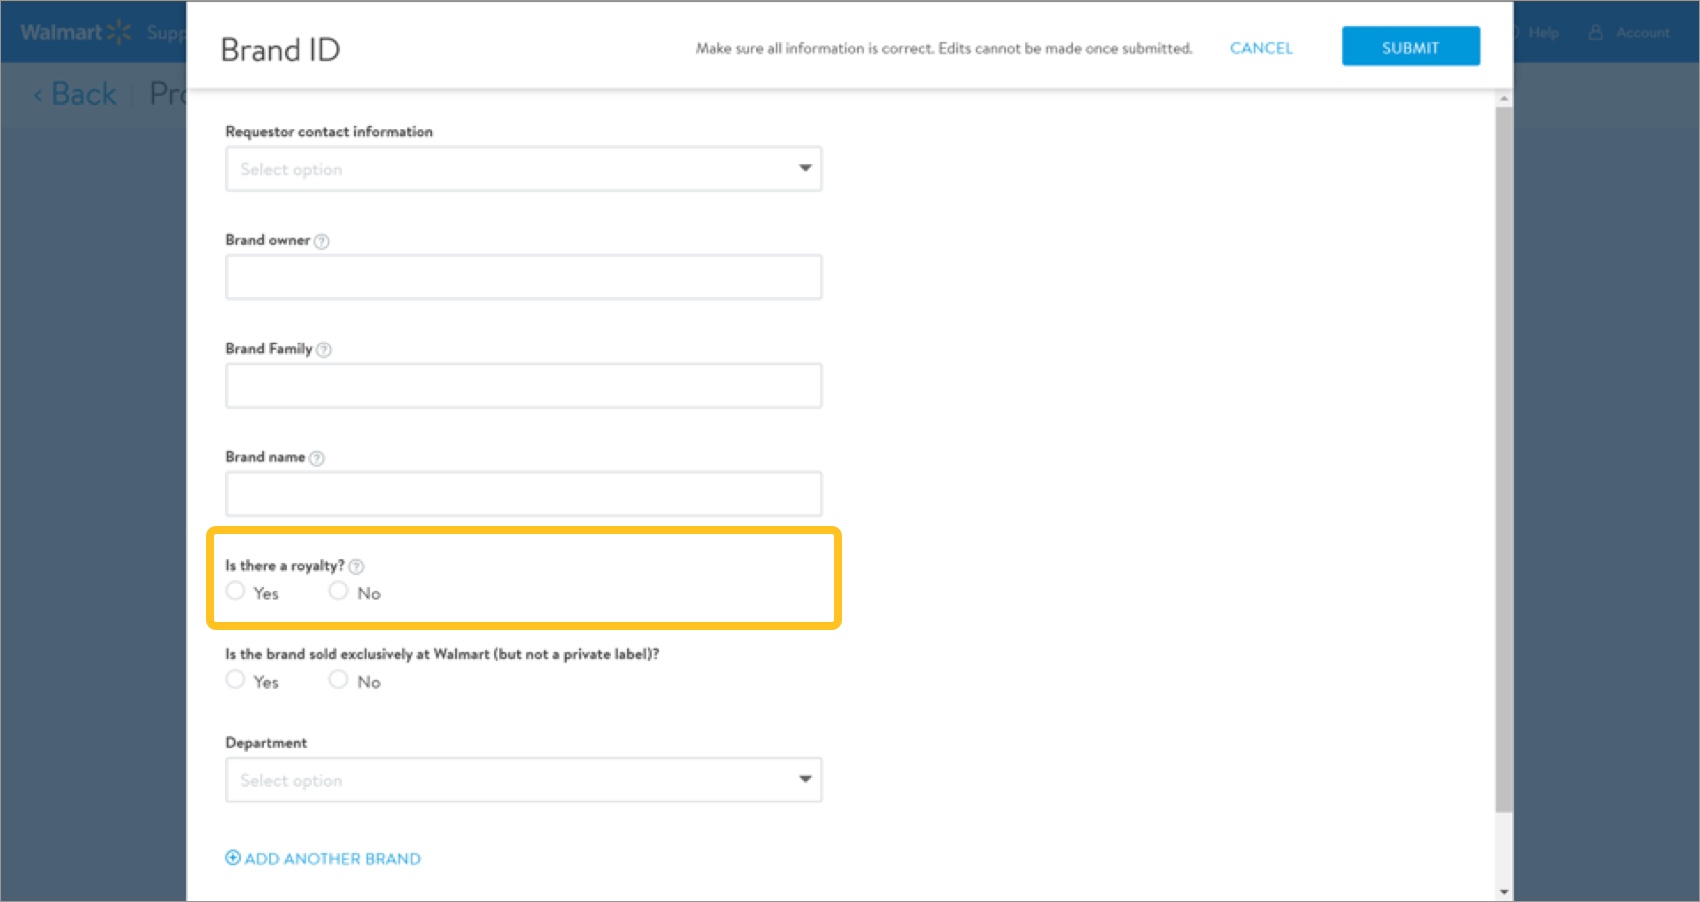
- Tell us if there is a royalty for the brand.Royalties are paid by Walmart after an item is sold.
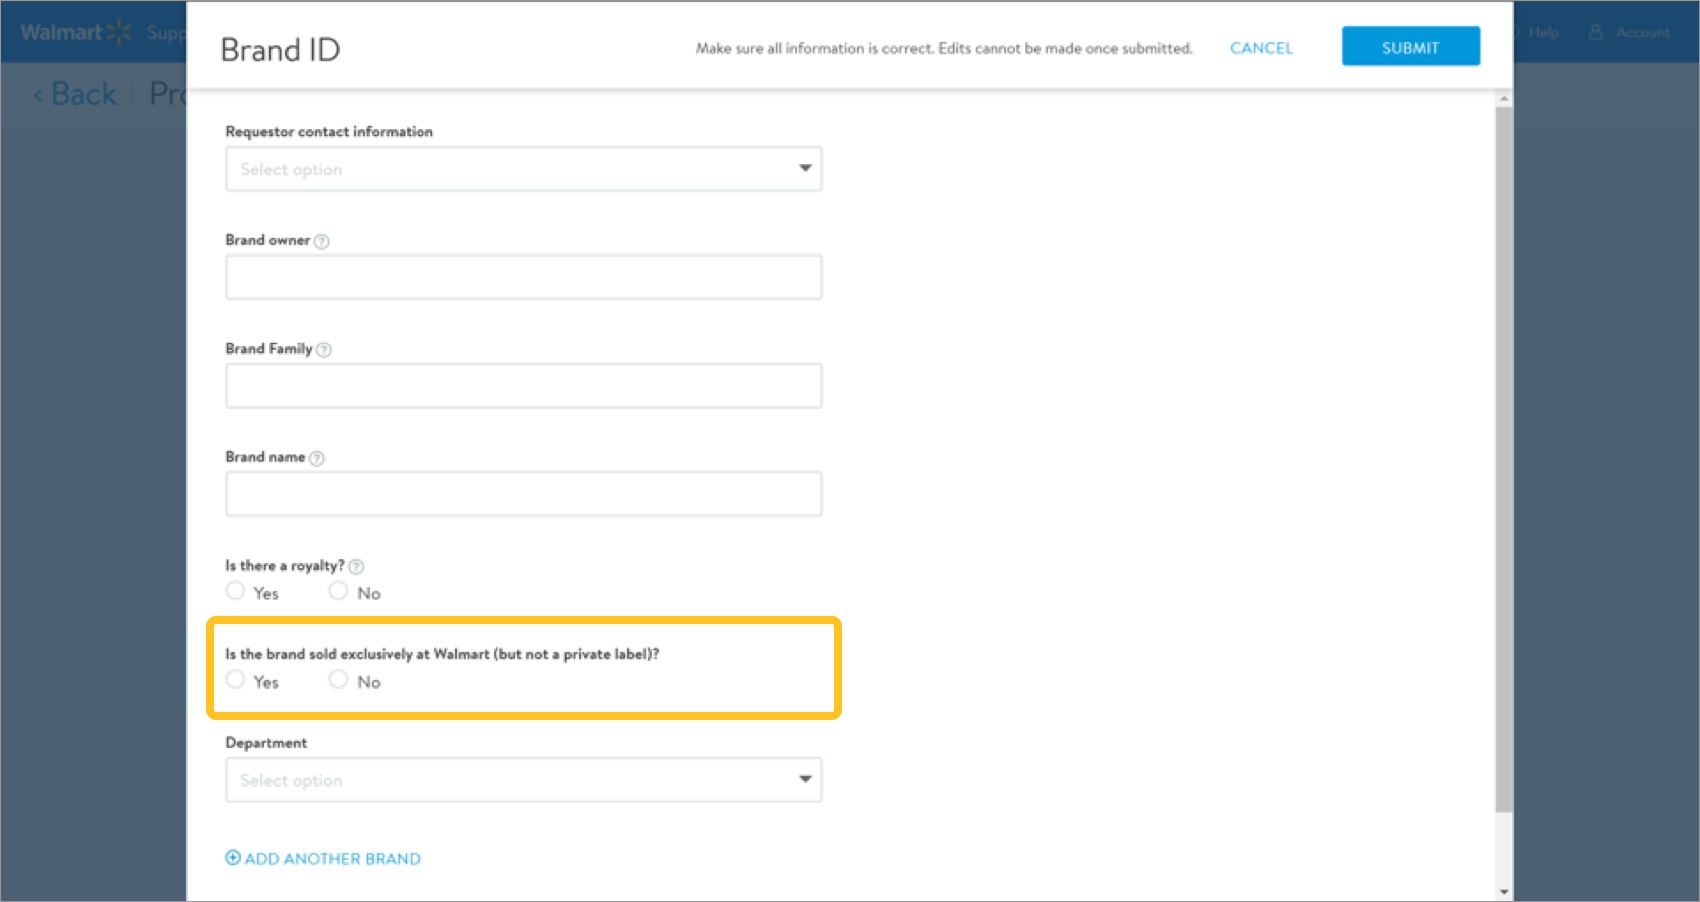
- Tell us if the brand is sold exclusively at Walmart (but is not a private label).
- Select the Department from the drop-down menu.
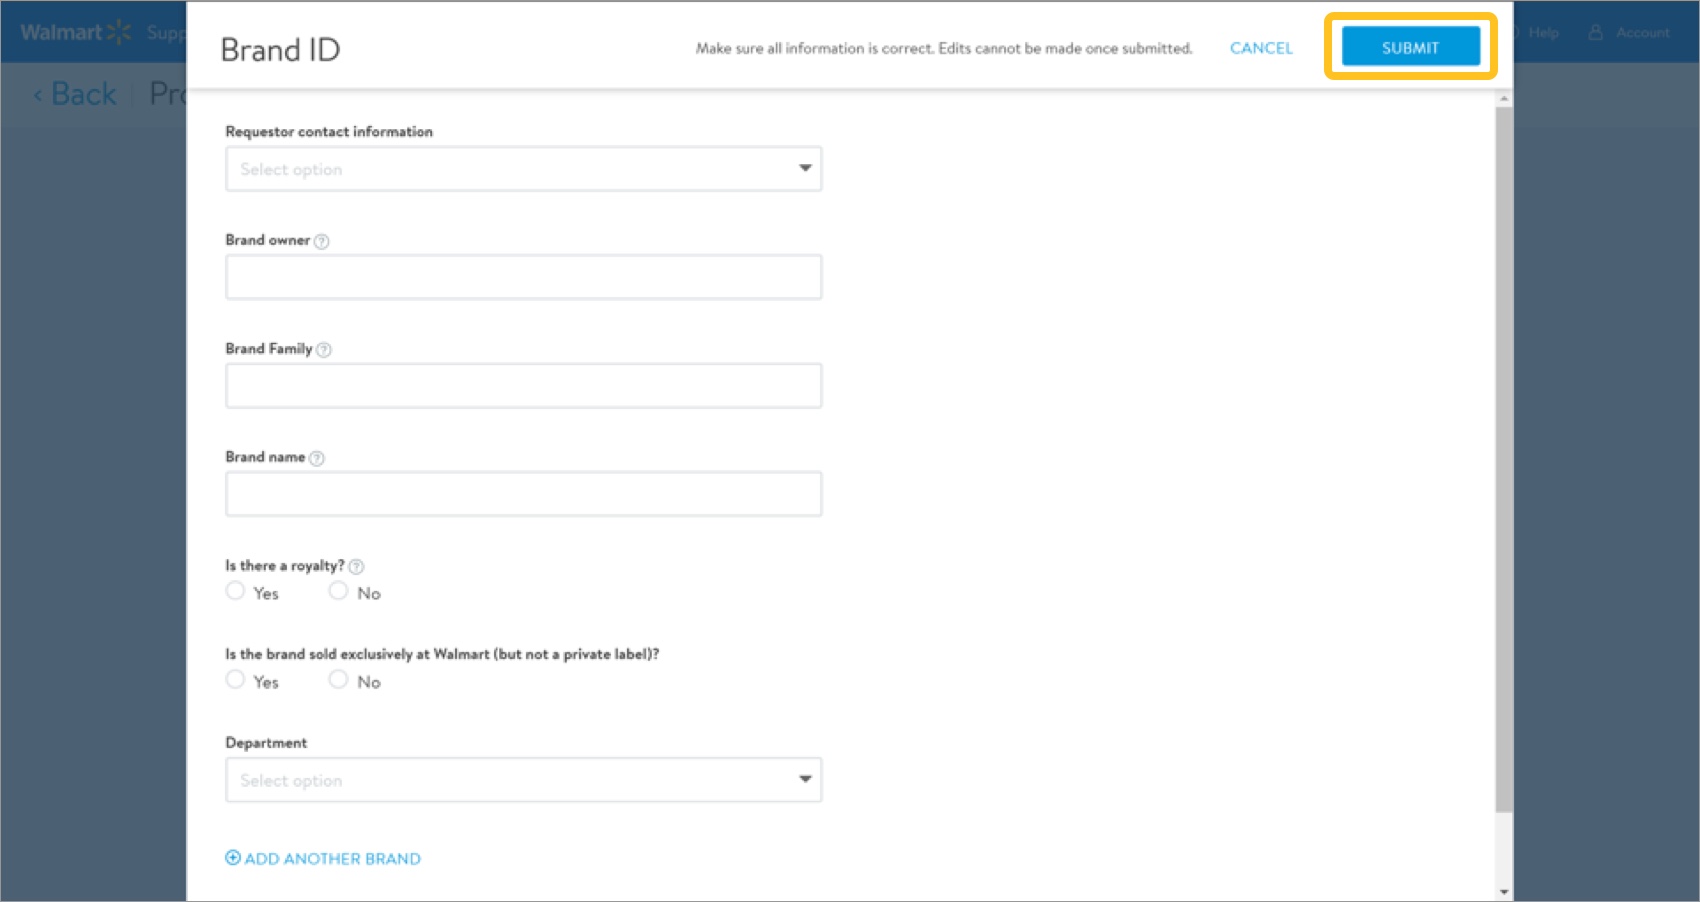
- If needed, click Add another brand to add another brand. Repeat steps 1–7.
 Make sure the information entered is correct before proceeding. You cannot make edits after submission.
 - Click Submit.
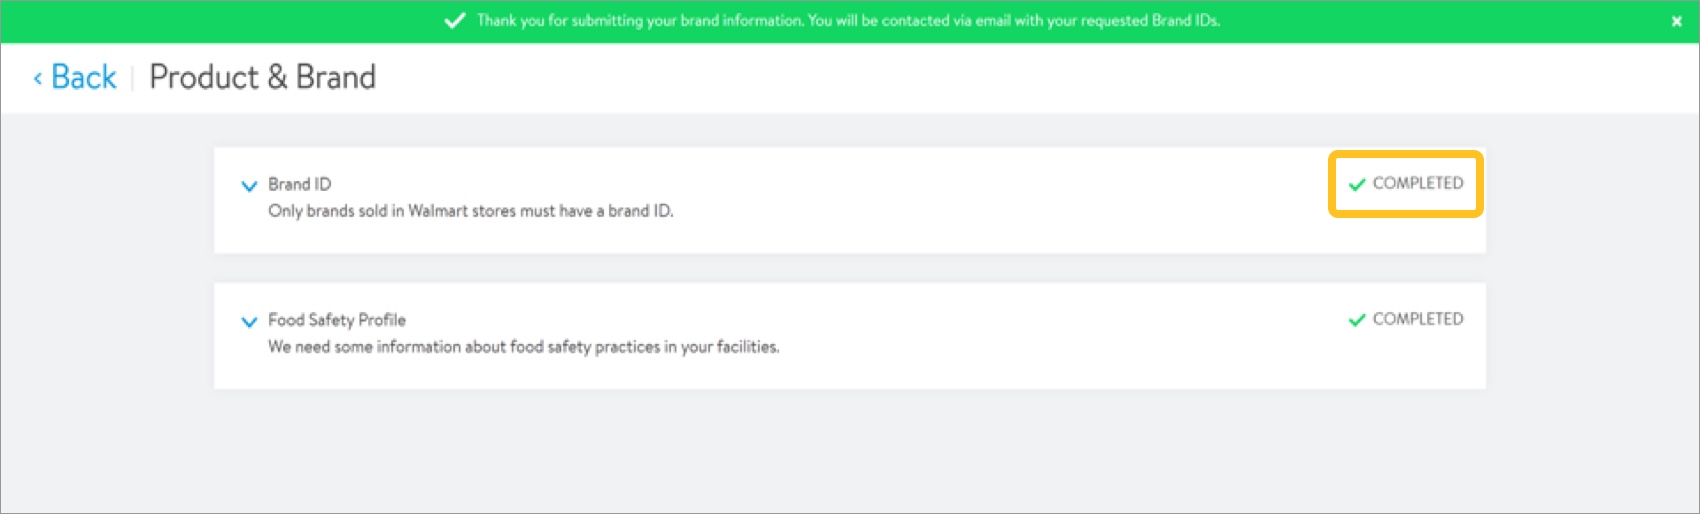
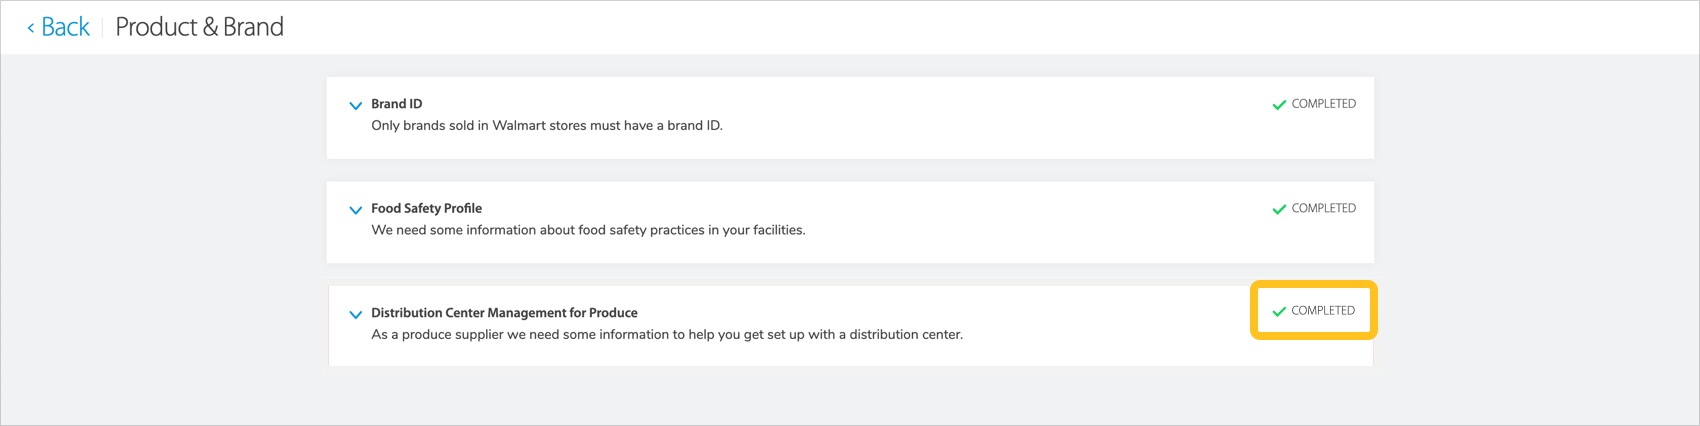
- On the Product & Brand screen, a message confirms your submission and the Brand ID shows a Completed status.
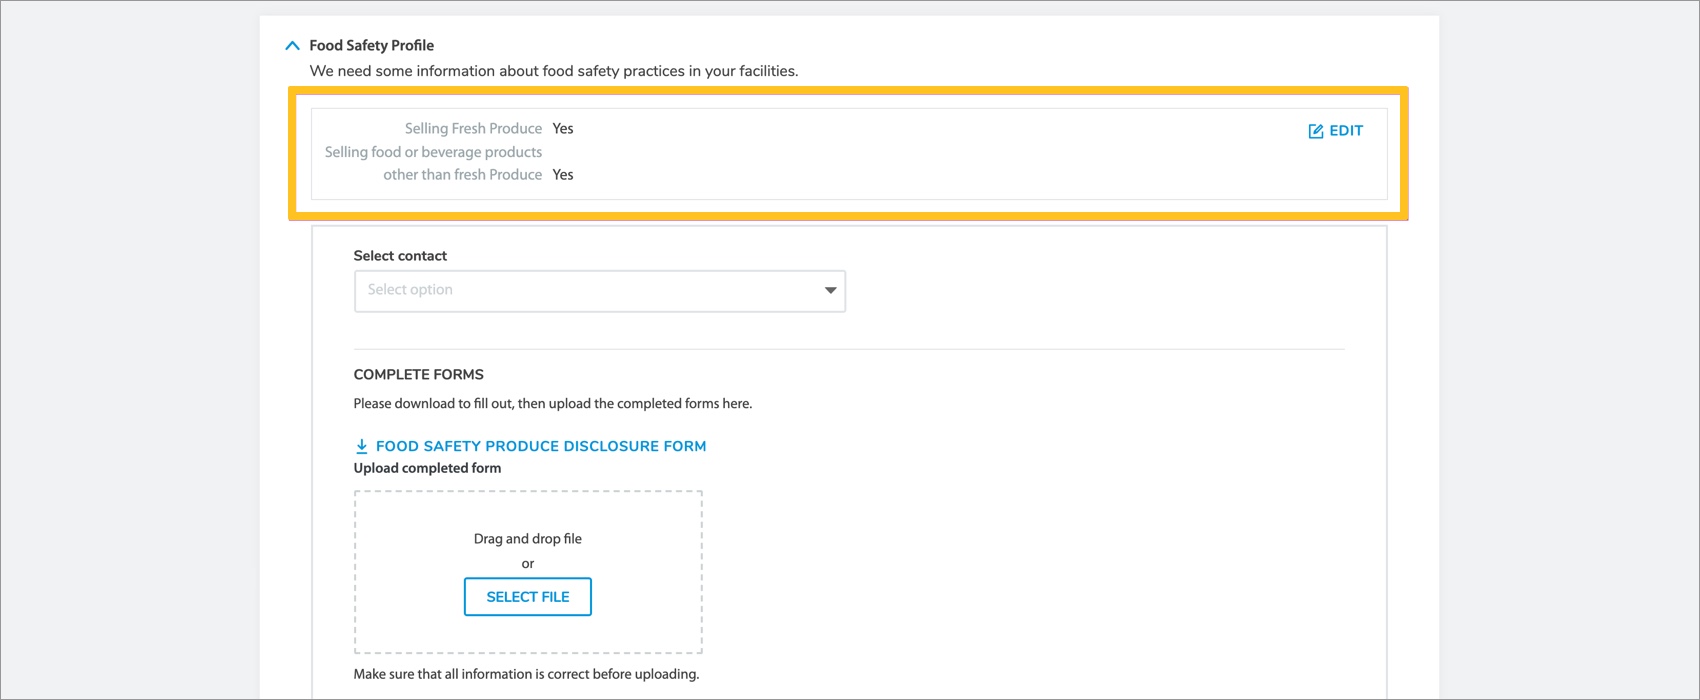
Food Safety Profile
- Click Food Safety Profile to expand the section and provide information.
- Review the information with Yes/No answers. If needed, click Edit to make changes.
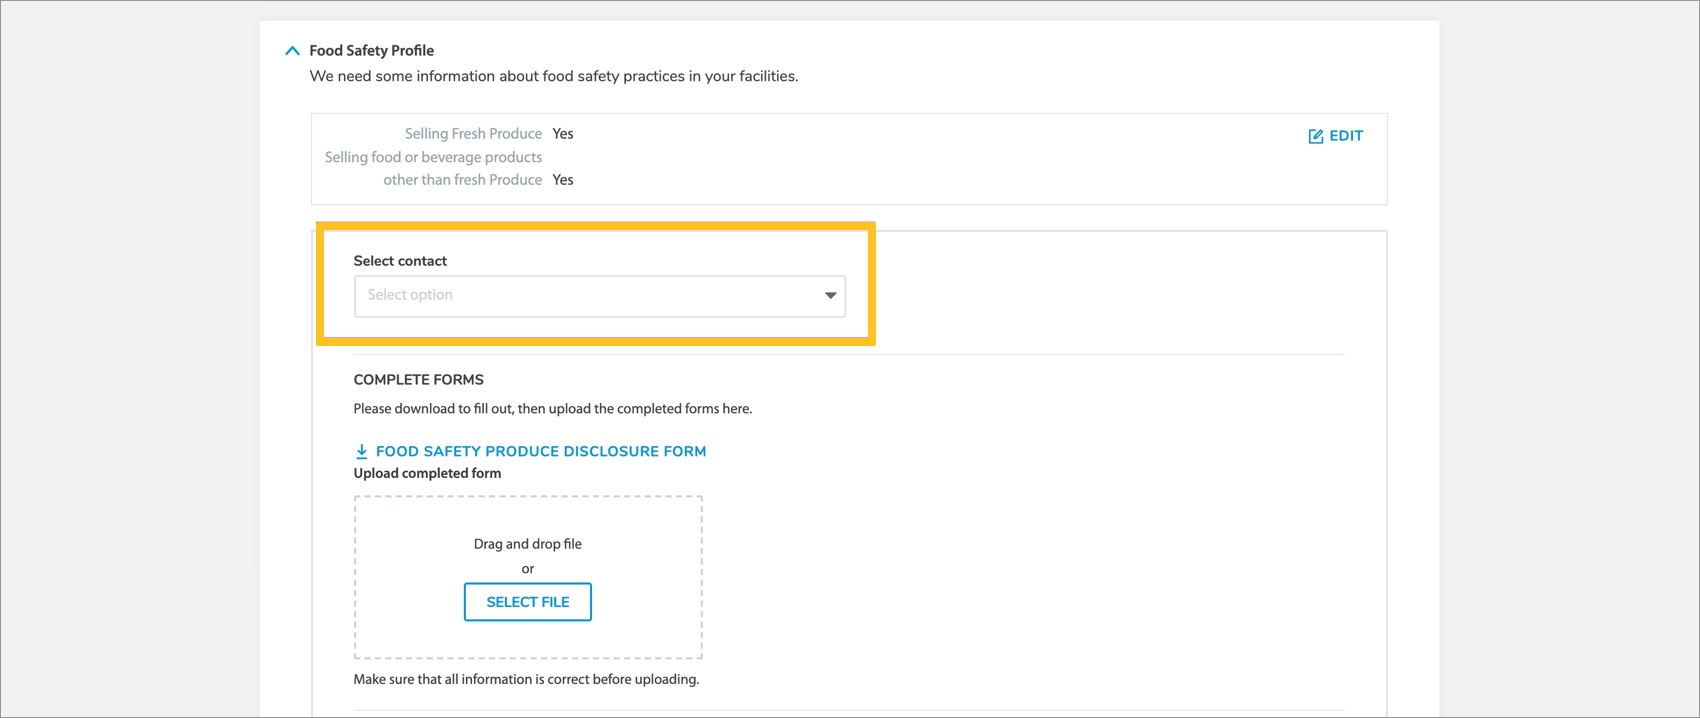
- Select the applicable contact from the drop-down menu.
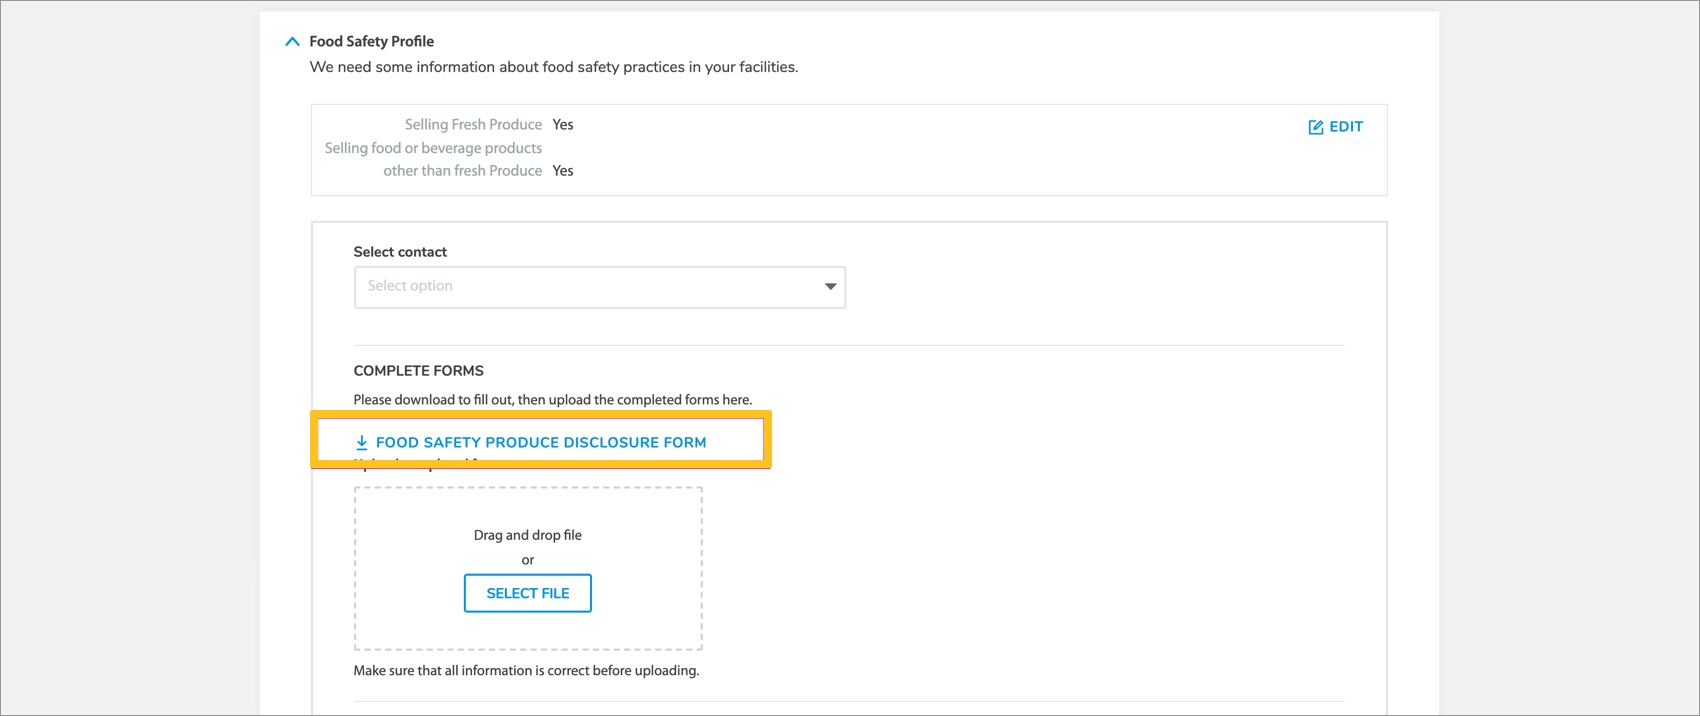
- If selling fresh produce: Click Food Safety Produce Disclosure Form to download the form. Fill out and save the file.
 Make sure the information entered is correct before proceeding. You cannot make edits after submission.
 - Upload the form by either dragging and dropping the file in the designated area or clicking Select File to open the file from your computer.
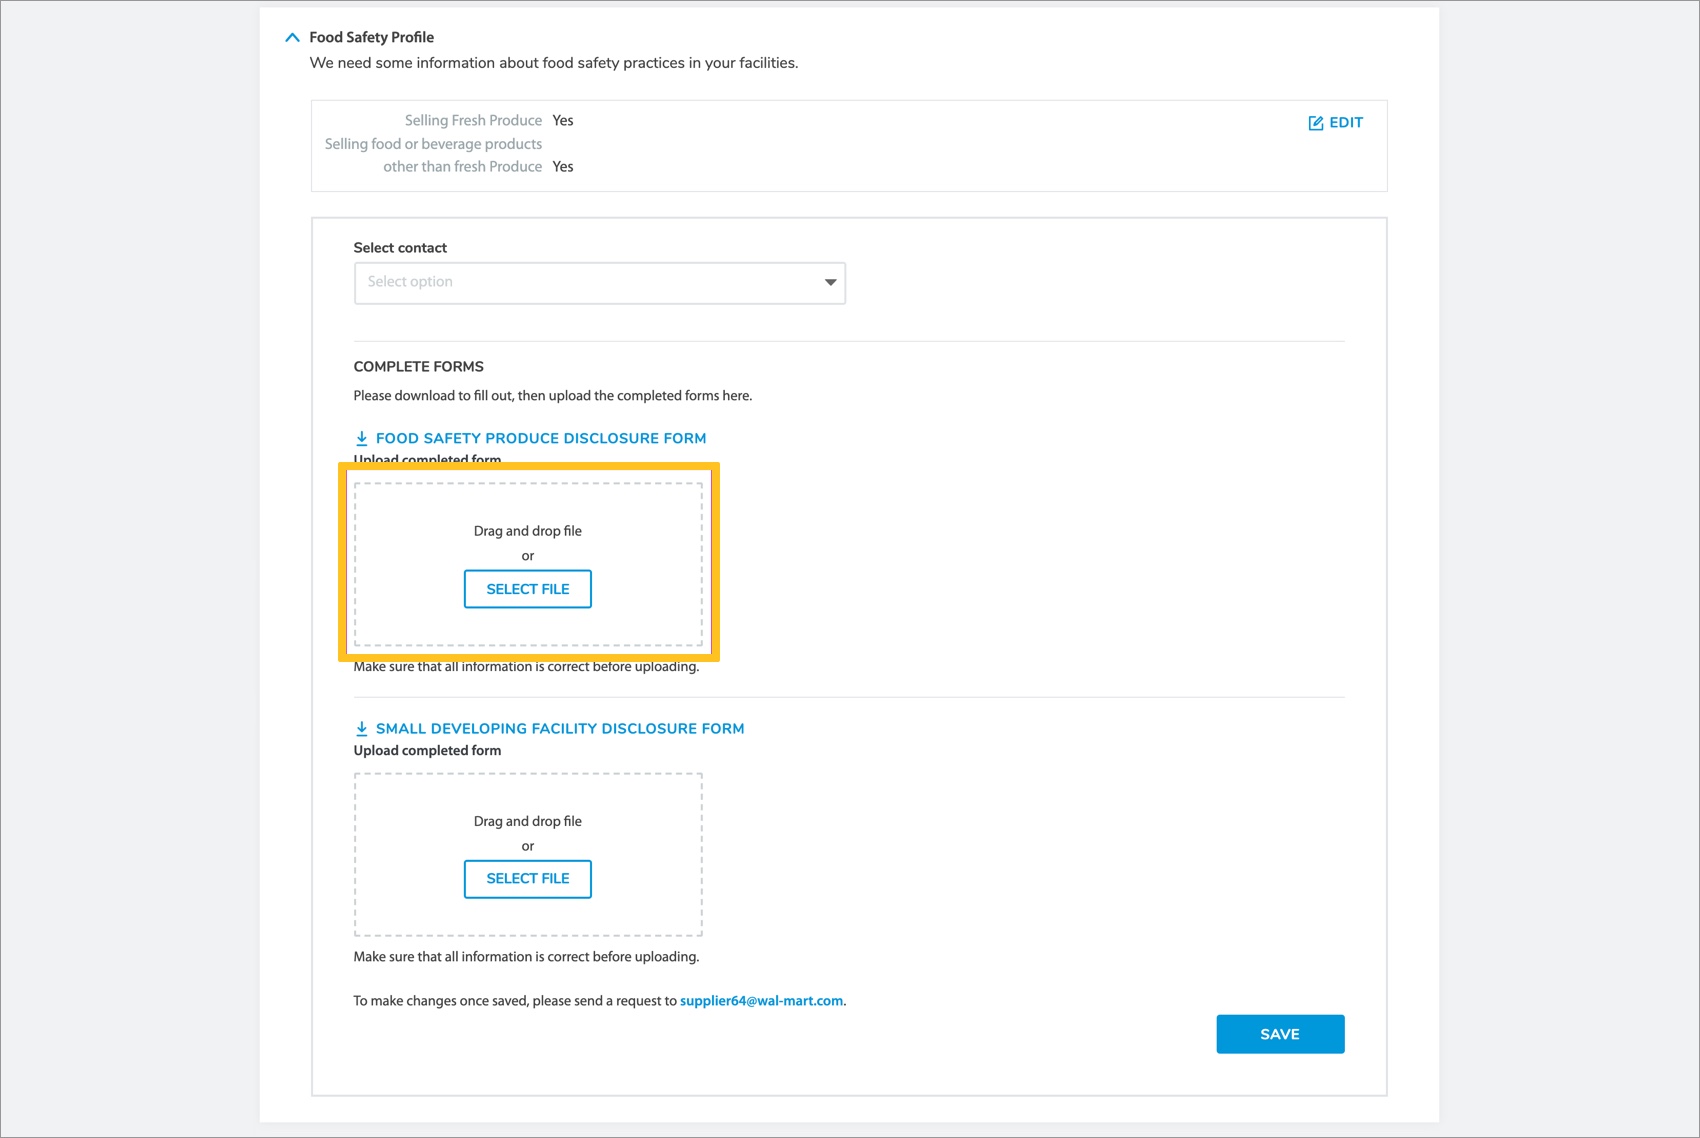
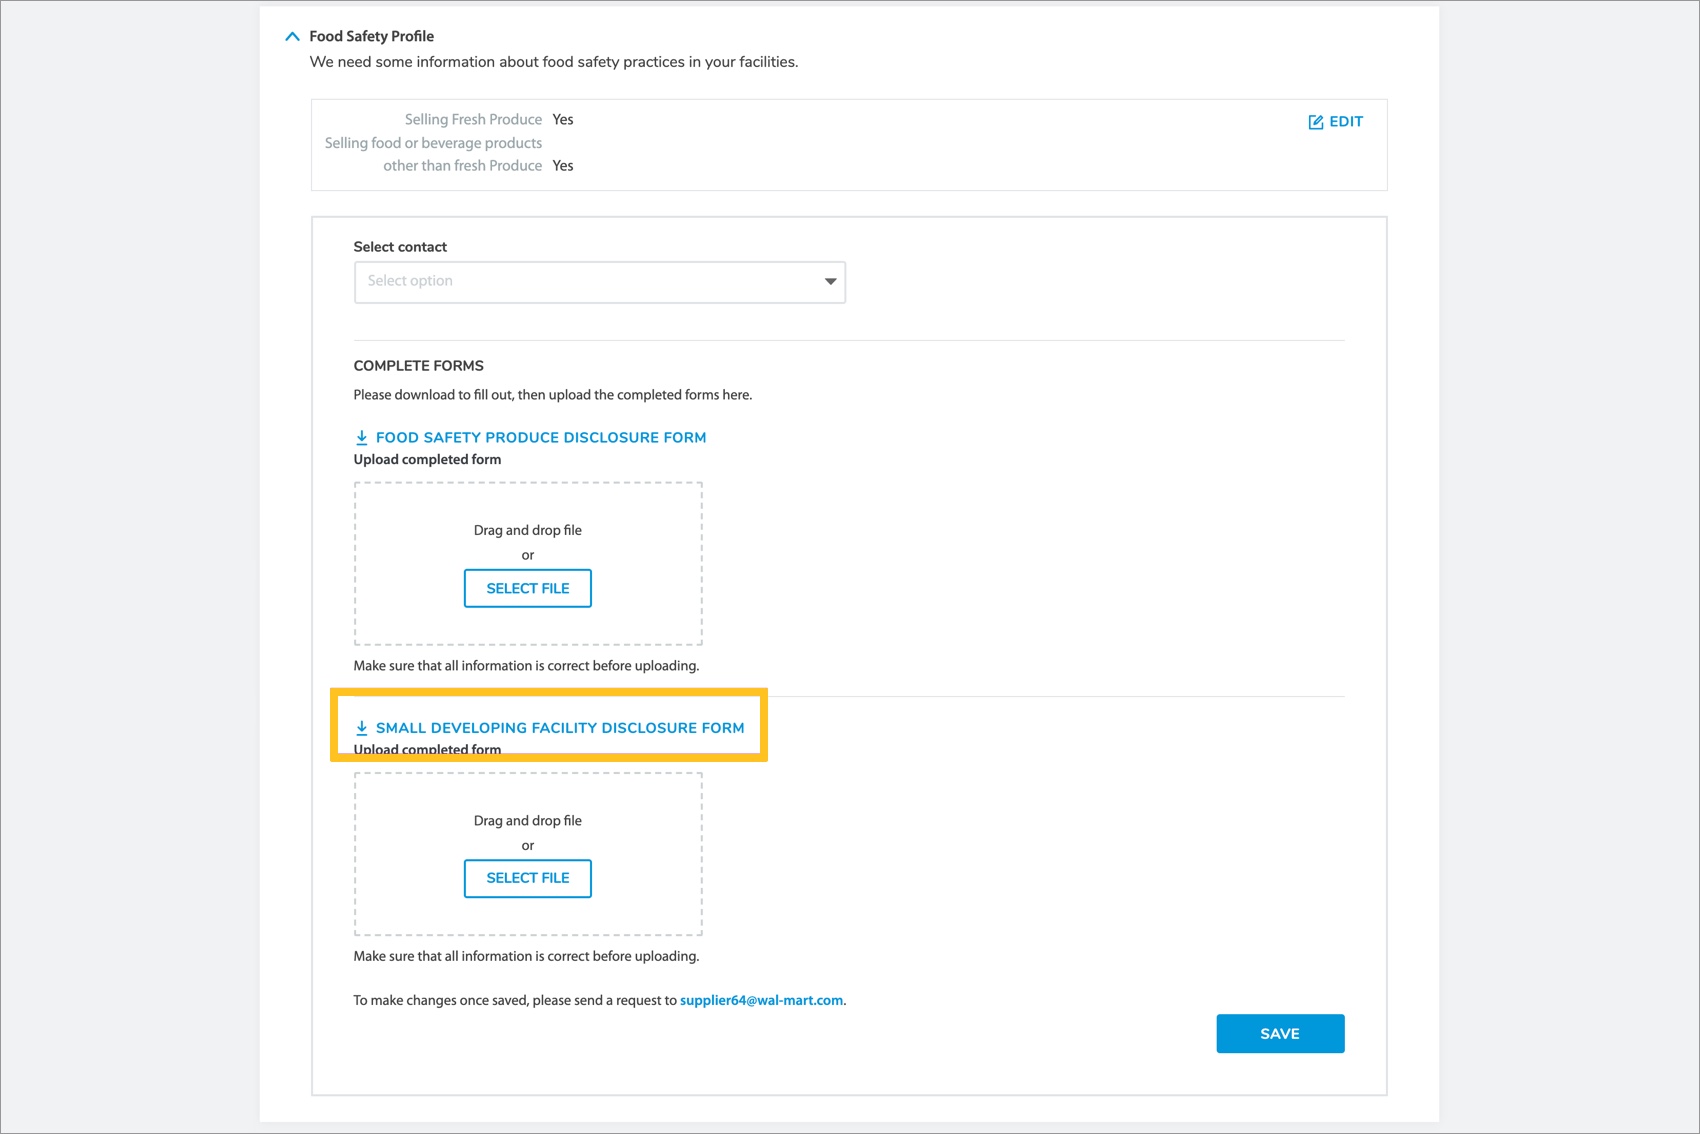
- If selling any food or beverage products other than fresh produce: Click Small Developing Facility Disclosure Form to download the form. Fill out and save the file.
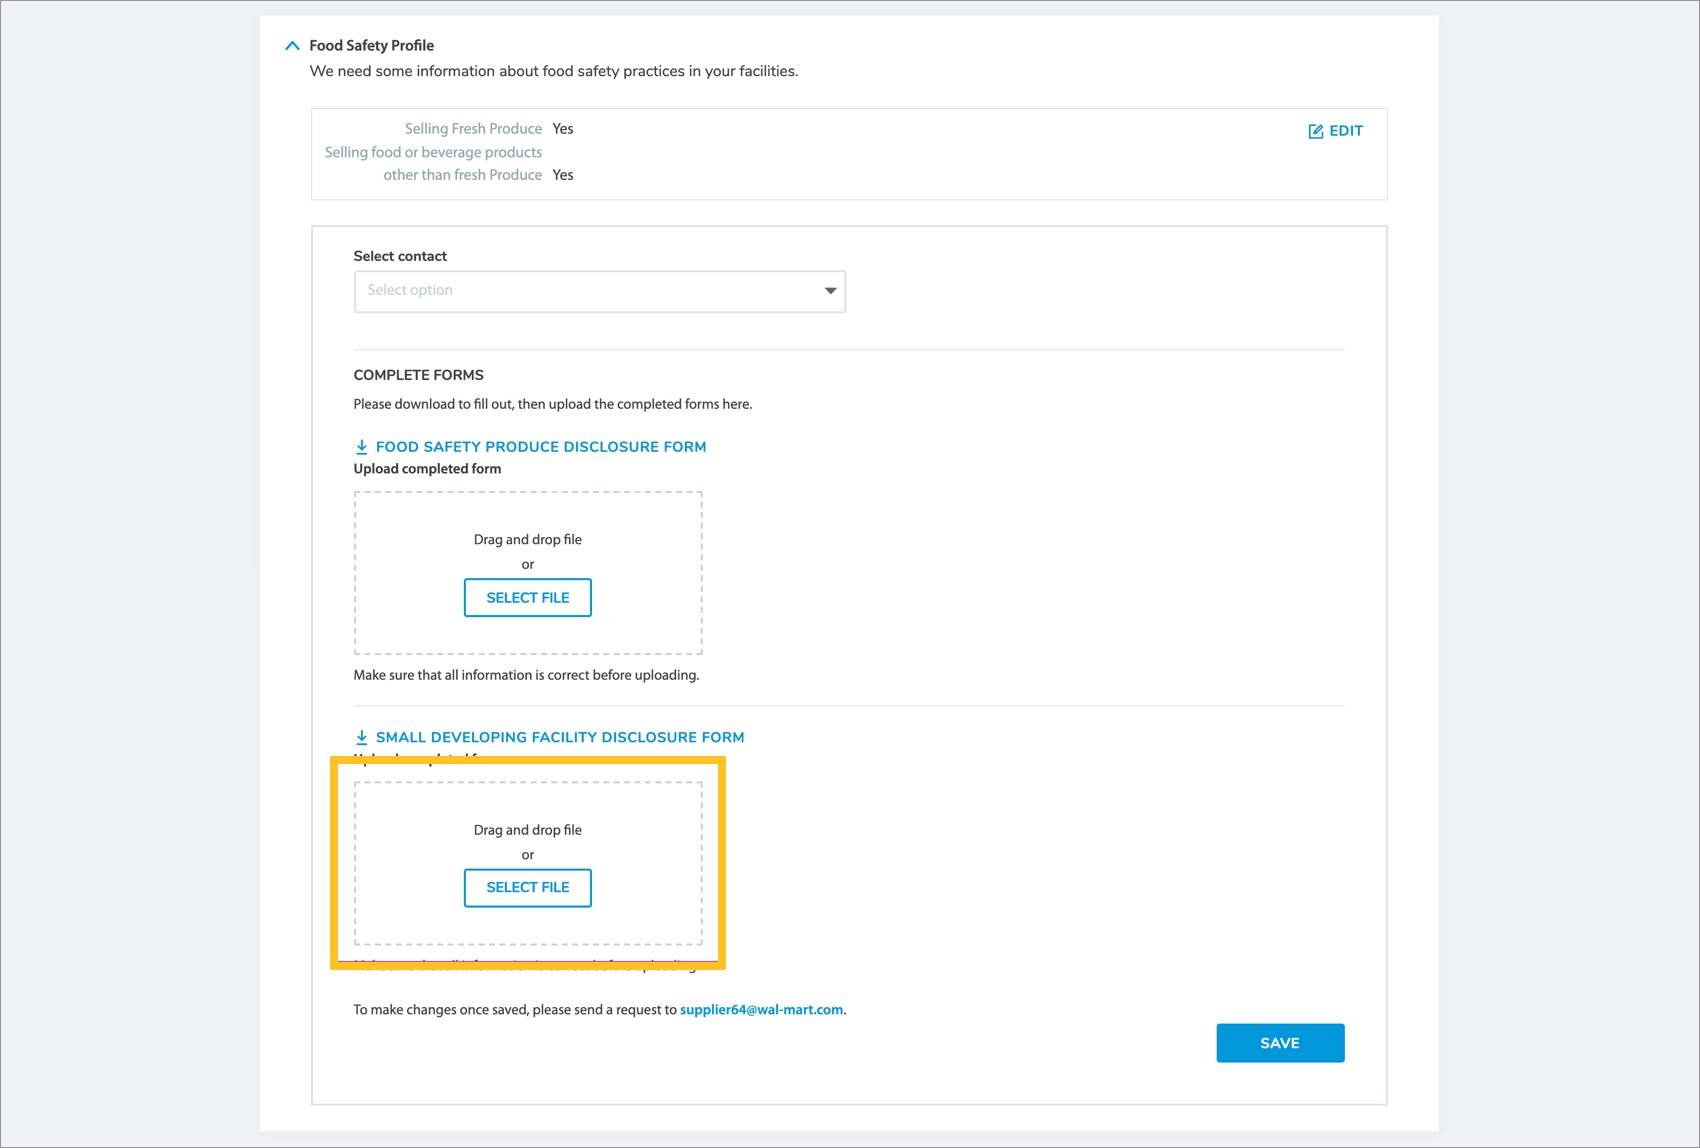
 Make sure the information entered is correct before proceeding. You cannot make edits after submission.
 - Upload the form by either dragging and dropping the file in the designated area or clicking Select File to open the file from your computer.
- Click Save to apply all changes.
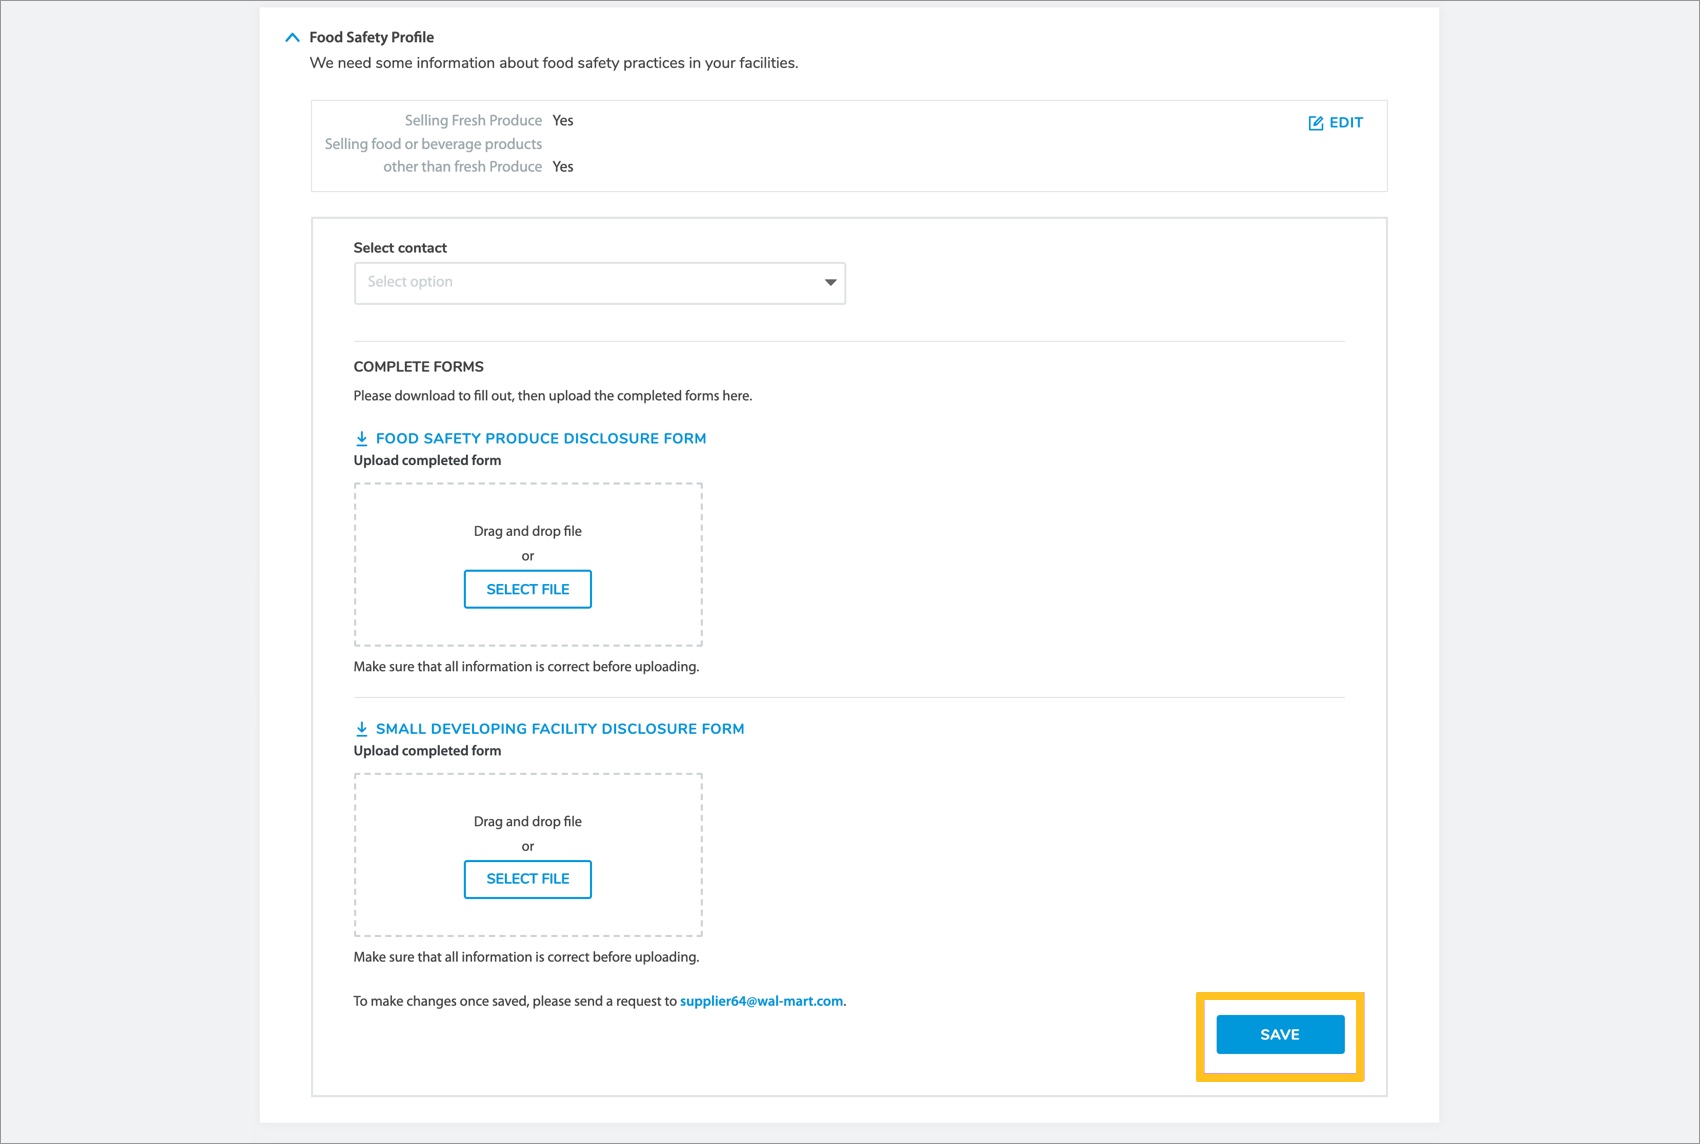 Save does not appear if you are not selling fresh produce and any food or beverage products other than fresh produce. A COMPLETED status automatically displays on the menu if selling neither.Email supplier64@wal-mart.com if changes are needed after saving.
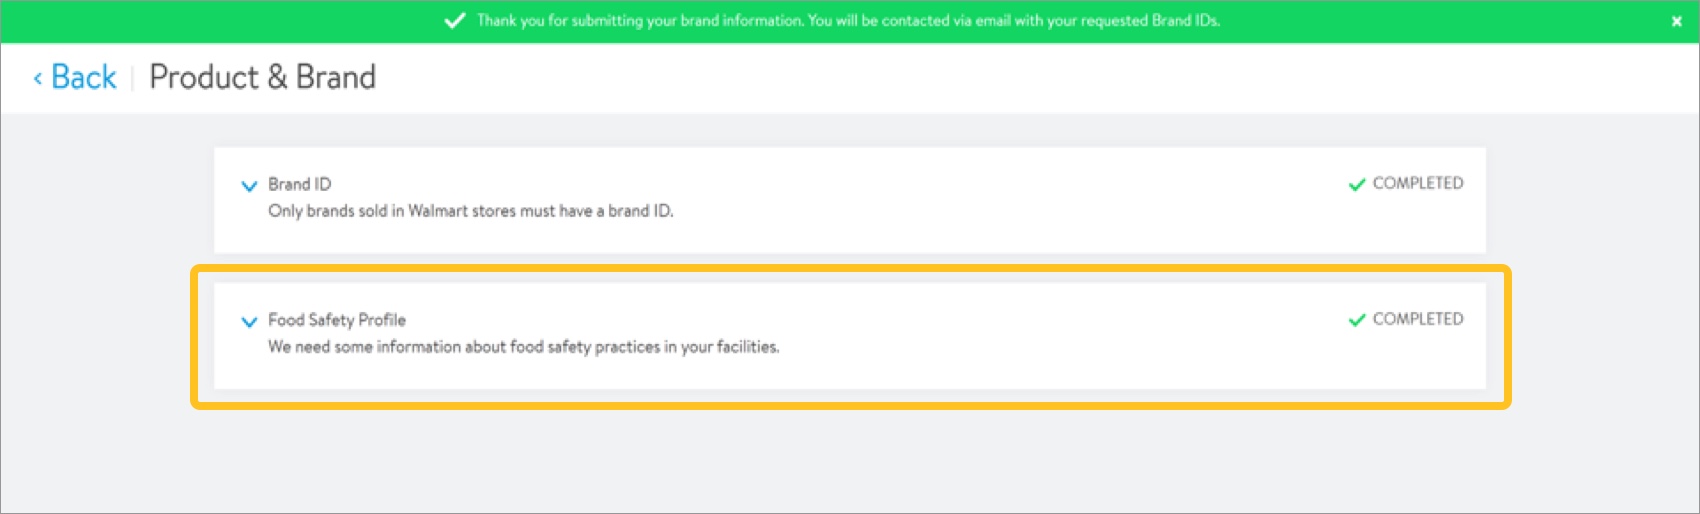
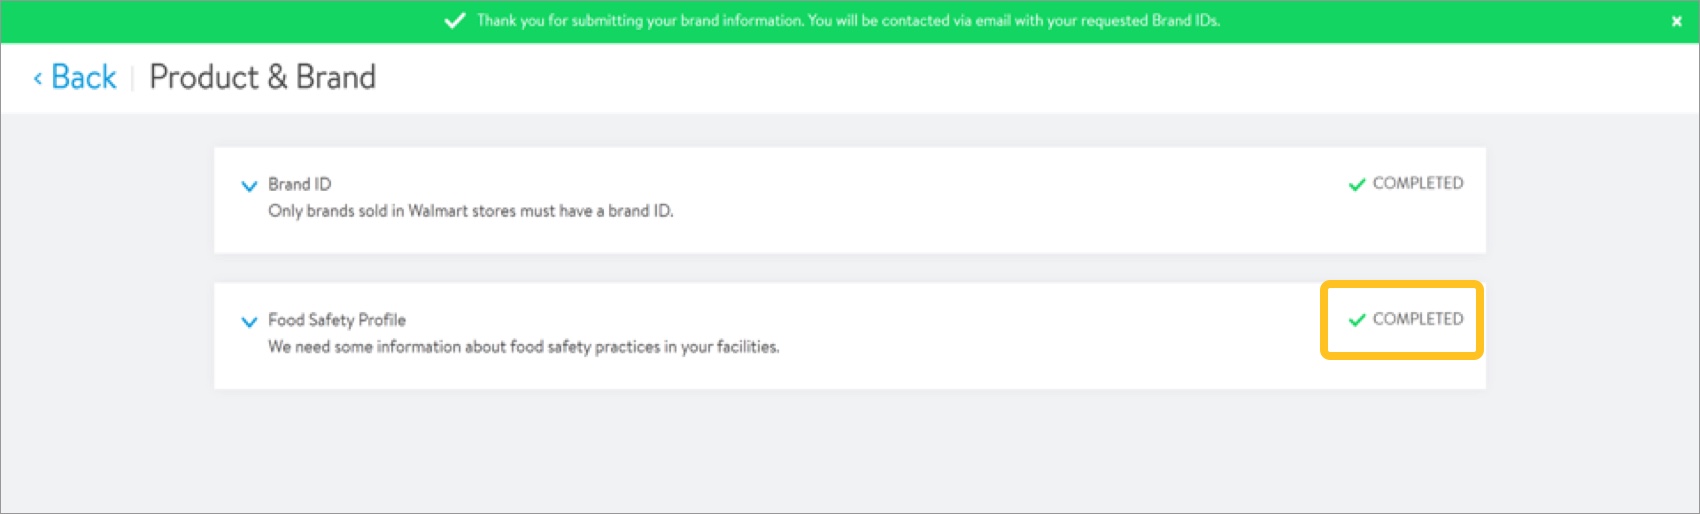
 - The Food Safety Profile shows the Completed status.
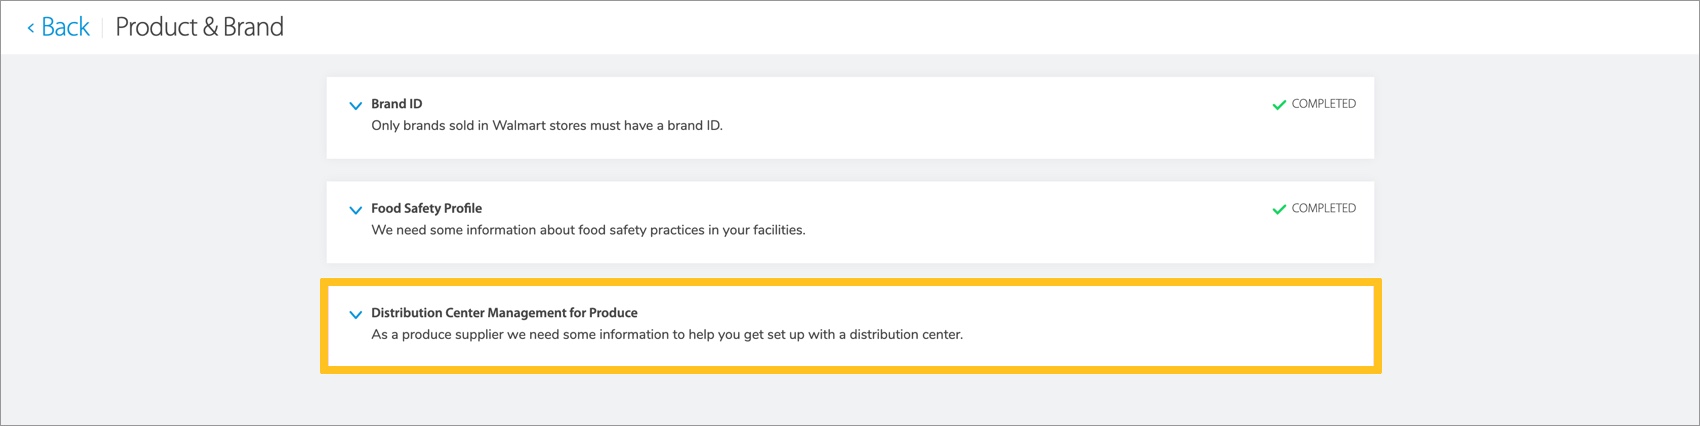
Distribution Center Management for Produce
- If selling fresh produce: Click Distribution Center Management for Produce to expand the section and provide information.
- Select the applicable contact from the drop-down menu.
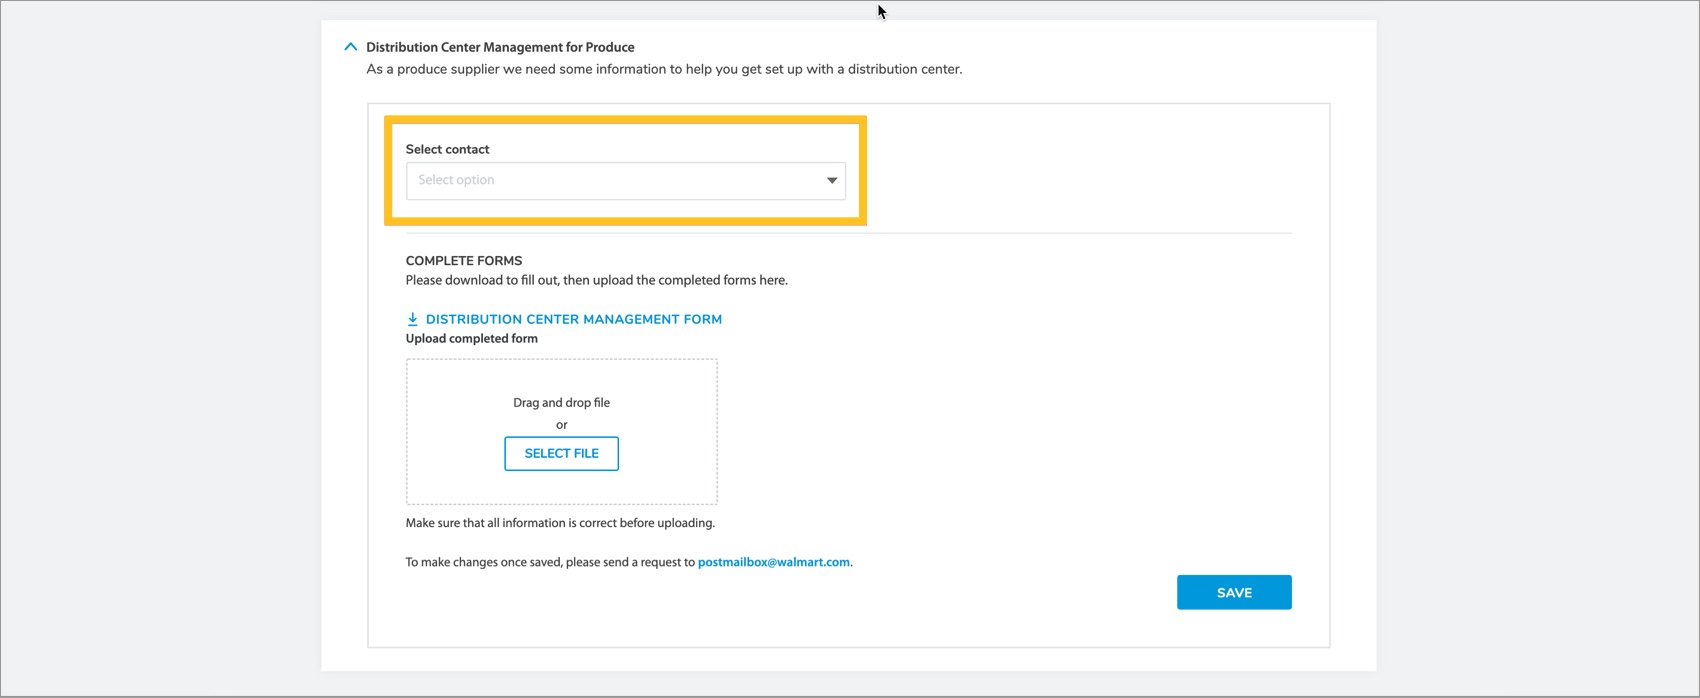 Tasks in the Distribution Center Management for Produce section are enabled after you receive and accept your Business Term Agreement (BTA). Reference the Supplier Onboarding: Agreements (GFR) article for more information.
 - Click Distribution Center Management Form to download the form. Fill out and save the file.
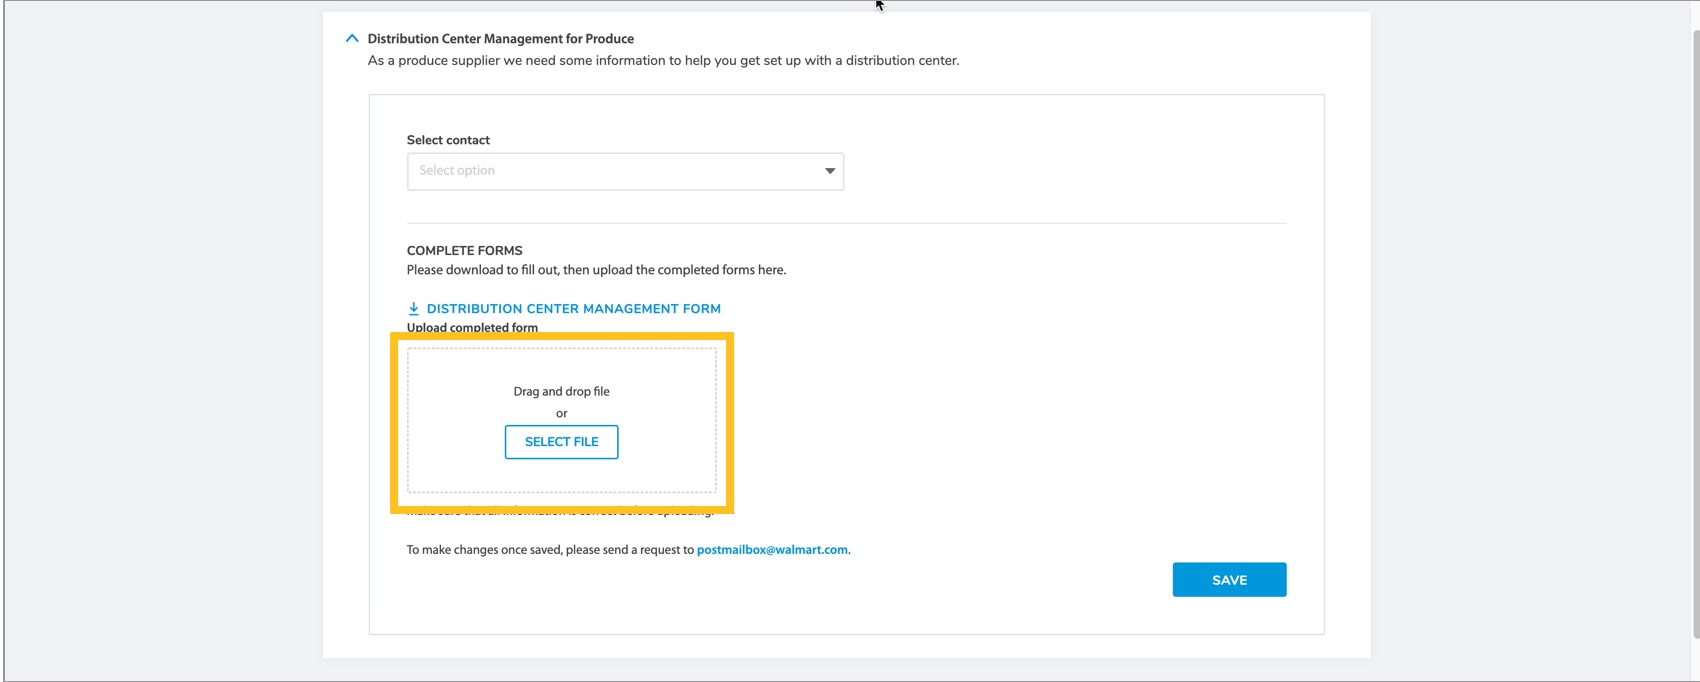
 Make sure the information entered is correct before proceeding. You cannot make edits after submission.
 - Upload the form by either dragging and dropping the file in the designated area or clicking Select File to open the file from your computer.
- Click Save to apply all changes.
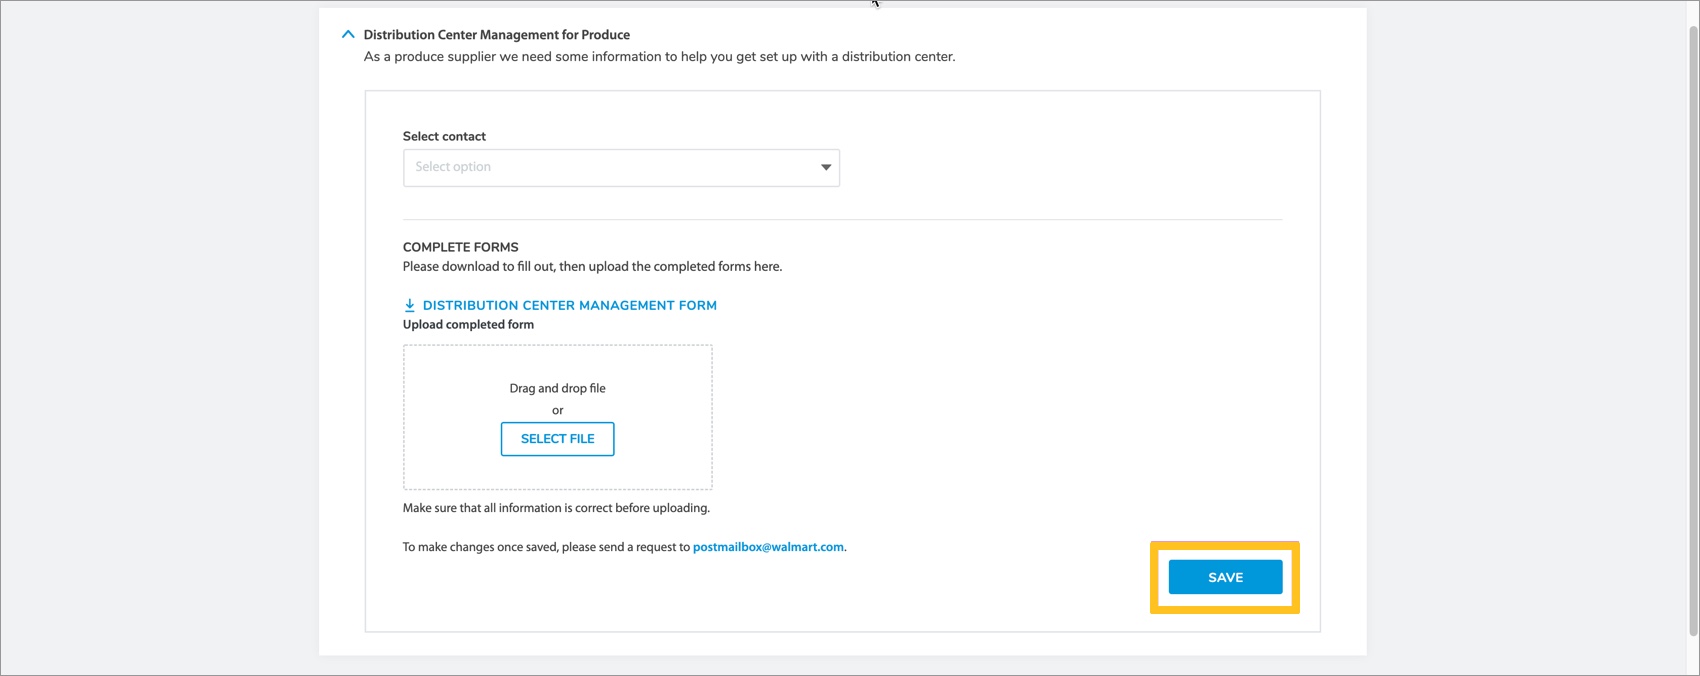
- The Distribution Center Management for Produce section shows the Completed status.
Return to Dashboard
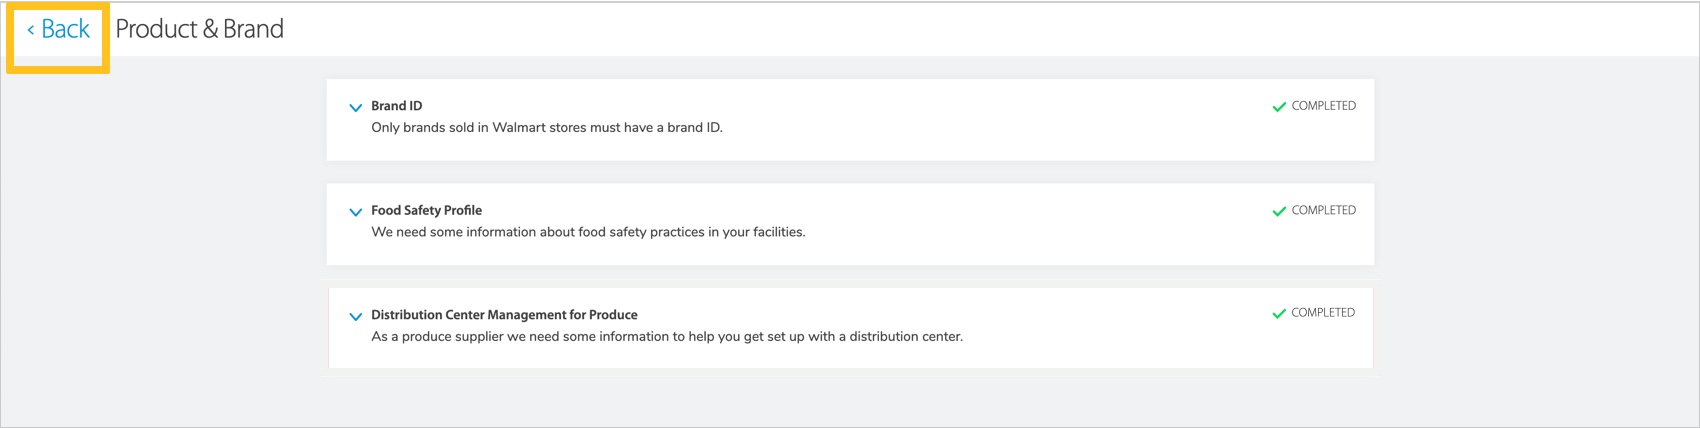
- Click Back to return to the supplier onboarding dashboard.
Insurance
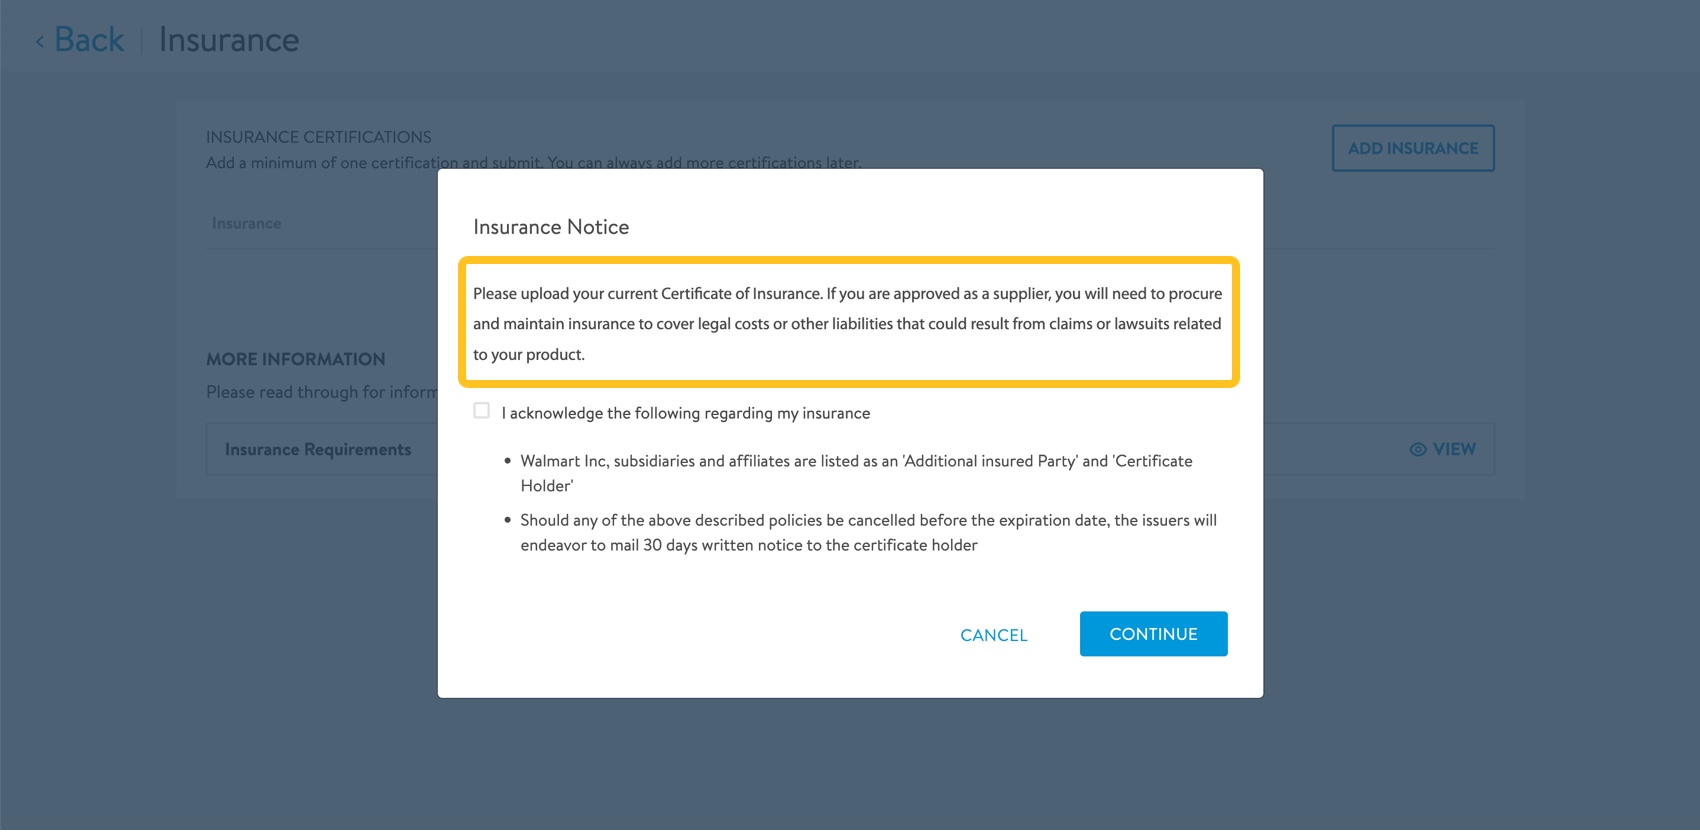
- Review the information displayed in the Insurance Notice.
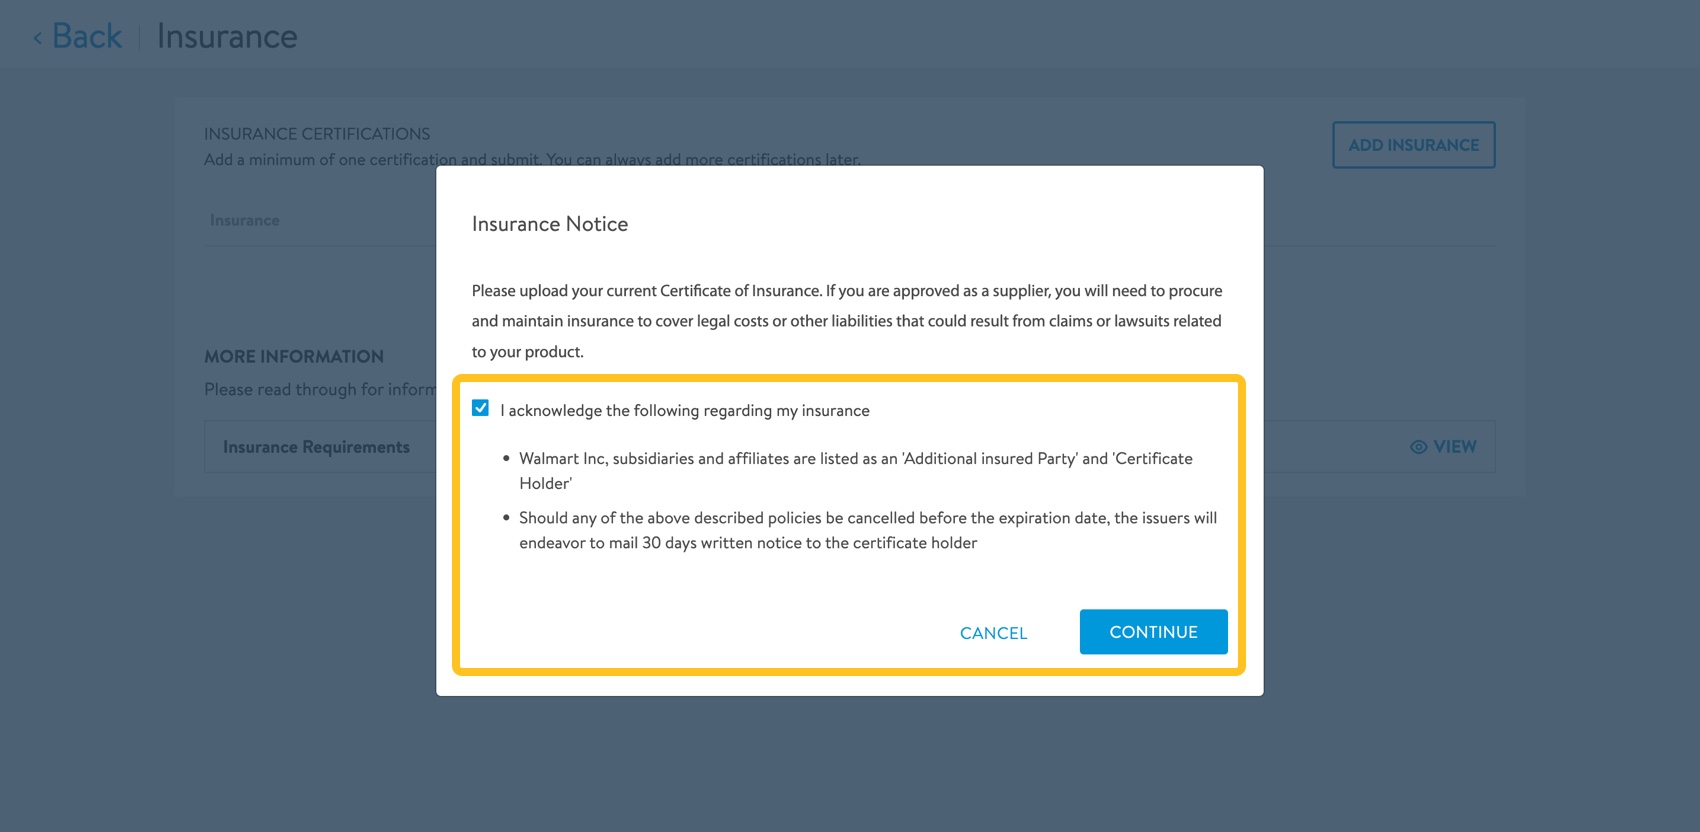
- Click the check box to acknowledge that you understand the information listed in the Insurance Notice. Then, click Continue.
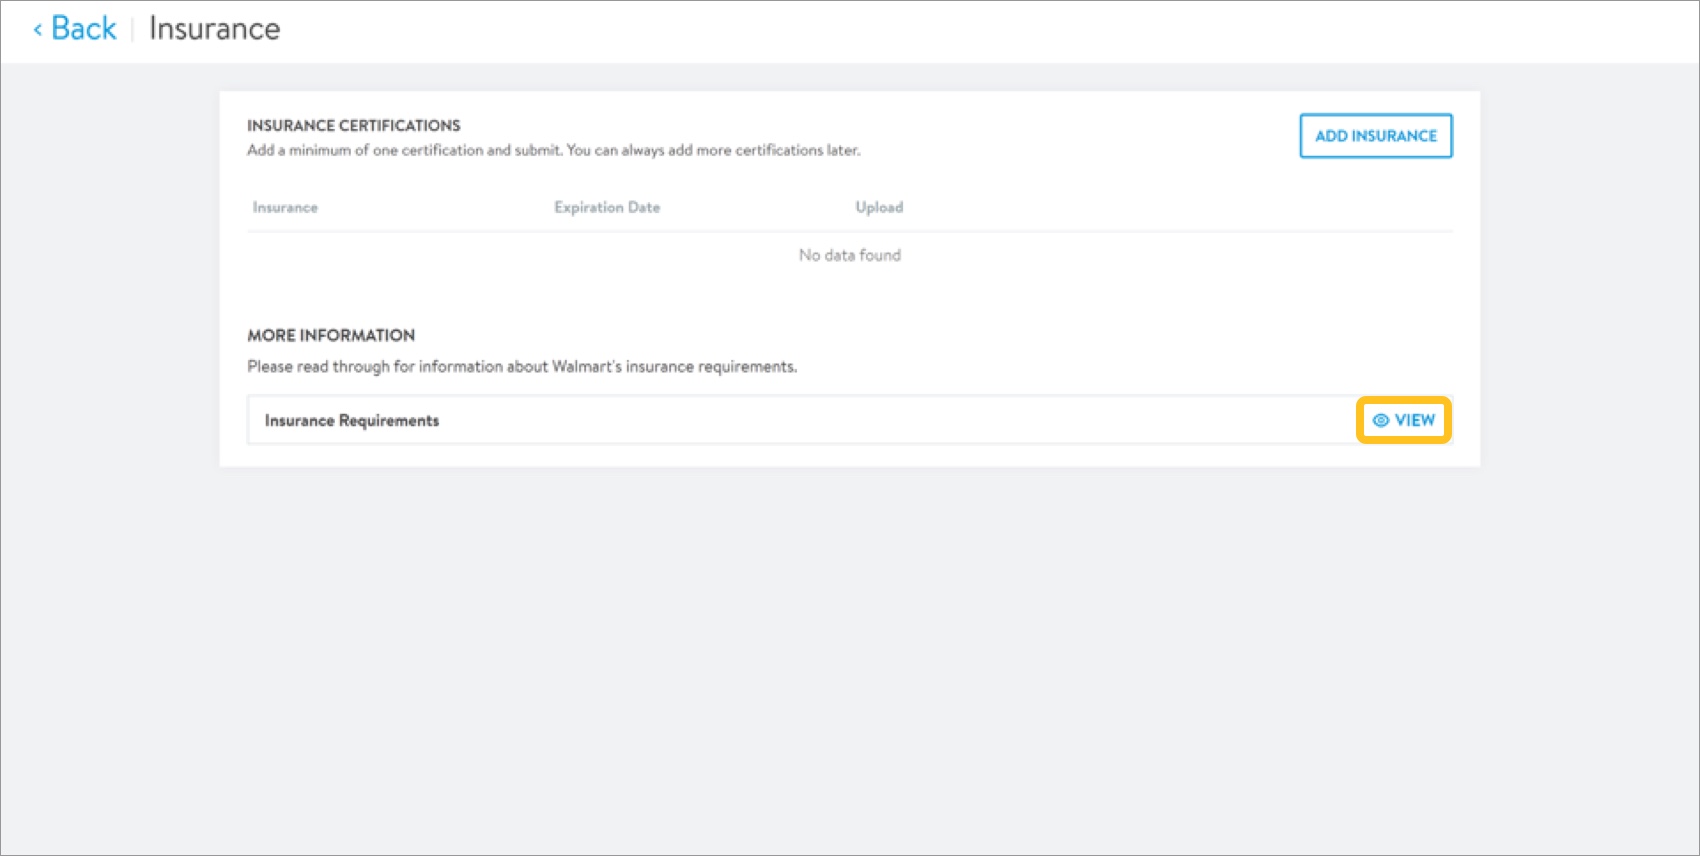
- On the Insurance screen, click View to see the Supplier Liability Insurance (SLI) Matrix. This includes information about Walmart's insurance requirements.
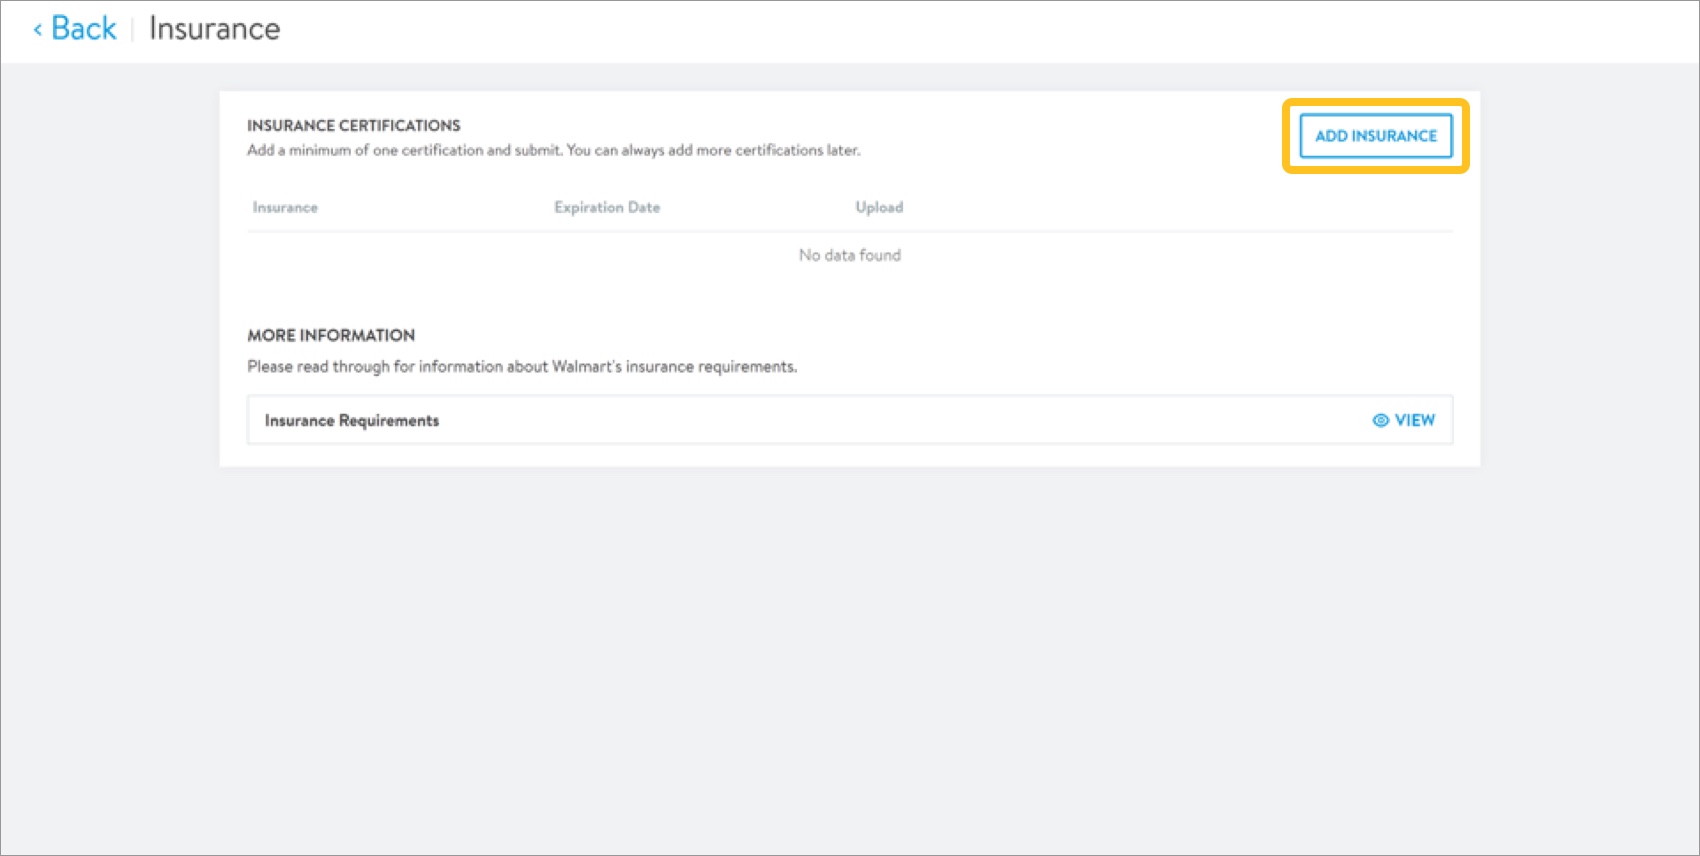
- Click Add Insurance to provide insurance certifications.
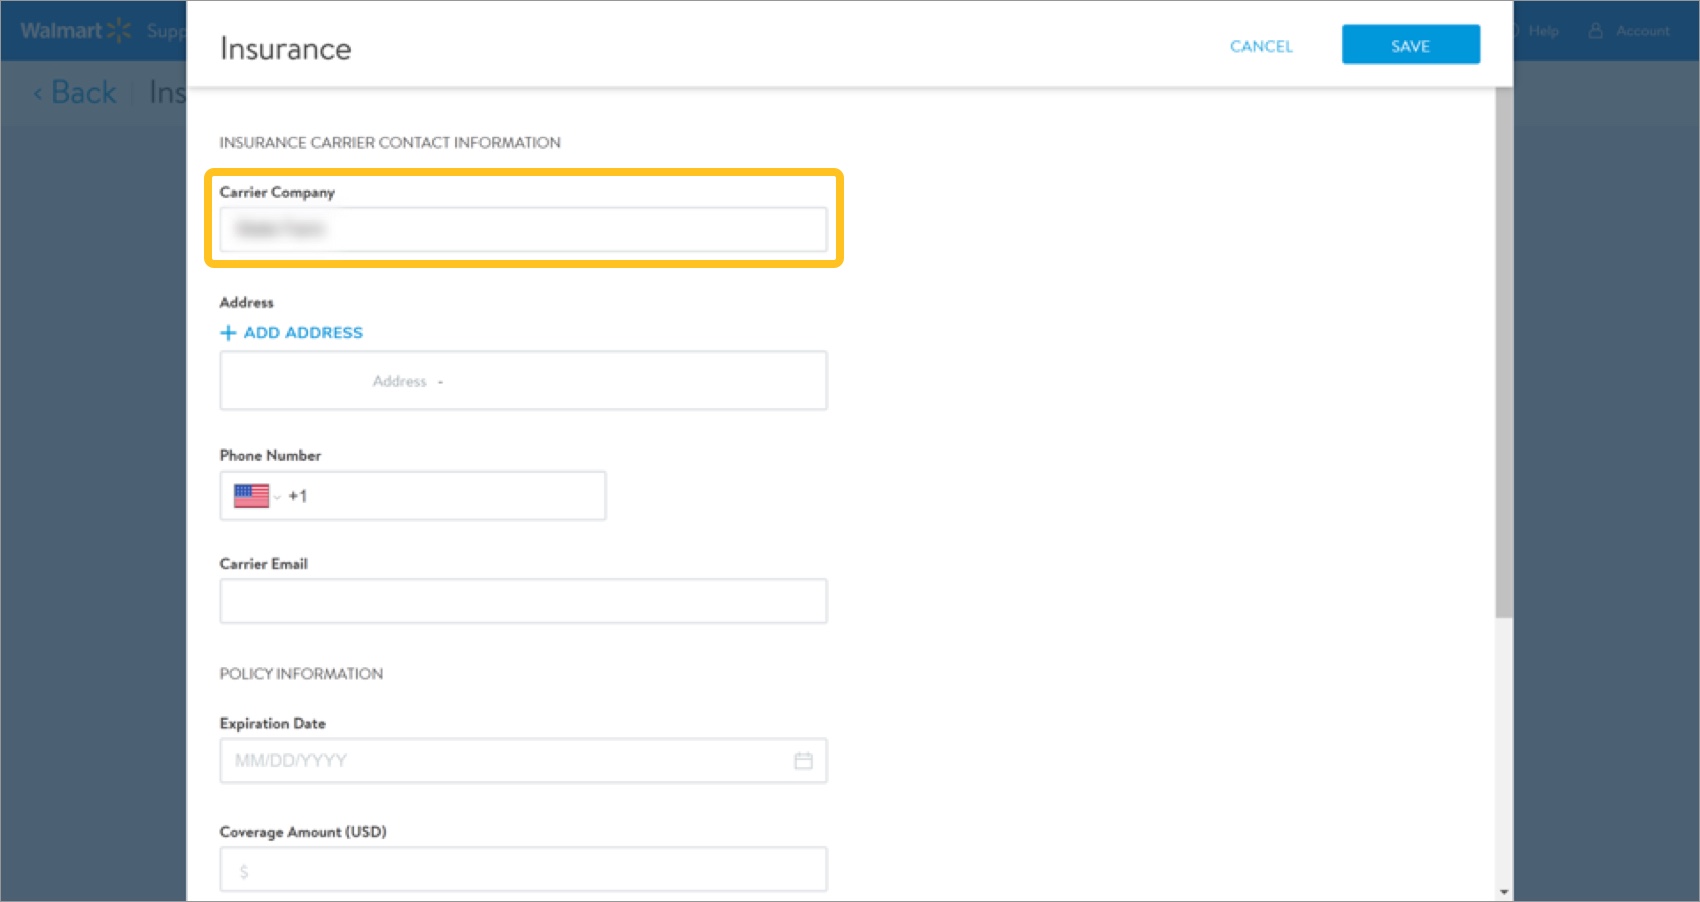
- Provide the insurance carrier company name.
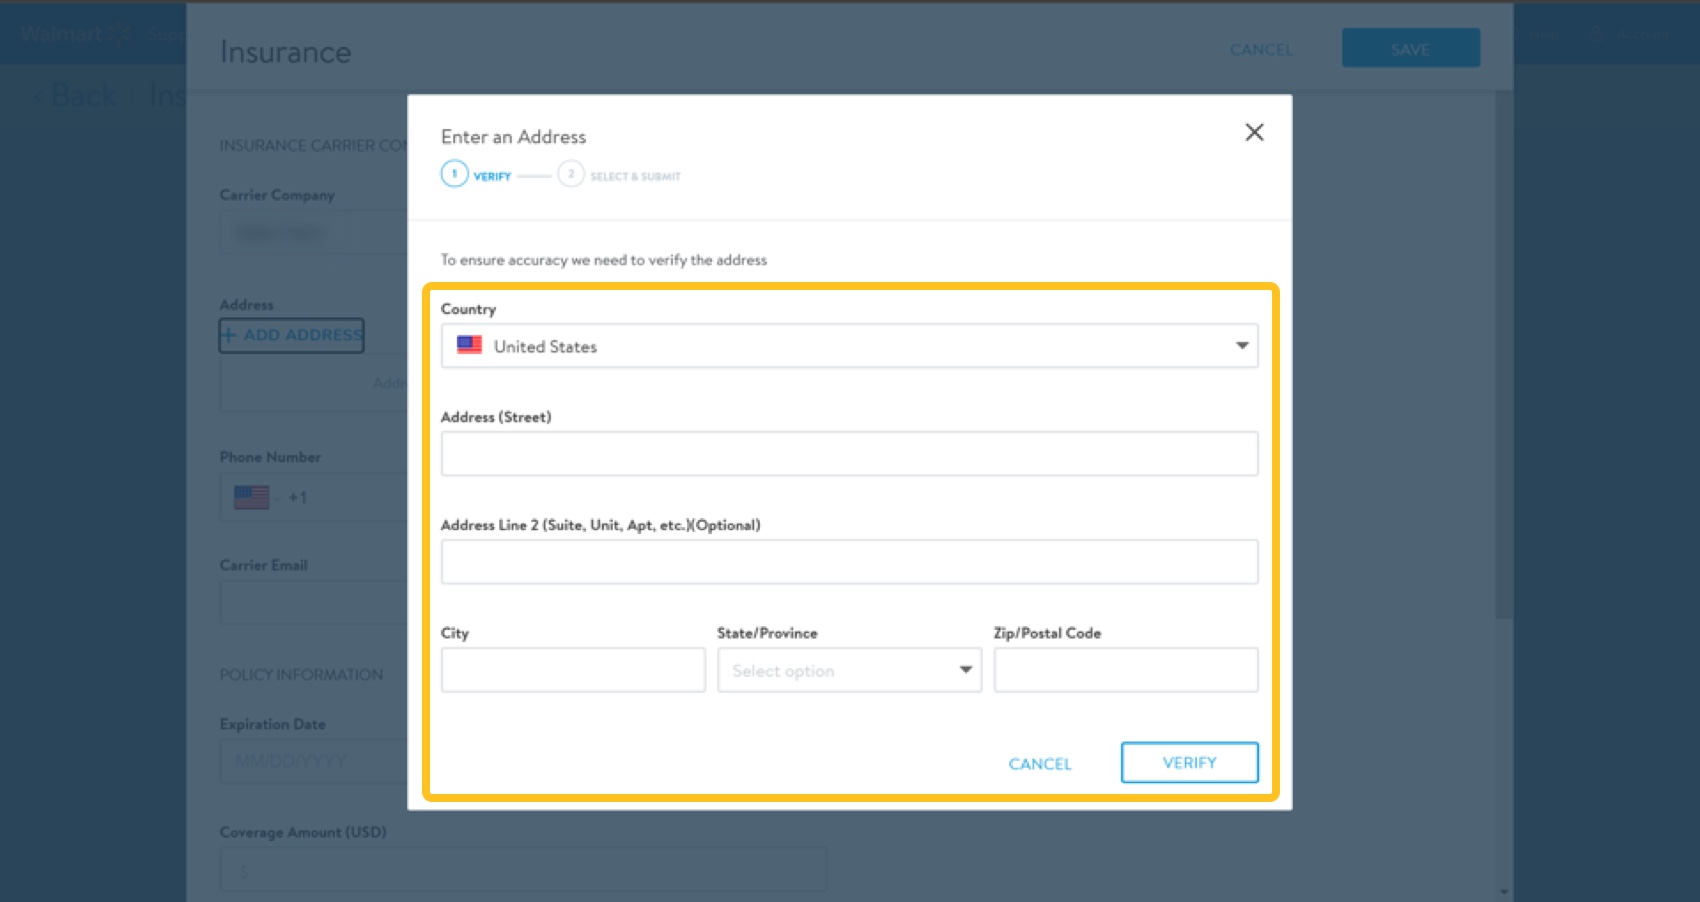
- Click + Add Address to enter your insurance carrier's address.
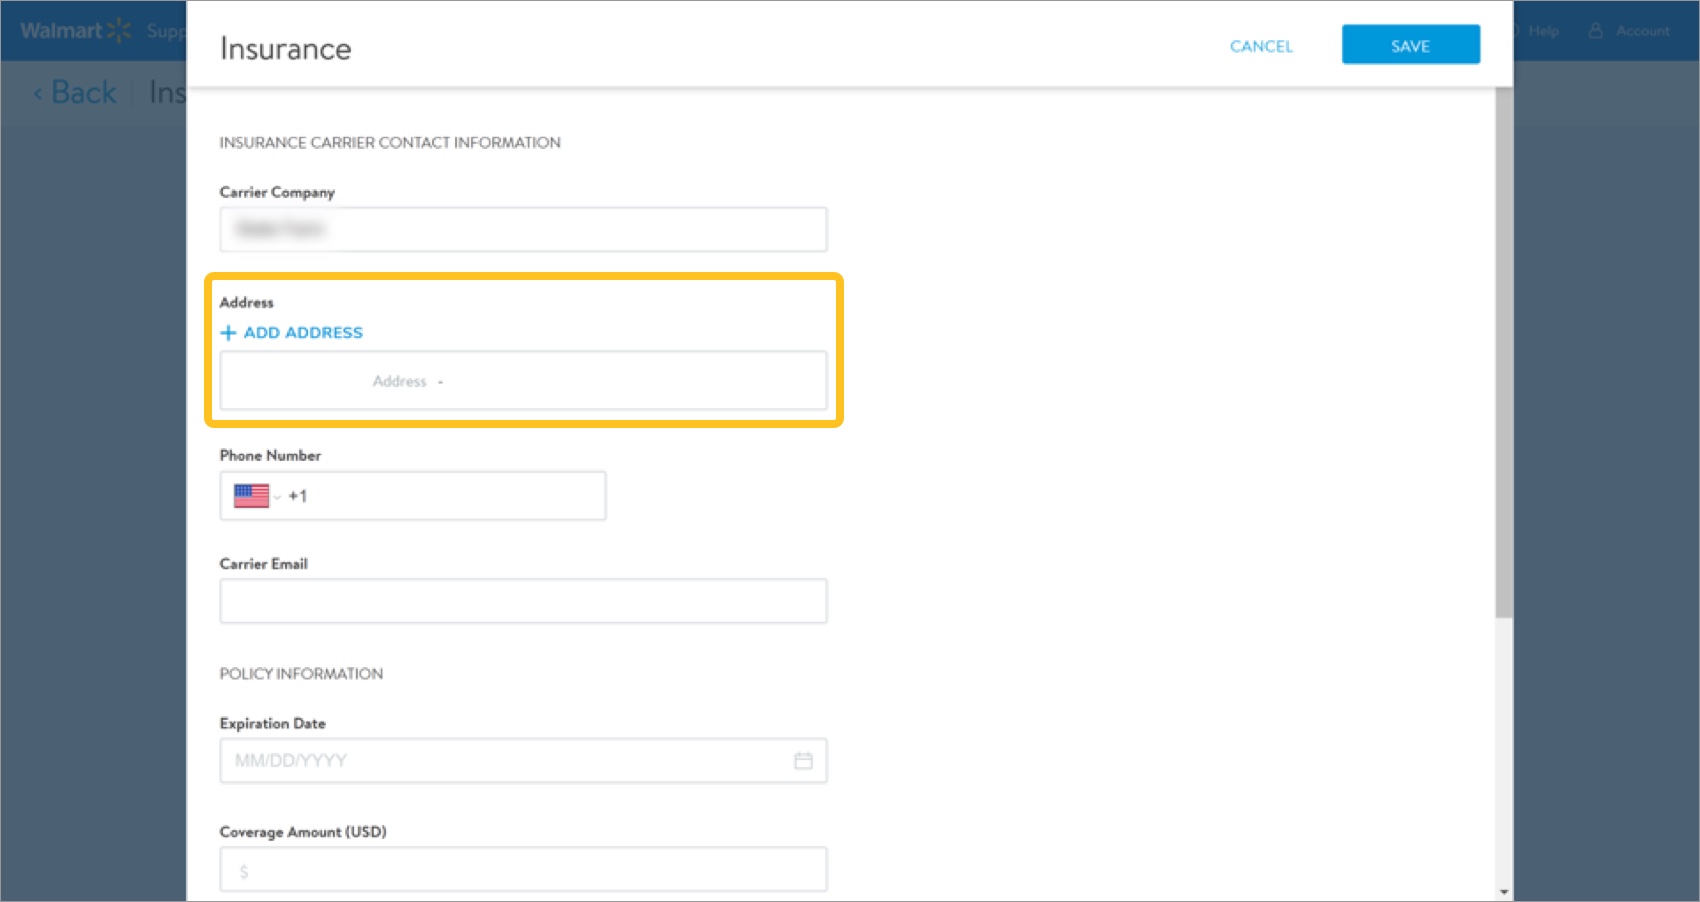
- In the new window that appears, provide the insurance carrier address information. Then, click Verify.
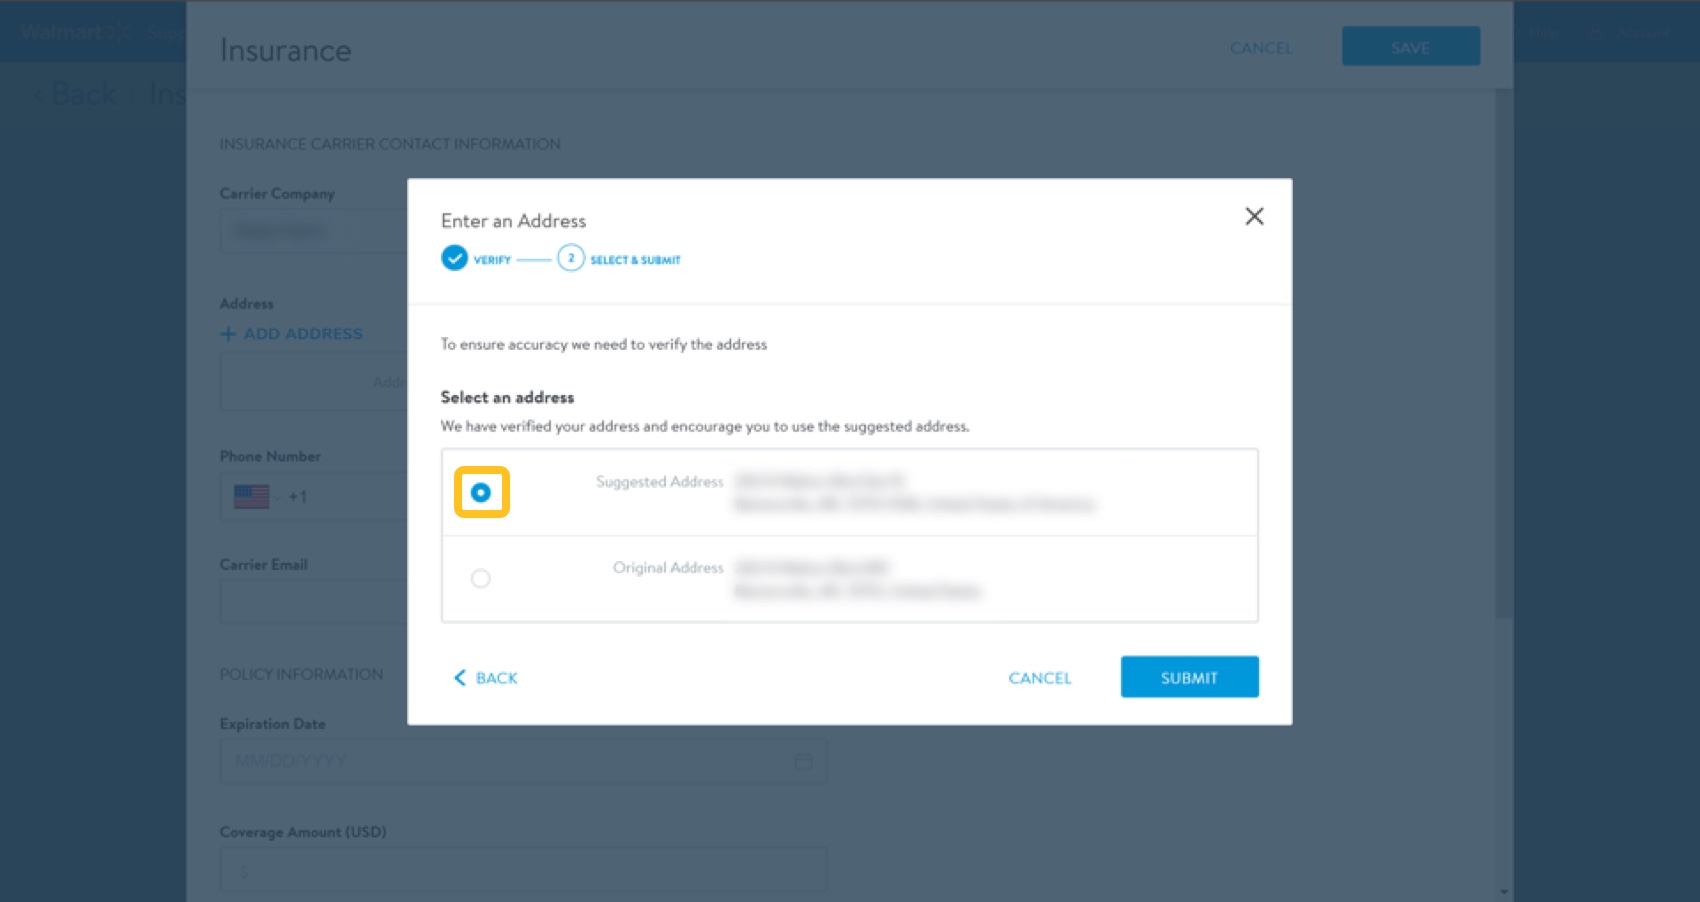
- Select the address (we recommend selecting the United States Postal Service suggested address). Then, click Submit.
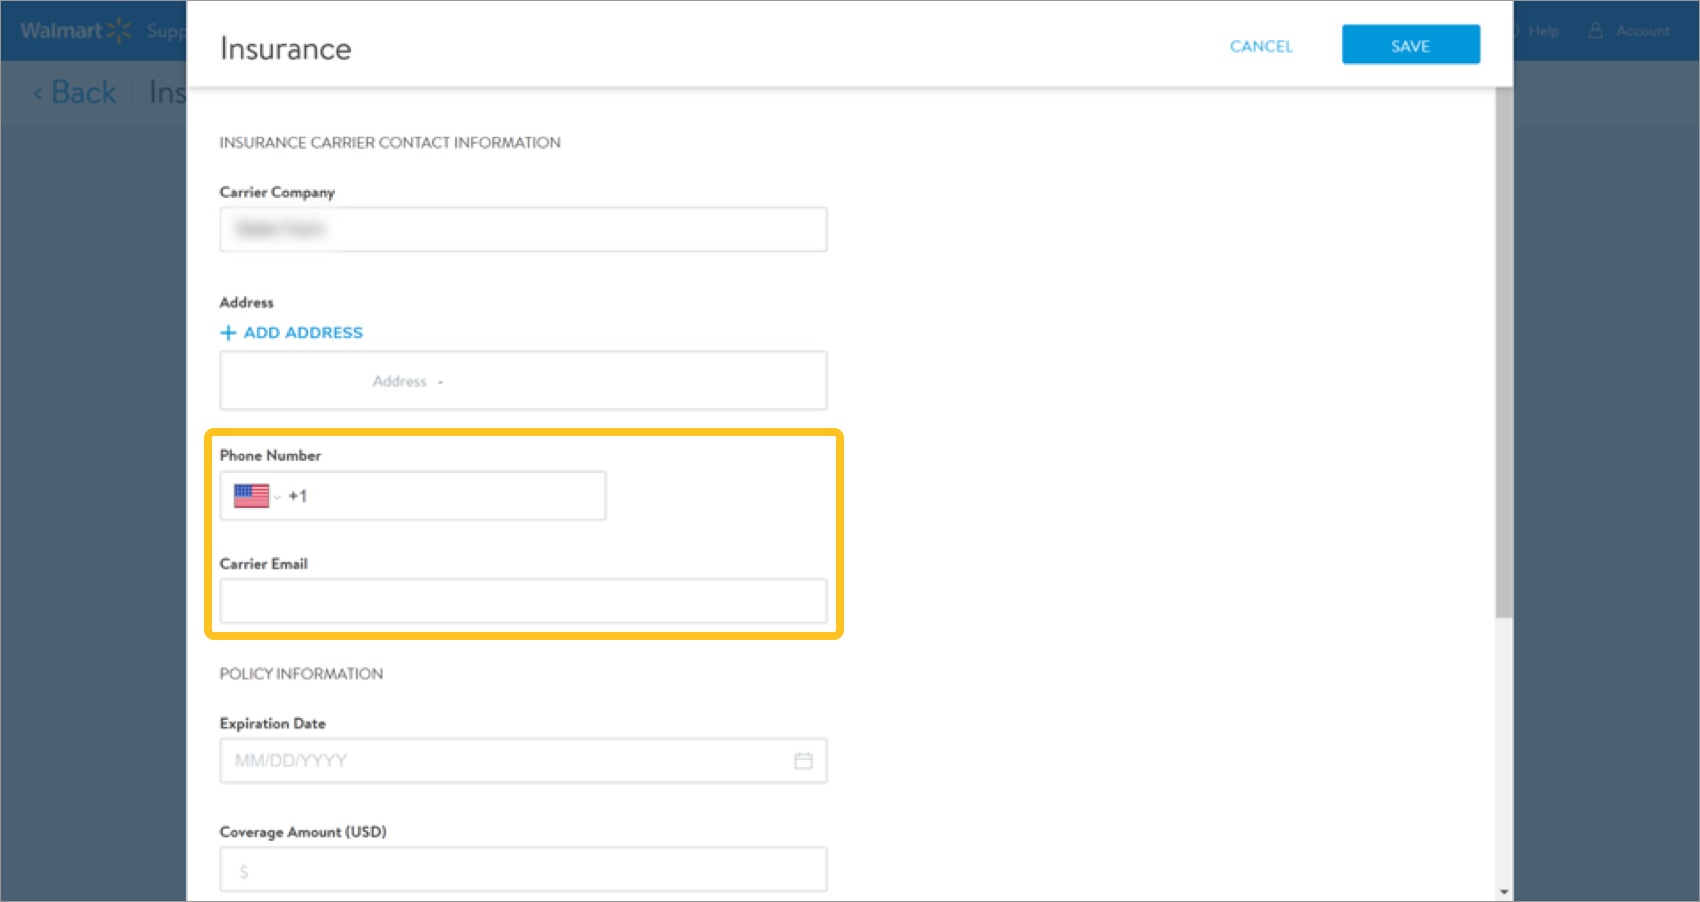
- Provide the insurance carrier's phone number and email address.
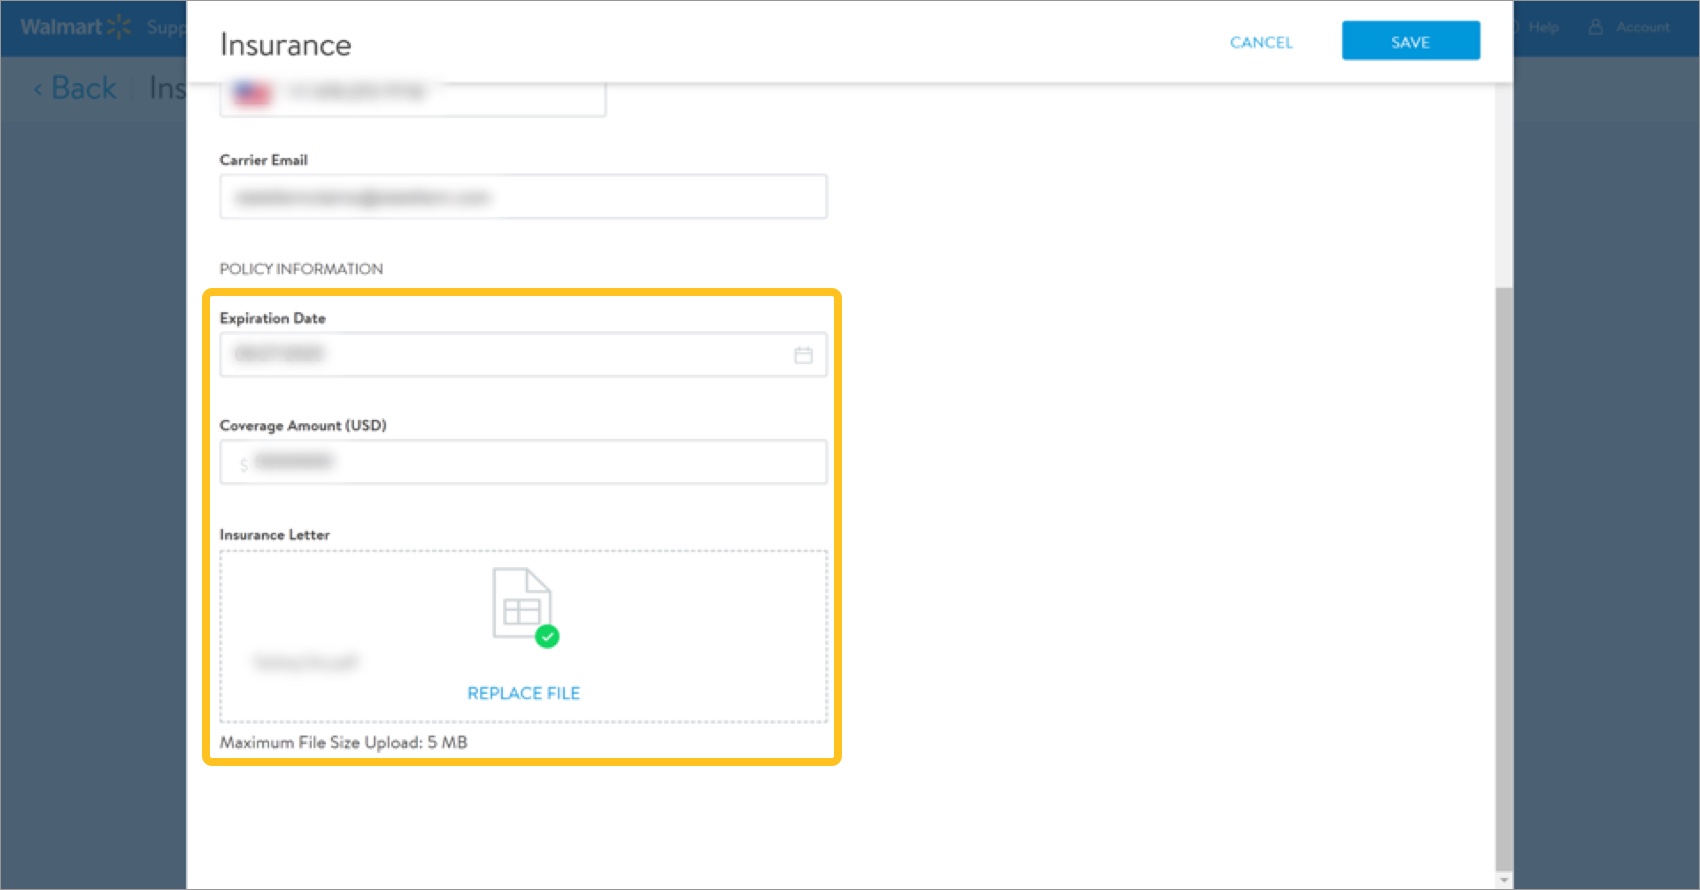
- Provide the policy information and click Save.
- Use the calendar picker to select the policy's expiration date.
- Provide the coverage amount (USD).
- Upload the insurance letter by dragging and dropping the file in the designated area or by clicking Select file to open a file from your computer. The maximum file size is 5MB.
- Repeat Steps 4–10 to add more insurance certifications. All certifications appear in the Insurance Certifications section of the Insurance screen.
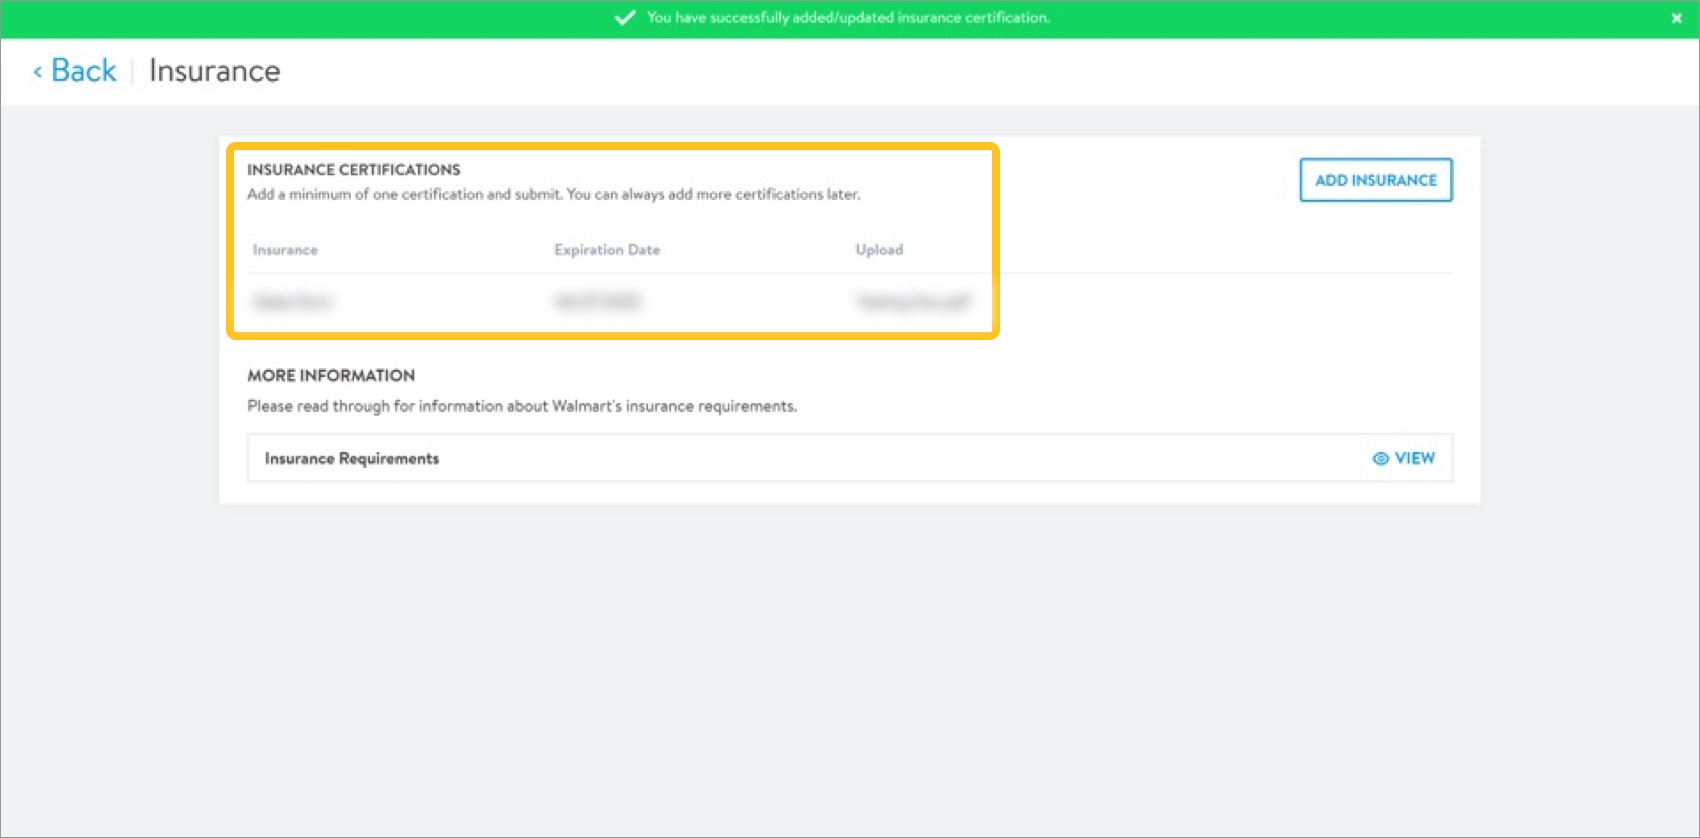
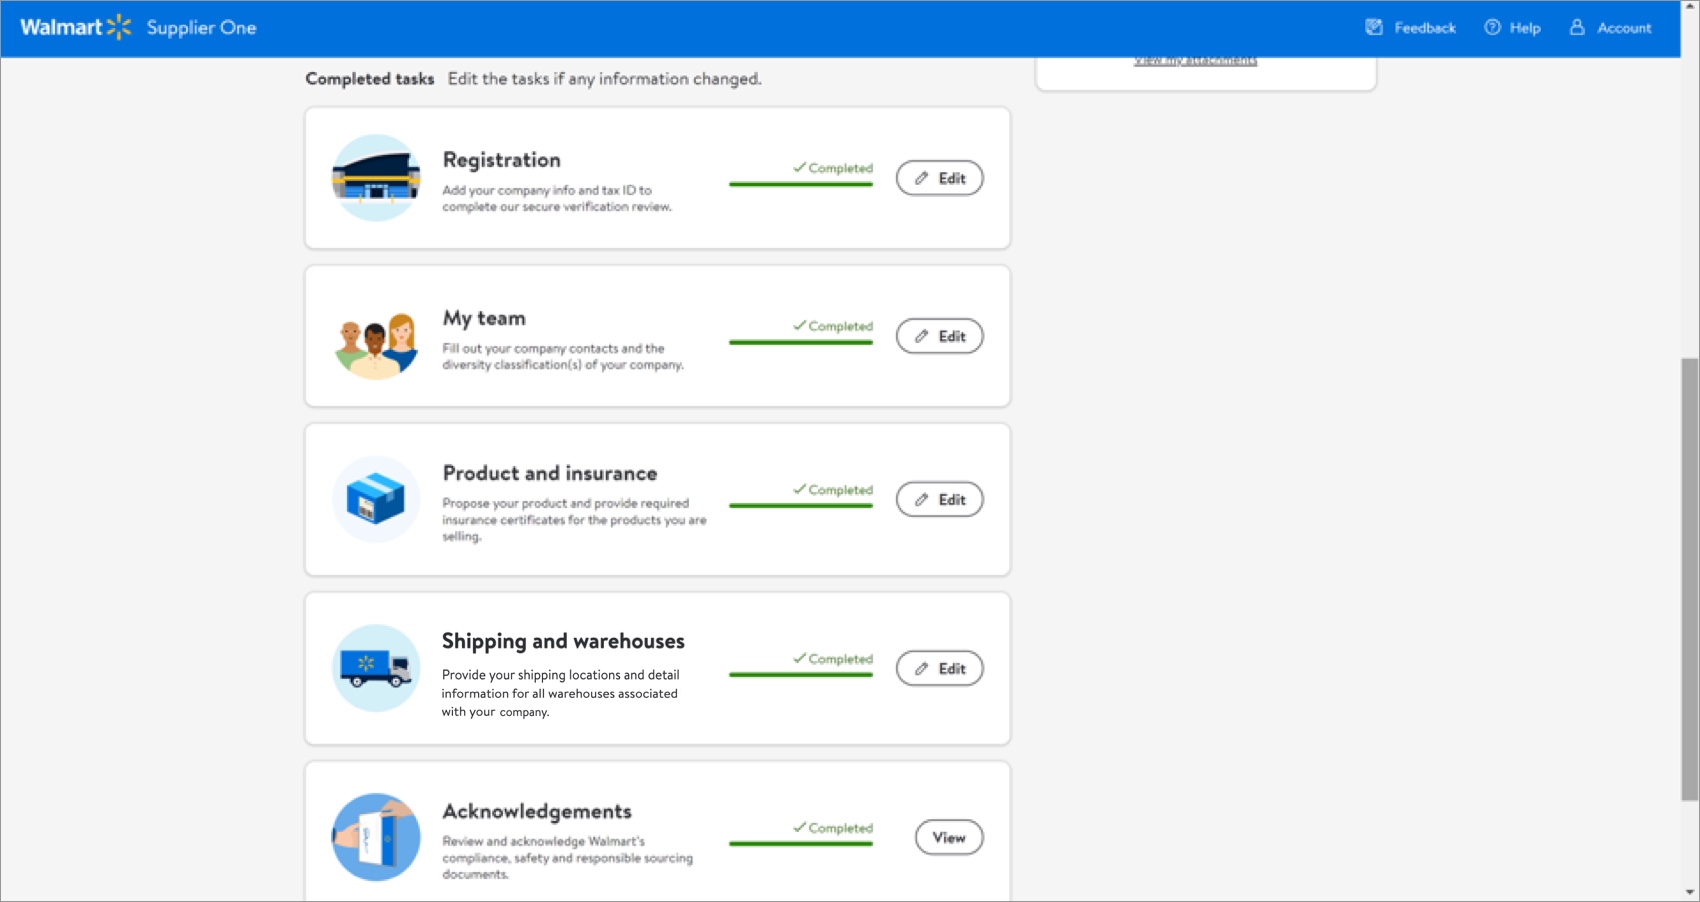
- Click Back in the page header to return to the supplier onboarding dashboard.A green check mark on the dashboard indicates you completed all tasks in the associated onboarding tile. The task progress bar increments up to reflect the current status of the supplier onboarding process.
Additional Resources
Once you have started registration, you can log into Supplier Academy to access training materials on merchandising, transportation, getting paid, replenishment, analysis and working together.